Getting Started Guide
Cloud Temple Object Storage is a highly secure, SecNumCloud-certified object storage service based on the Amazon S3 protocol. It enables you to store all types of data, including the most sensitive, in compliance with the highest security standards. You can manage your storage directly from the Cloud Temple console and integrate with numerous existing libraries or CLI clients for programmatic usage.
Before You Begin
- Console Cloud Temple
- MC CLI
- AWS CLI
To perform the actions described below, you need:
- A Cloud Temple account connected to the console
- 'Owner' status or IAM permissions that allow you to perform actions on the target organization's tenant.
❯ mc alias set cloudtemple-fr1 https://VOTRE_NAMESPACE.s3.fr1.cloud-temple.com VOTRE_CLE_ACCES VOTRE_CLE_SECRETE
Added `cloudtemple-fr1` successfully.
- Replace
VOTRE_NAMESPACEwith your namespace. This value is available in the Cloud Temple console, within the details of a bucket. - Replace
VOTRE_CLE_ACCESandVOTRE_CLE_SECRETEwith your storage account credentials.
The AWS client is configured using the aws configure command. You will need to provide your access keys and the default region.
❯ aws configure
AWS Access Key ID [None]: VOTRE_CLE_ACCES
AWS Secret Access Key [None]: VOTRE_CLE_SECRETE
Default region name [None]: fr1
Default output format [None]: json
Unlike mc, the AWS client does not save the endpoint URL. You must specify it for each command using the --endpoint-url option.
Your service endpoint is: https://VOTRE_NAMESPACE.s3.fr1.cloud-temple.com
Tip: To avoid typing the endpoint repeatedly, you can define it in the AWS configuration file (~/.aws/config) by creating a dedicated profile:
[profile cloudtemple]
region = fr1
output = json
s3 =
  endpoint_url = https://VOTRE_NAMESPACE.s3.fr1.cloud-temple.com
s3api =
  endpoint_url = https://VOTRE_NAMESPACE.s3.fr1.cloud-temple.com
You can then use this profile with the --profile cloudtemple option on each command.
List all S3 buckets in your tenant
- Console Cloud Temple
- MC CLI
- AWS CLI
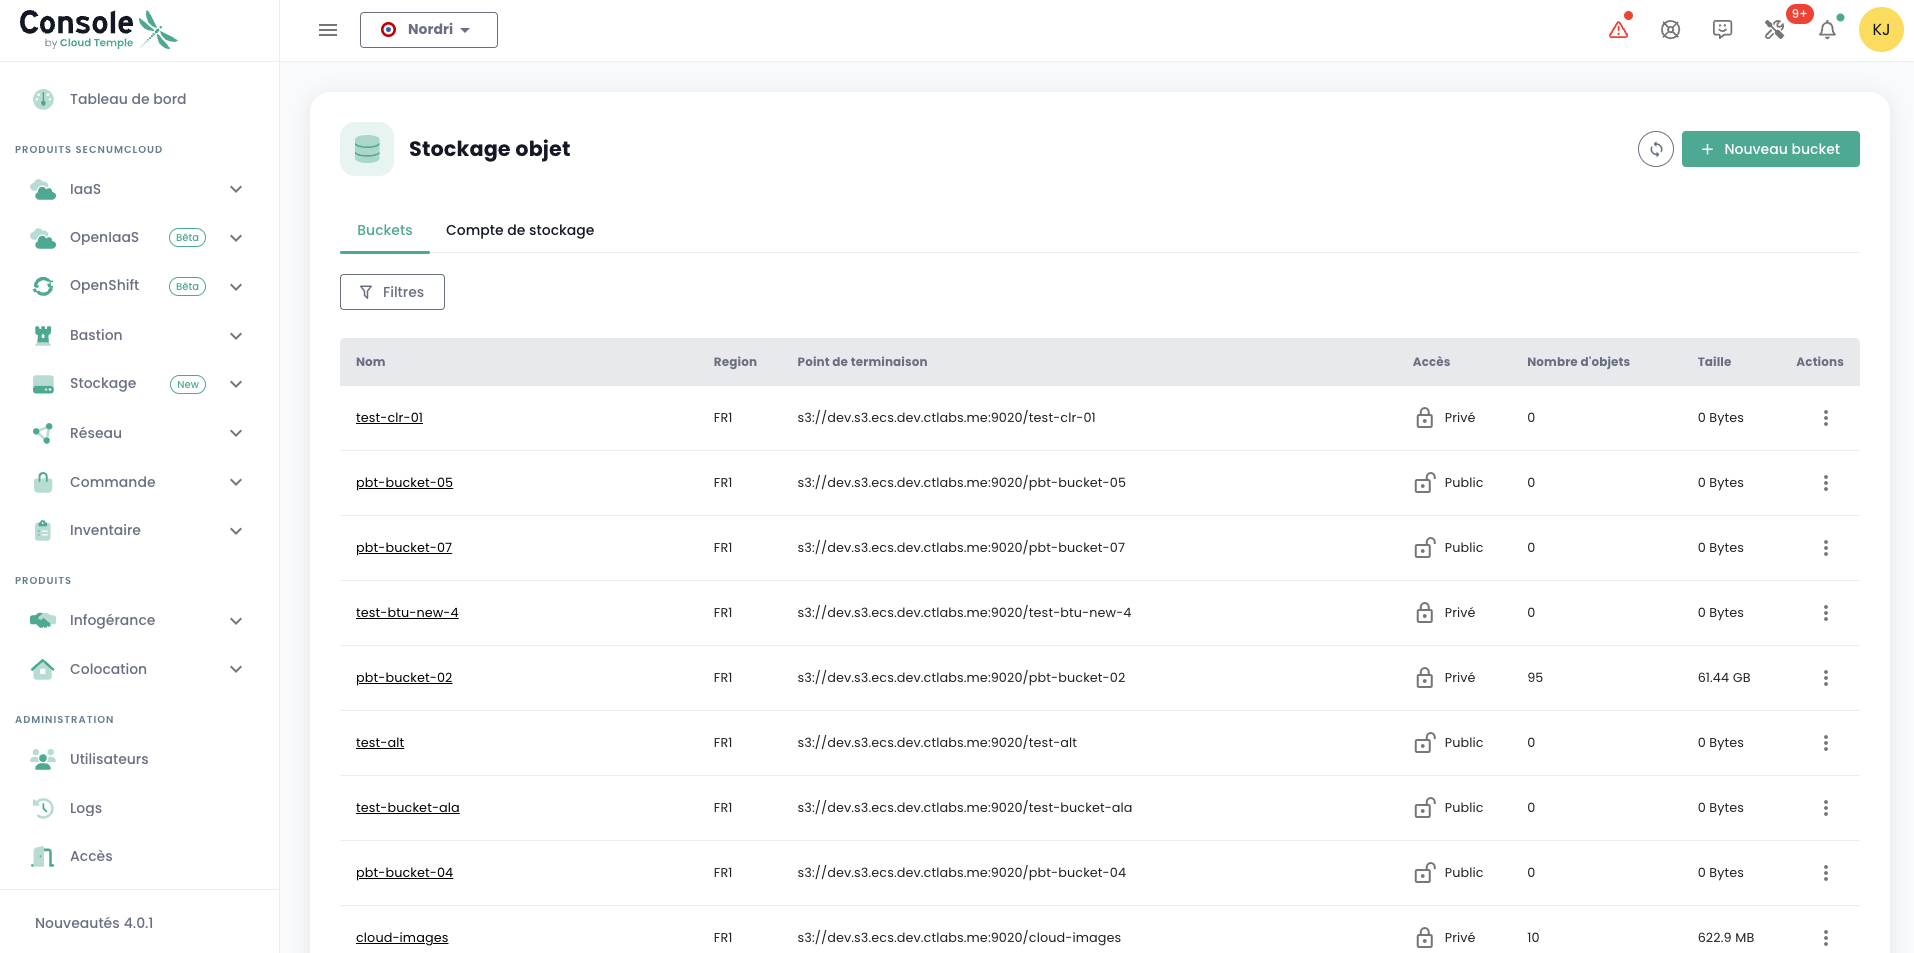
You can access all your buckets via the 'Object Storage' menu in the Cloud Temple console:
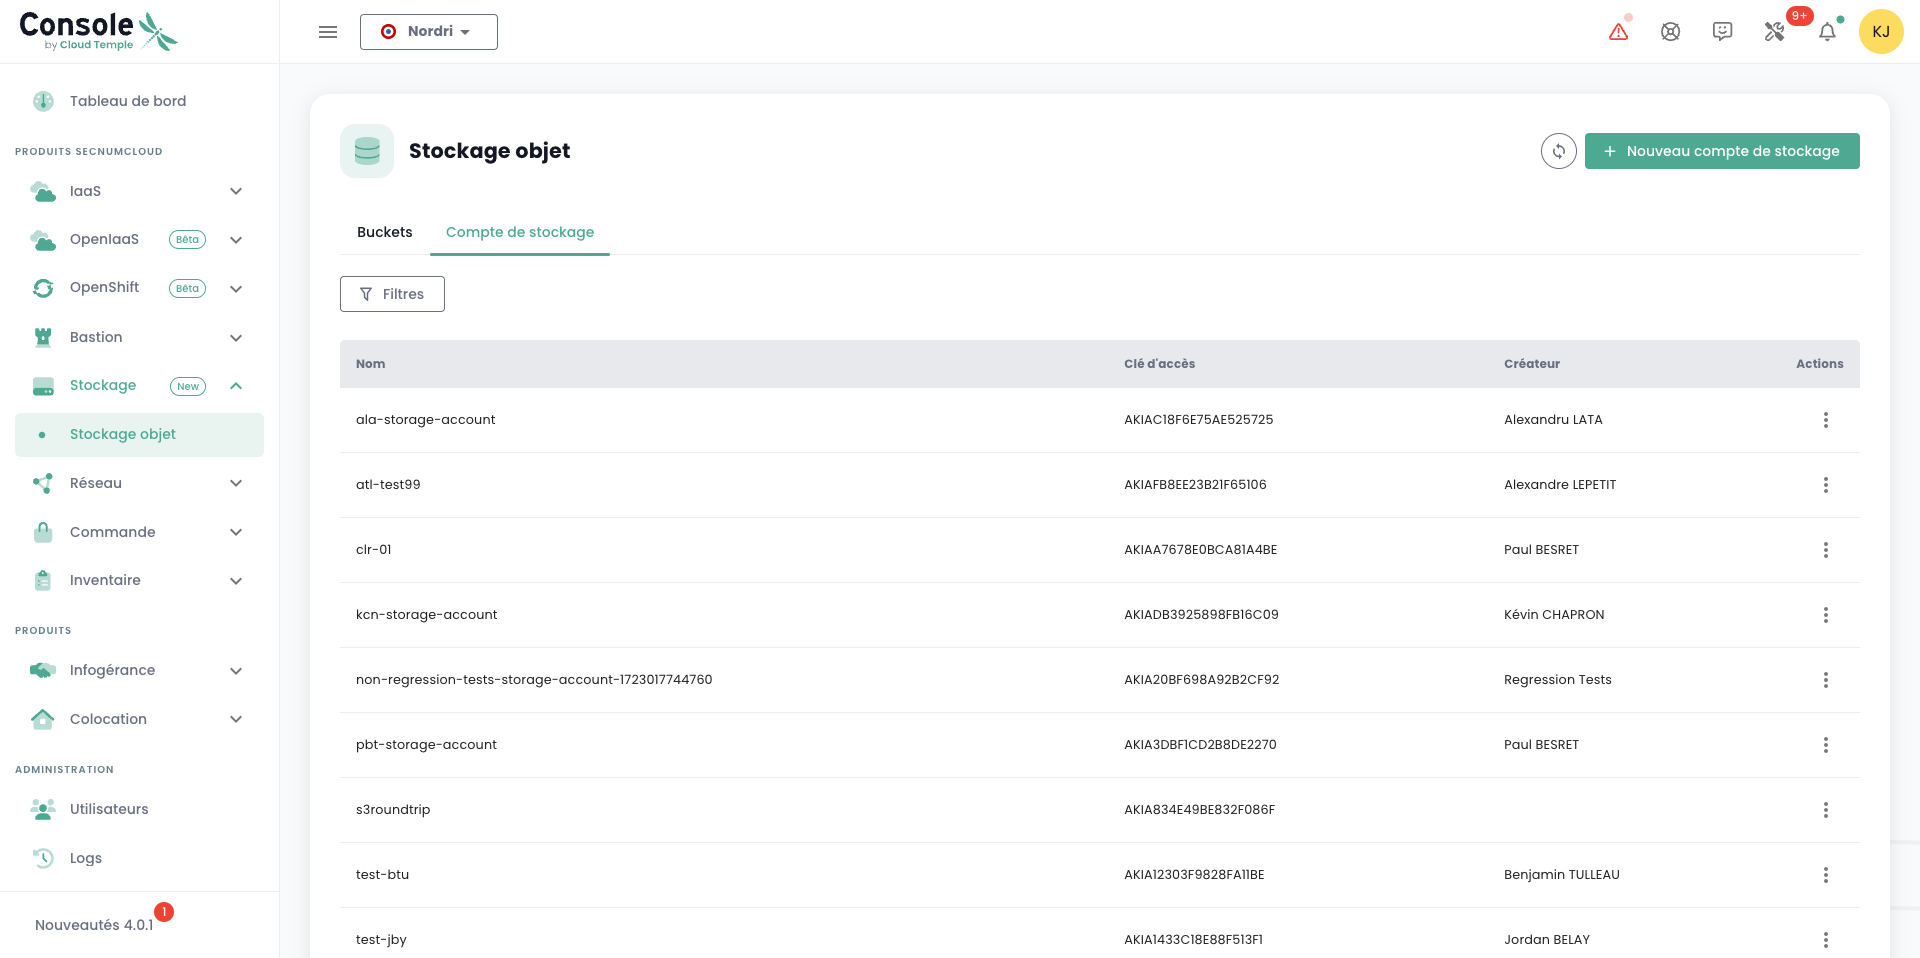
You can view all accounts created on your tenant and authorized to access the S3 service via the 'Storage Accounts' tab.
❯ mc ls cloudtemple-fr1
[2025-05-06 15:12:57 CEST]     13B demo01/
[2025-06-30 15:29:56 CEST]      0B demo03/
[2025-01-29 14:40:40 CET]      0B test/
❯ aws s3 ls --endpoint-url https://VOTRE_NAMESPACE.s3.fr1.cloud-temple.com
2025-05-06 15:12:57 demo01
2025-06-30 15:29:56 demo03
2025-01-29 14:40:40 test
Browse an S3 Bucket
- Console Cloud Temple
- MC CLI
- AWS CLI
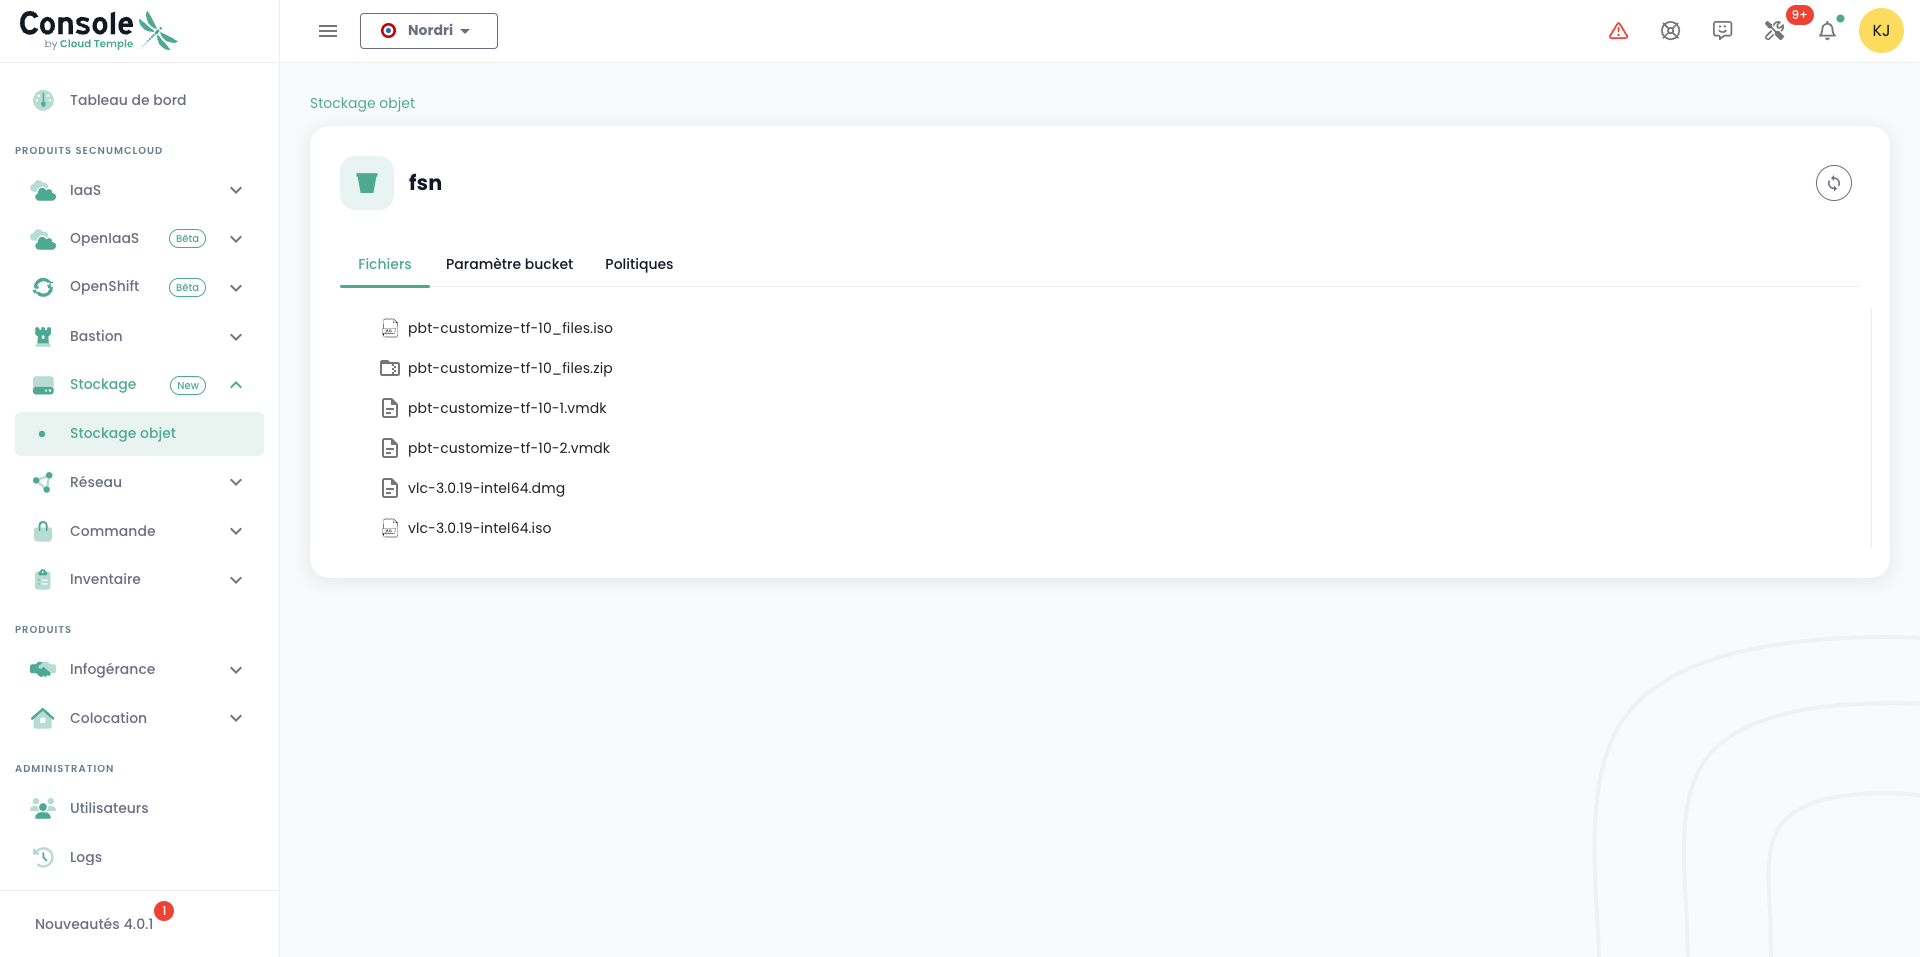
When you click on a bucket's name, you first access the 'Files' tab to view its contents:
In the 'Settings' tab, you can see detailed information about your S3 bucket:
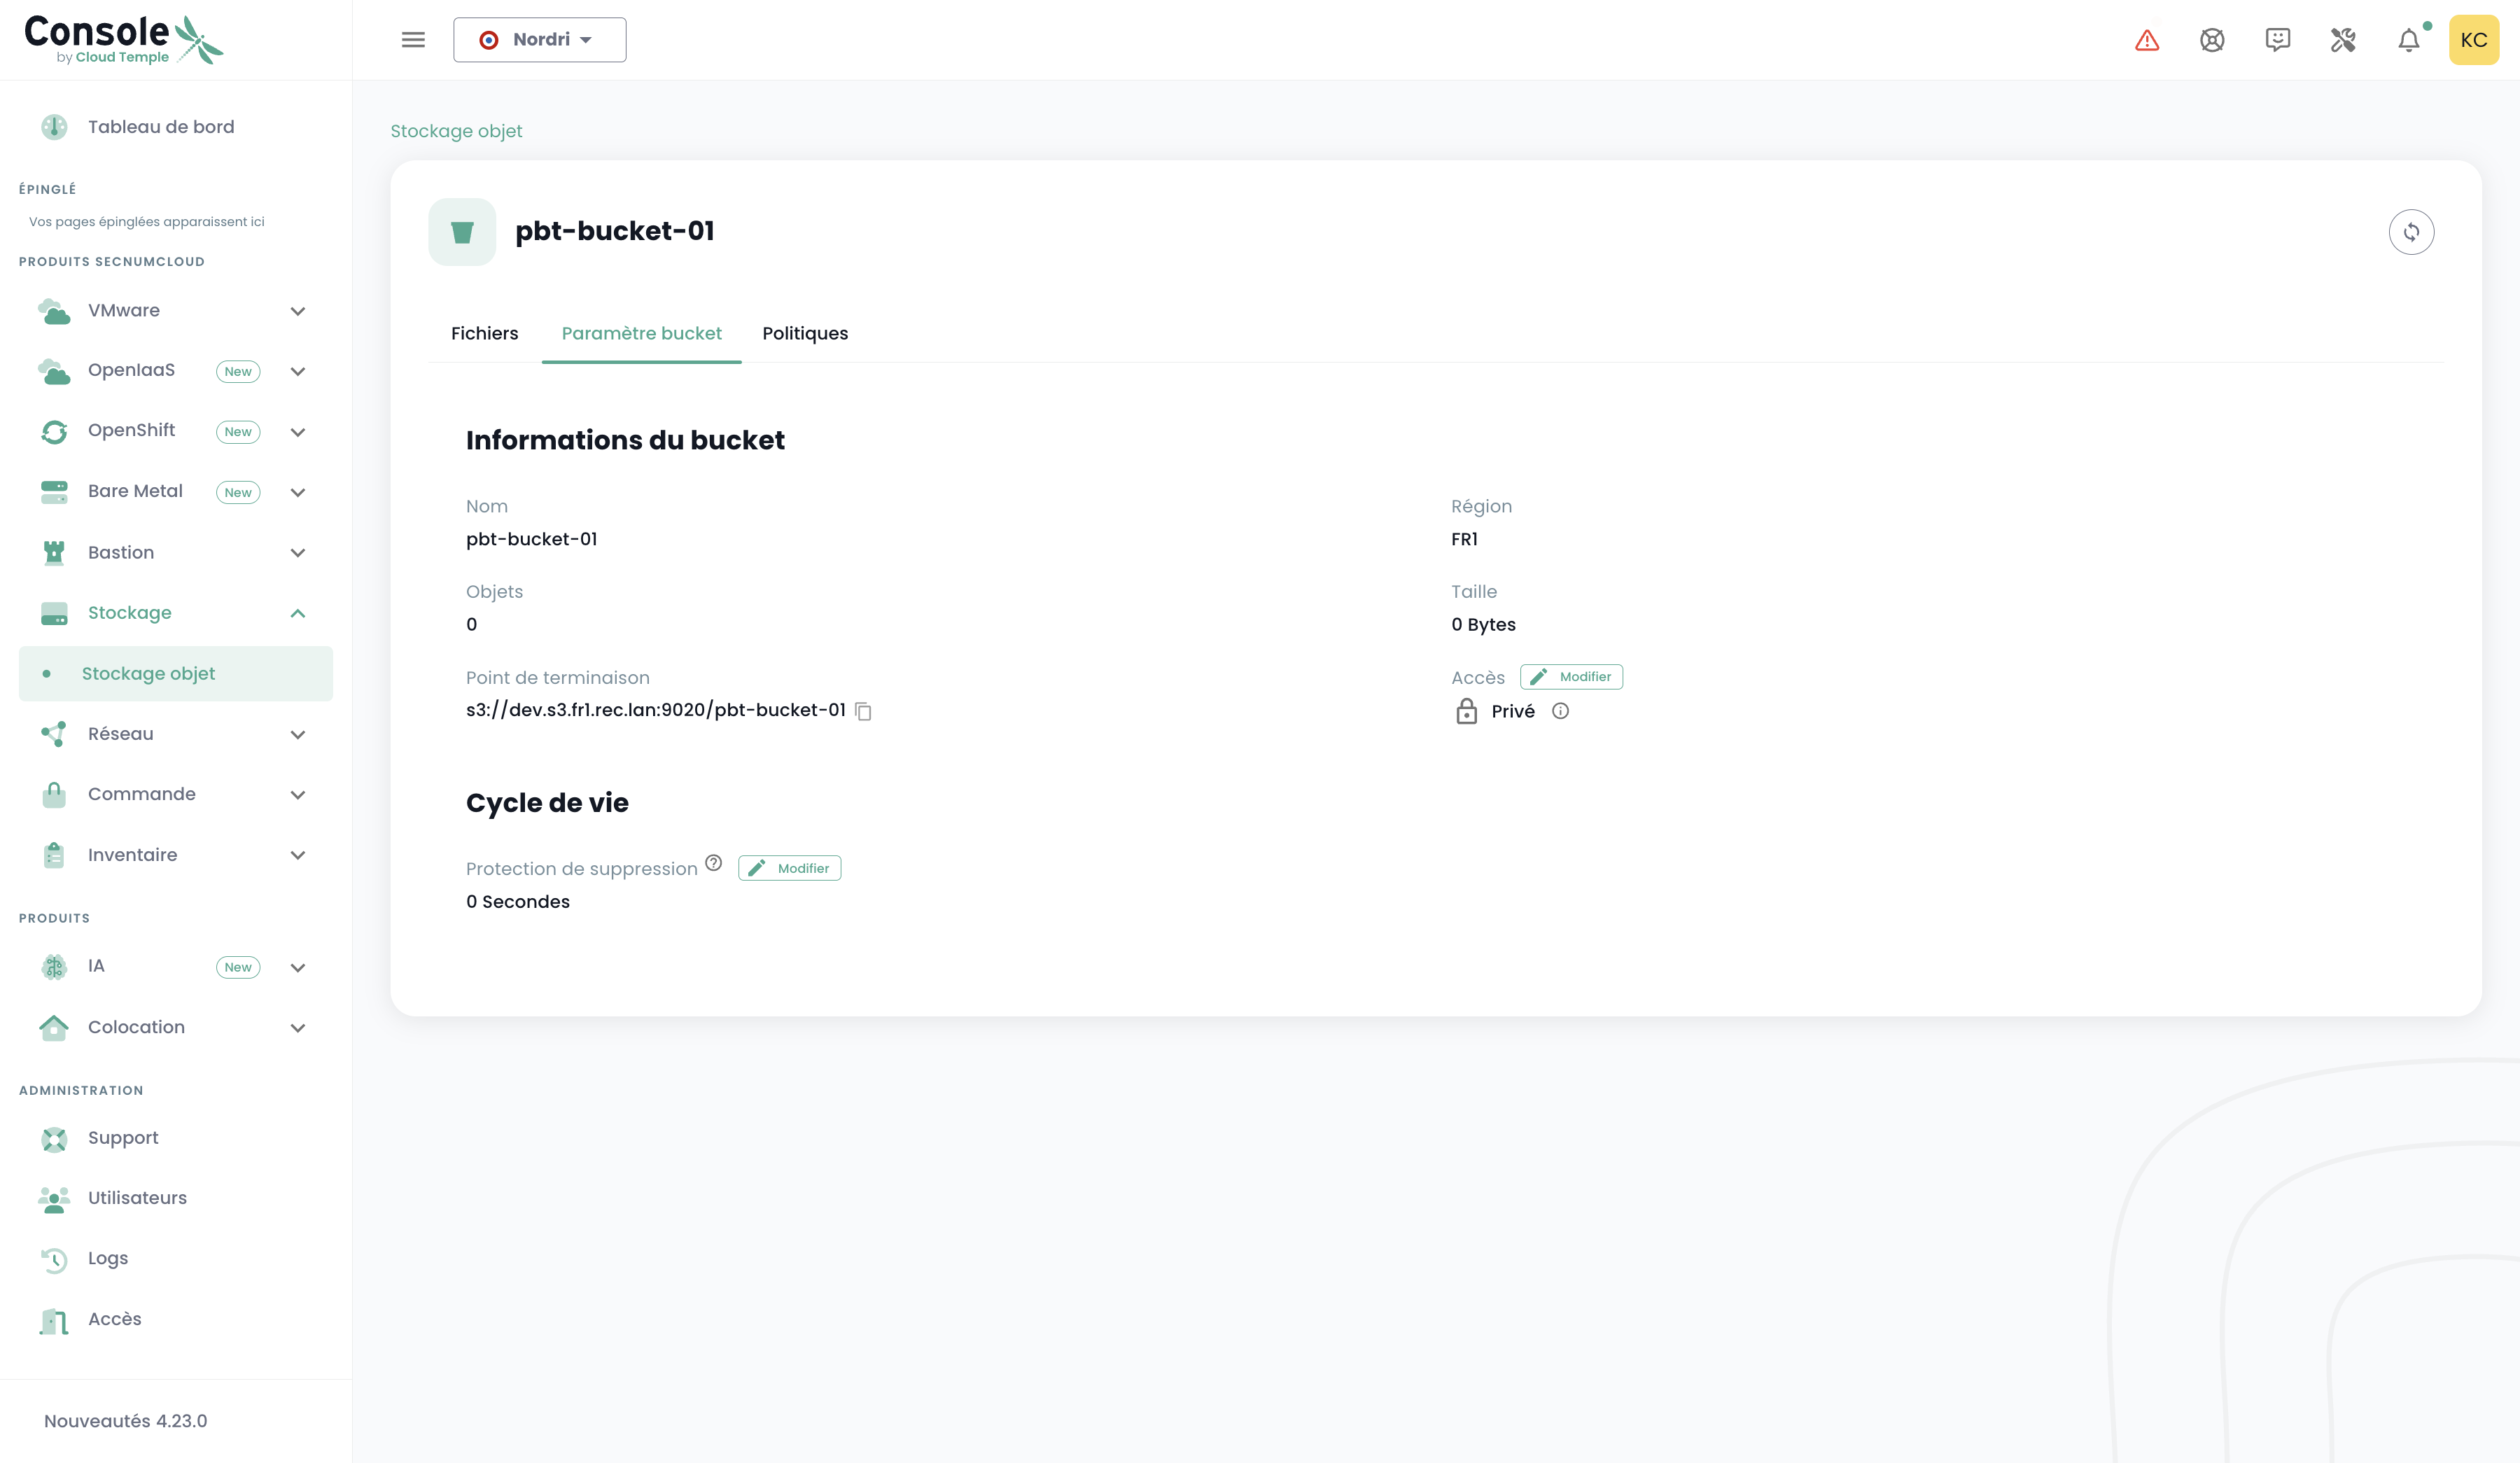
Important note: The 'Delete Protection' feature refers to the data retention period, not a scheduled deletion. Data remains accessible throughout the configured period. To automatically delete data after the retention period ends, you must define a lifecycle policy (lifecycle).
Example lifecycle policy (lifecycle.json):
Prerequisites:
- The 'global access key' storage account must be used, as it requires the 's3:PutLifecycleConfiguration' and 's3:GetLifecycleConfiguration' permissions on the bucket.
{
  "Rules": [
    {
      "ID": "DeleteOldObjects",
      "Prefix": "",  // "" = entire bucket, otherwise specify a prefix
      "Status": "Enabled",
      "Expiration": {
        "Days": 30  // delete after 30 days
      },
      "NoncurrentVersionExpiration": {
        "NoncurrentDays": 7  // delete old versions 7 days after a new version is created
      }
    }
  ]
}
If using AWS CLI:
aws --endpoint-url https://<ecs-endpoint> \
s3api put-bucket-lifecycle-configuration \
--bucket <bucket-name> \
--lifecycle-configuration file://lifecycle.json
❯ mc ls cloudtemple-fr1/demo-app/
[2024-05-23 09:41:58 CEST] 8.9KiB README.md
[2024-05-22 09:56:04 CEST]     0B helloworld.txt
❯ aws s3 ls s3://demo-app/ --endpoint-url https://VOTRE_NAMESPACE.s3.fr1.cloud-temple.com
2024-05-23 09:41:58      8923 README.md
2024-05-22 09:56:04         0 helloworld.txt
Write a file to a bucket (upload)
- MC CLI
- AWS CLI
❯ mc cp ./version.txt cloudtemple-fr1/demo-app/
`./version.txt` -> `cloudtemple-fr1/demo-app/version.txt`
❯ aws s3 cp ./version.txt s3://demo-app/version.txt --endpoint-url https://VOTRE_NAMESPACE.s3.fr1.cloud-temple.com
upload: ./version.txt to s3://demo-app/version.txt
Download a file from a bucket
- MC CLI
- AWS CLI
❯ mc cp cloudtemple-fr1/demo-app/app.tar.gz .
`cloudtemple-fr1/demo-app/app.tar.gz` -> `./app.tar.gz`
❯ aws s3 cp s3://demo-app/app.tar.gz . --endpoint-url https://VOTRE_NAMESPACE.s3.fr1.cloud-temple.com
download: s3://demo-app/app.tar.gz to ./app.tar.gz
Remove a file from a bucket
- MC CLI
- AWS CLI
❯ mc rm cloudtemple-fr1/demo-app/version.txt
Removed `cloudtemple-fr1/demo-app/version.txt`.
❯ aws s3 rm s3://demo-app/version.txt --endpoint-url https://VOTRE_NAMESPACE.s3.fr1.cloud-temple.com
delete: s3://demo-app/version.txt
Creating a New Storage Account
- Console Cloud Temple
- AWS CLI
- MC CLI
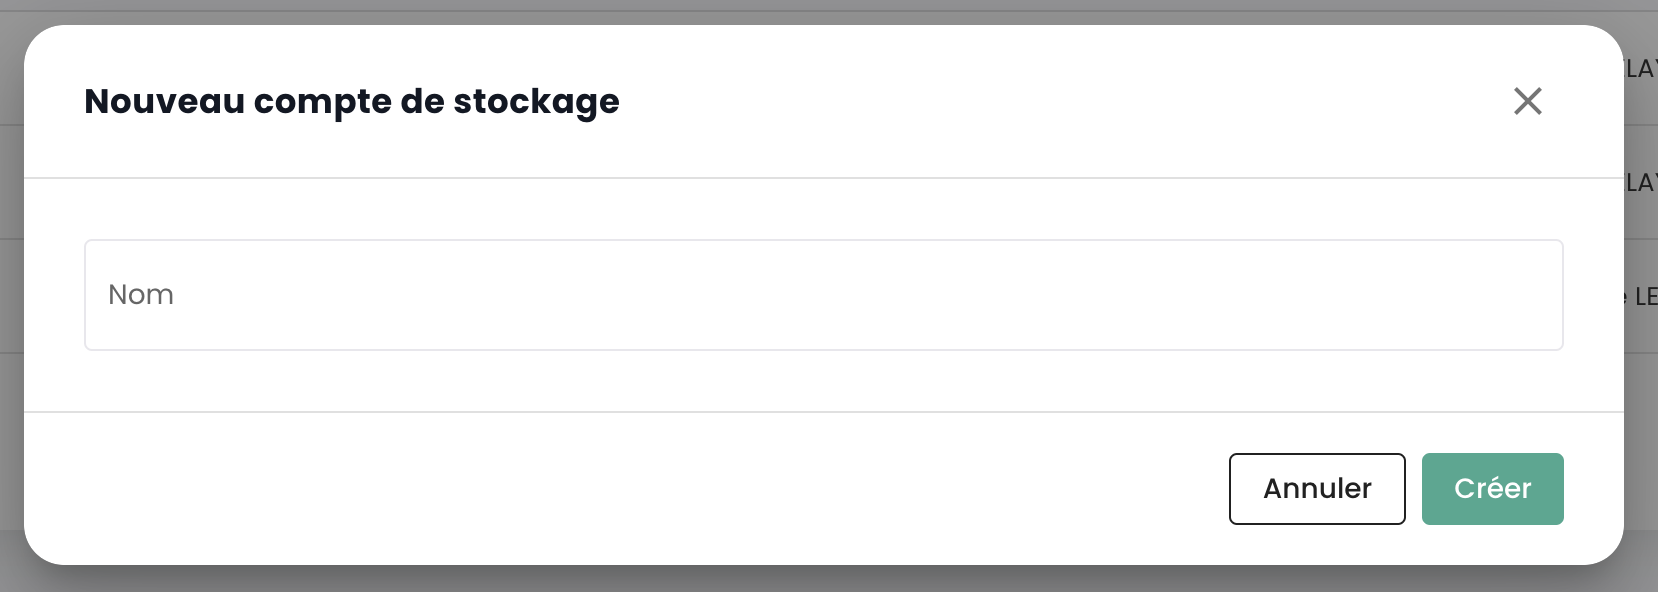
To create a storage account in your tenant, click the 'New Storage Account' button in the top-right corner under the 'Storage Accounts' tab:
The platform then provides you with the access key and secret key for your bucket:
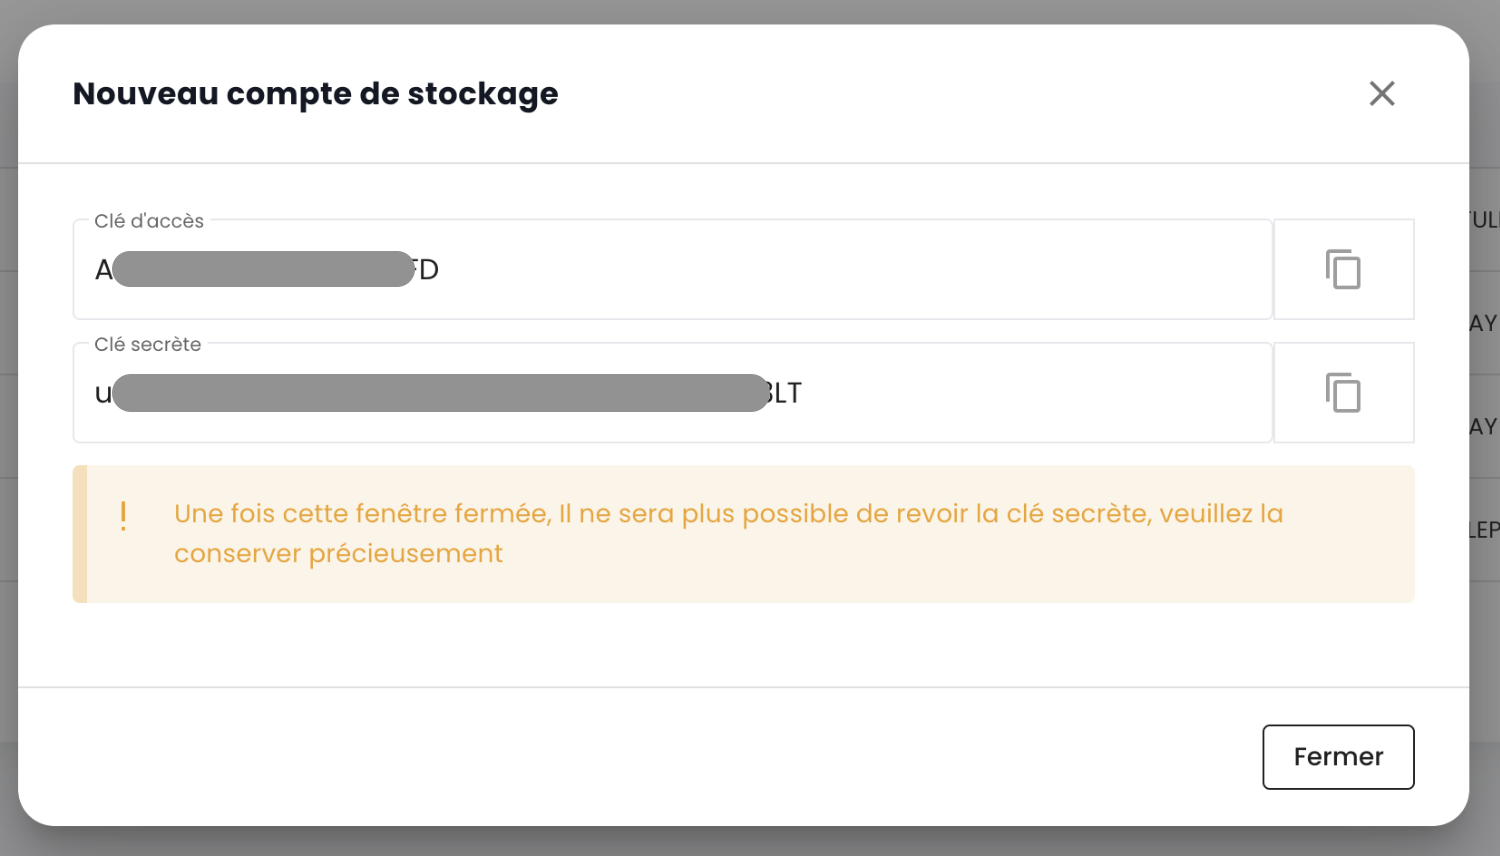
WARNING: The secret key and access key are displayed only once. After this initial display, it will no longer be possible to view the secret key again. It is therefore essential to record these credentials immediately; otherwise, you will need to generate a new key pair. To regenerate the keys, go to the key options and select the "Reset Access Key" option.

Creating storage accounts is a platform-specific operation on Cloud Temple and must be performed via the console, as described in the first tab.
Creating storage accounts is a platform-specific operation on Cloud Temple and must be performed via the console.
Creating an S3 bucket
- Console Cloud Temple
- AWS CLI
- MC CLI
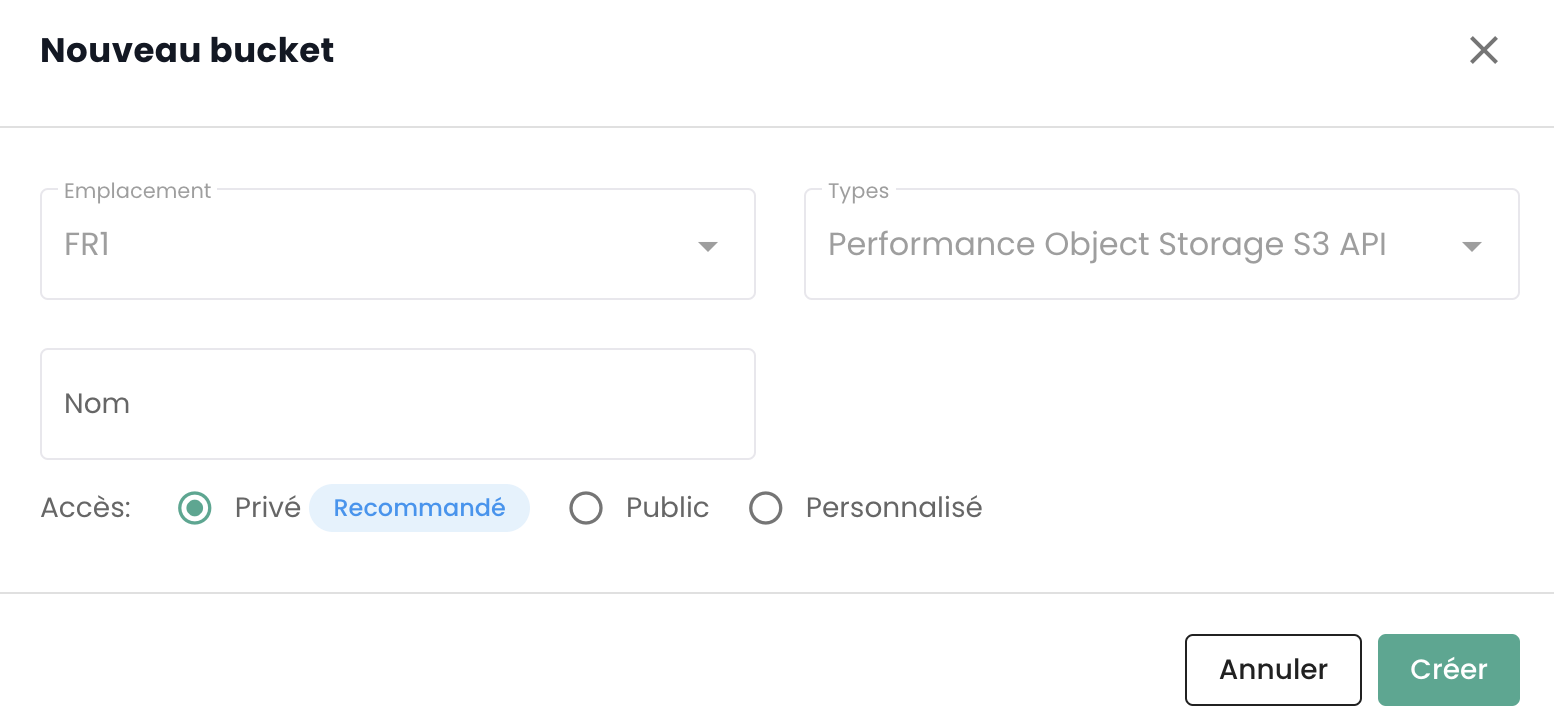
To create a new bucket, click the 'New bucket' button in the top right corner of the screen:

A window then appears, where you must fill in:
- The region where you want to create your bucket,
- The type of bucket: performance or archive,
- The name of your bucket (it must be unique).
❯ aws s3 mb s3://nouveau-bucket --endpoint-url https://VOTRE_NAMESPACE.s3.fr1.cloud-temple.com
make_bucket: nouveau-bucket
❯ mc mb cloudtemple-fr1/nouveau-bucket
Bucket `cloudtemple-fr1/nouveau-bucket` created successfully.
Deleting an S3 Bucket
- Console Cloud Temple
- AWS CLI
- MC CLI
To delete a bucket, go to the actions associated with the bucket and select the 'Delete' option.
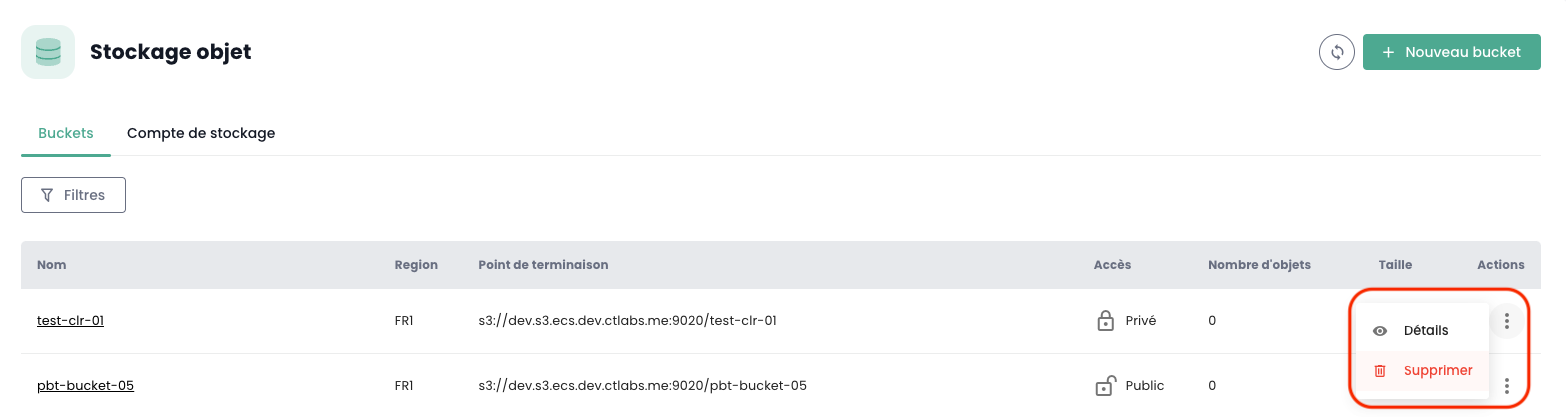
WARNING: Deletion is permanent and there is no way to recover the data.
❯ aws s3 rb s3://nouveau-bucket --endpoint-url https://VOTRE_NAMESPACE.s3.fr1.cloud-temple.com
remove_bucket: nouveau-bucket
❯ mc rb cloudtemple-fr1/nouveau-bucket
Removed `cloudtemple-fr1/nouveau-bucket` successfully.
Access Policy Management
- Console Cloud Temple
- AWS CLI
- MC CLI
Account associations with buckets and access restriction configurations are performed in the 'Policies' tab of the bucket.
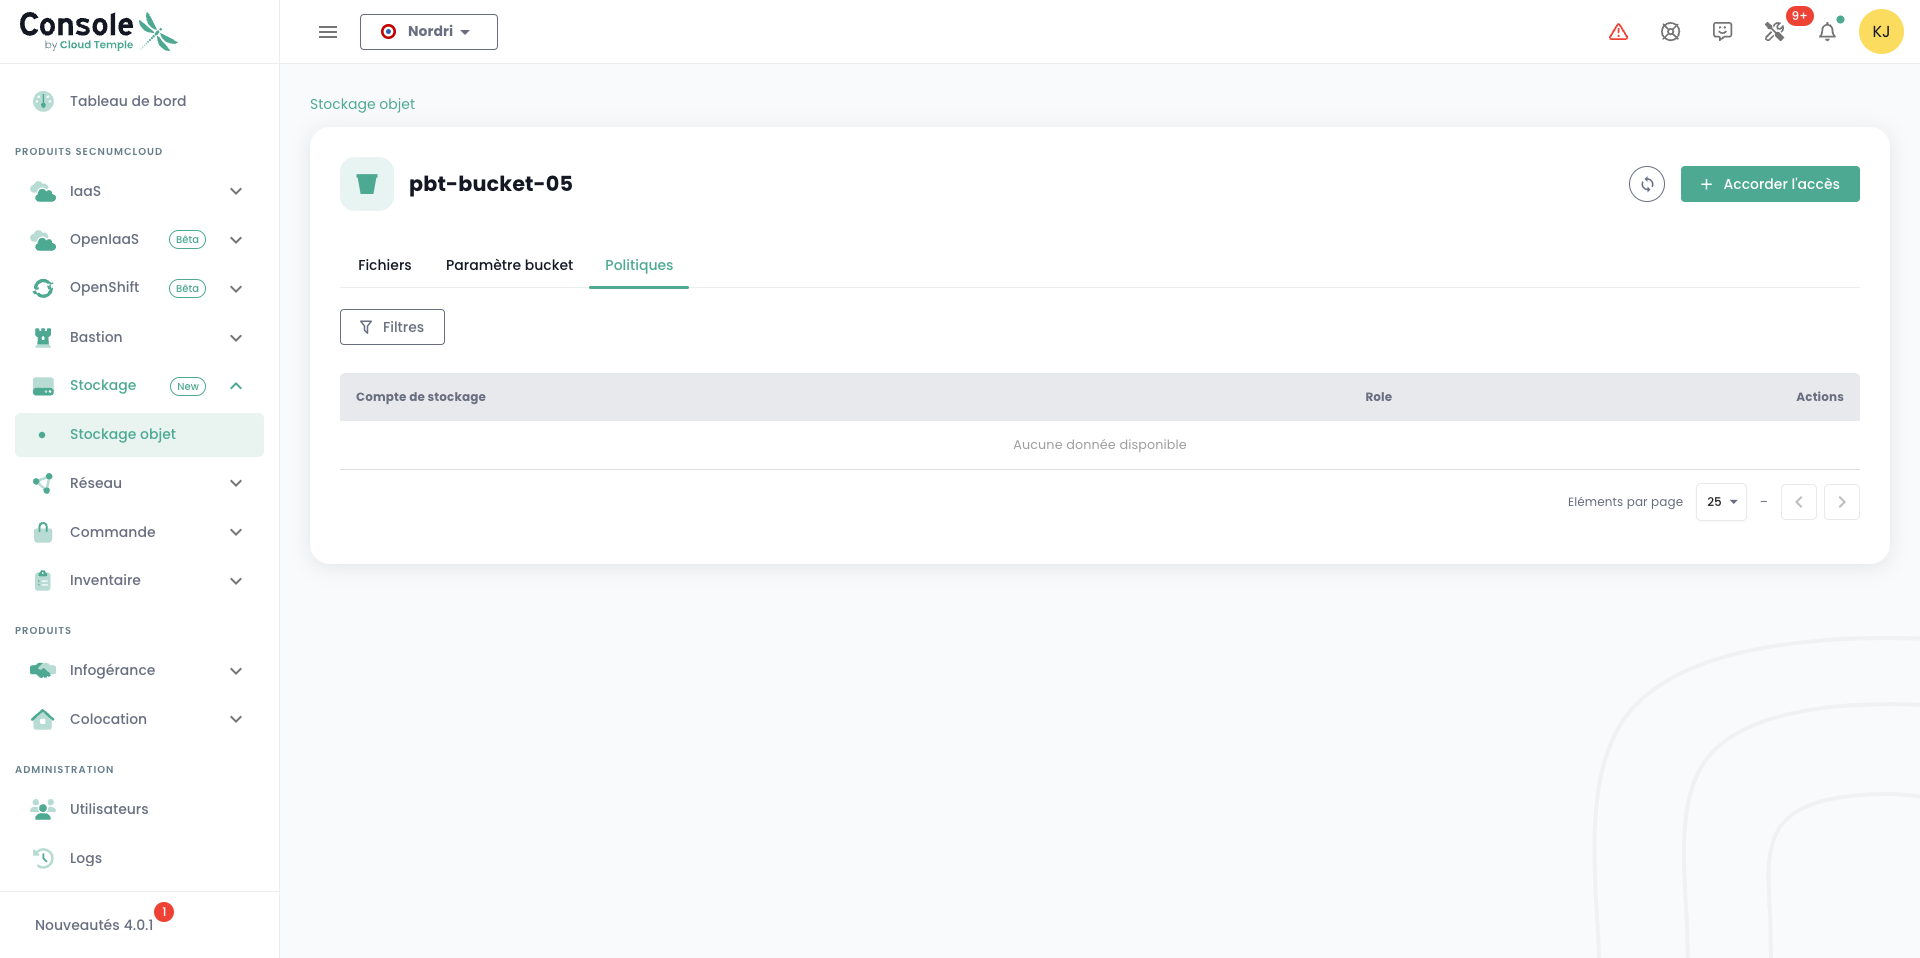
This interface allows you to grant storage account access to the bucket according to four predefined roles (read_only, read_write, write_only, maintainer).
Fine-grained access policy management via the AWS client (put-bucket-policy) is an advanced operation. For most use cases, we recommend using the Cloud Temple console for a simplified and secure configuration.
Fine-grained access policy management via the mc client (policy commands) is an advanced operation. For most use cases, we recommend using the Cloud Temple console for a simplified and secure configuration.