Manage VM Disks
This tutorial explains how to add an additional storage disk to an already-deployed VM and prepare it from the operating system.
Prerequisites
- An active VM Instance in your tenant
Step 1 — Access the VM's disks
From the VM Instances list, click on your VM's row to open its detail panel.
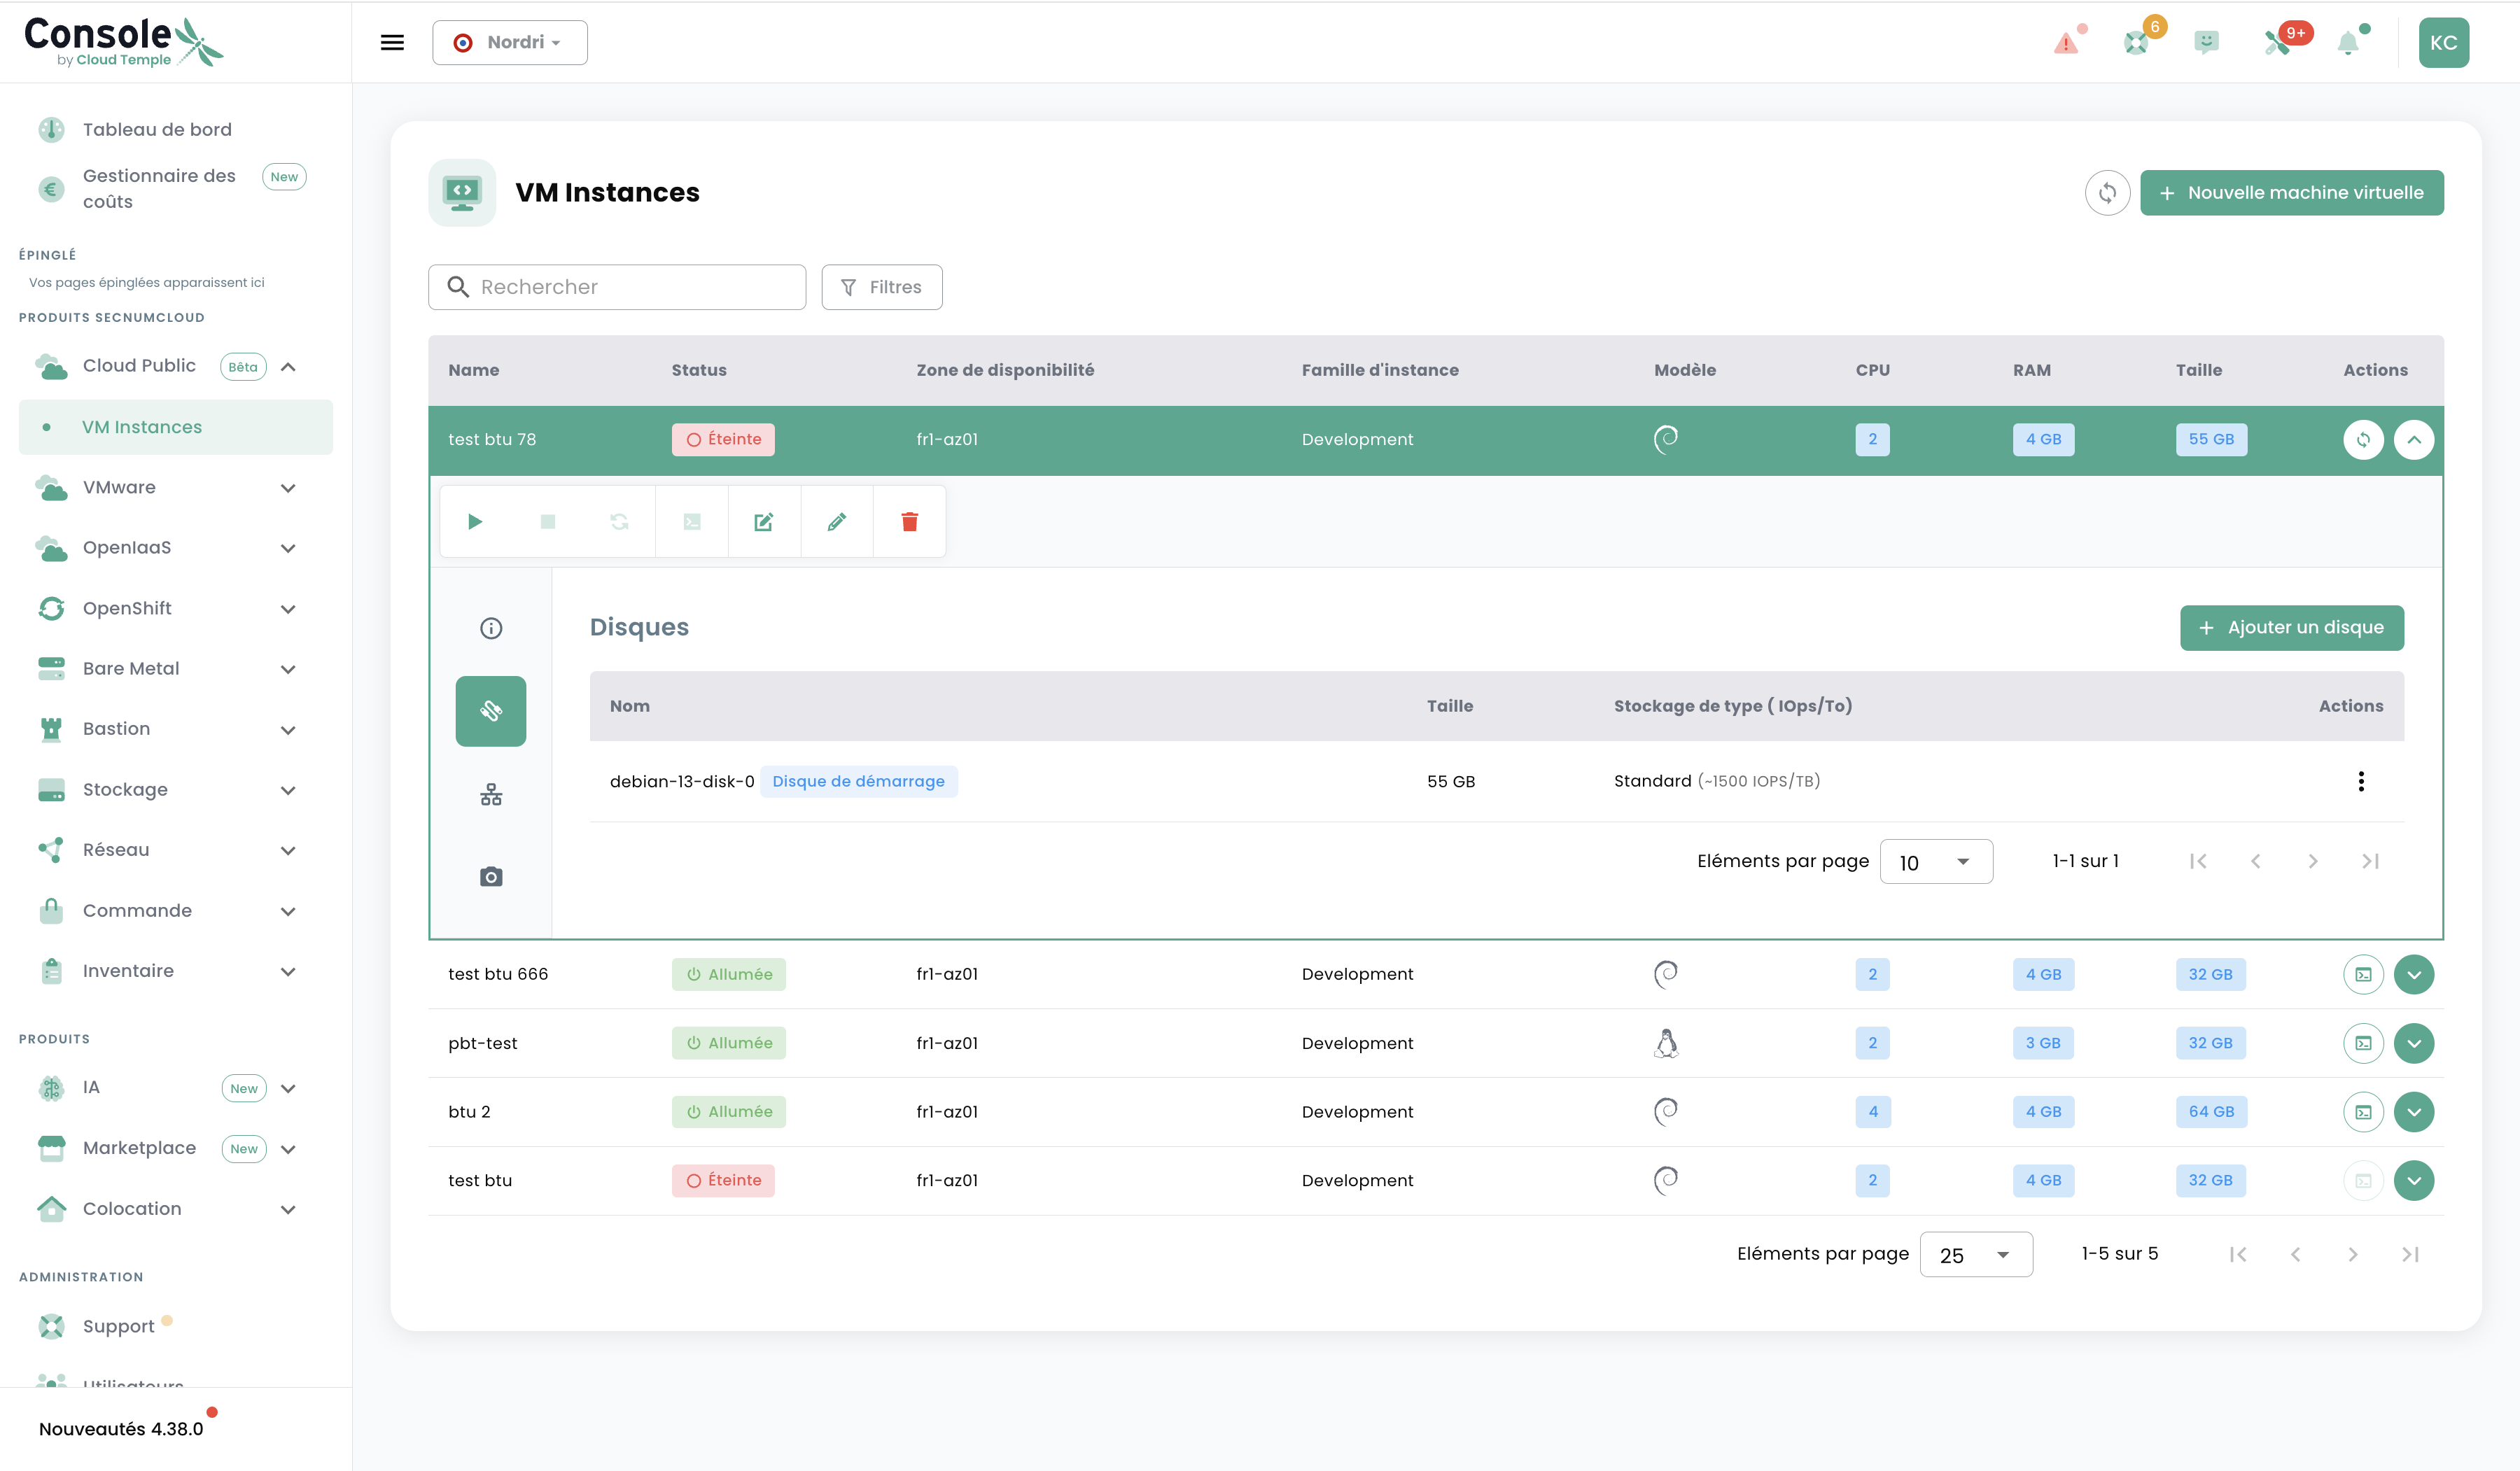
Navigate to the Disks tab. You will see the list of currently attached disks.
Step 2 — Open the add form
Click the + Add a disk button at the top right of the disks table.
| Field | Description |
|---|---|
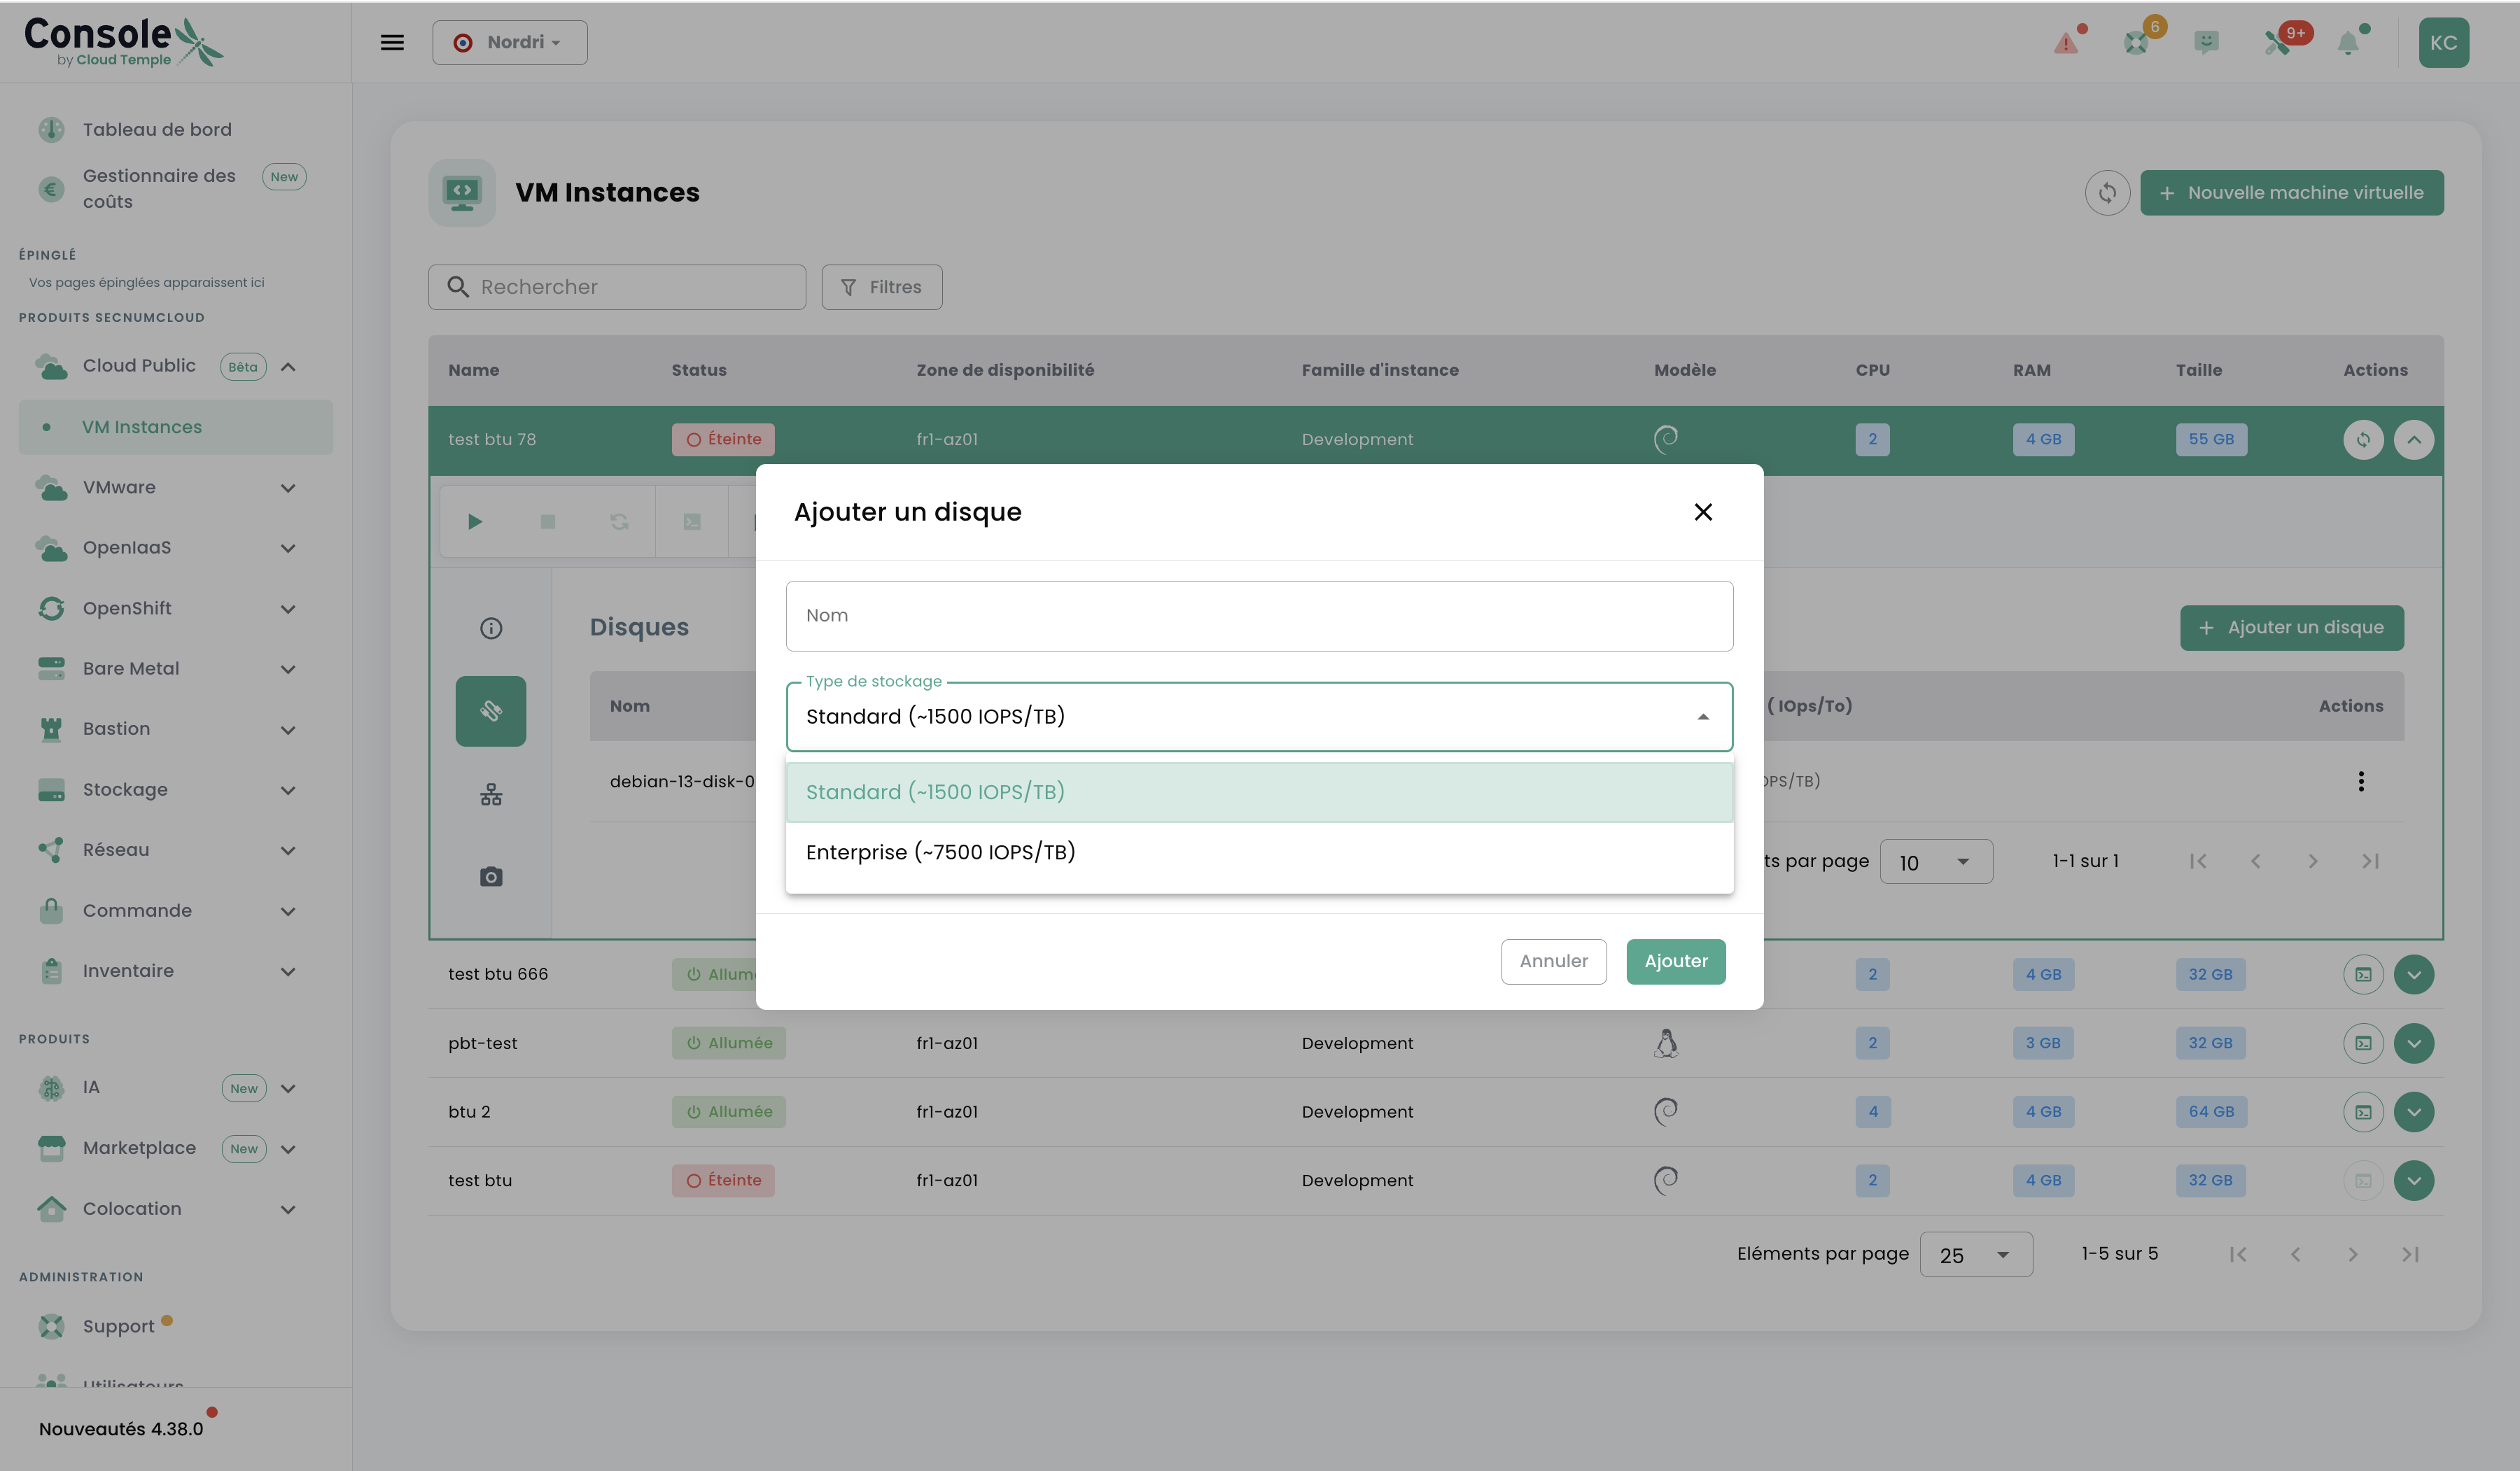
| Name | Disk identifier in the console |
| Storage type | Standard (~1,500 IOPS/TB) or Enterprise (~7,500 IOPS/TB) |
Step 3 — Configure and add the disk
- Name: enter a descriptive name, e.g.
data-postgresql - Storage type:
- Choose Standard for general data (logs, files, backups)
- Choose Enterprise for databases or I/O-intensive workloads
Click Add. The disk is attached to the VM in real time, without requiring a reboot.
Step 4 — Partition and mount the disk (in the VM)
Connect to your VM and initialise the disk:
# List available disks
lsblk

# Create a partition (replace /dev/vdb with the correct device)
sudo fdisk /dev/vdb
# In fdisk, type: n → p → 1 → Enter → Enter → w

# Format the partition
sudo mkfs.ext4 /dev/vdb1

# Create the mount point
sudo mkdir -p /data

# Mount the disk
sudo mount /dev/vdb1 /data

# Verify the mount
df -h /data

# Make the mount persistent on reboot
echo '/dev/vdb1 /data ext4 defaults 0 2' | sudo tee -a /etc/fstab
caution
Adapt the device name (/dev/vdb, /dev/vdc, etc.) according to the output of lsblk. The first additional disk is usually /dev/vdb.
Going further
- Use Enterprise (~7,500 IOPS/TB) for PostgreSQL, MySQL or any I/O-intensive workload.
- You can attach up to 16 volumes per VM, with a maximum size of 2 TB per volume.
- Billing is per GB allocated, regardless of actual usage.