QuickStart for the OpenShift Offering
This page guides you through the initial steps to use the OpenShift offering from the Cloud Temple console. Follow these instructions to explore the available menus and features.
Prerequisites
Before you begin, ensure the following points:
- Active subscription: Your organization must have subscribed to the OpenShift offering.
- User permissions: Your user account must have the necessary permissions to access and manage OpenShift resources.
First Access and Ordering
Upon your first access to the OpenShift offering, after subscription activation and permission configuration, a landing screen appears:
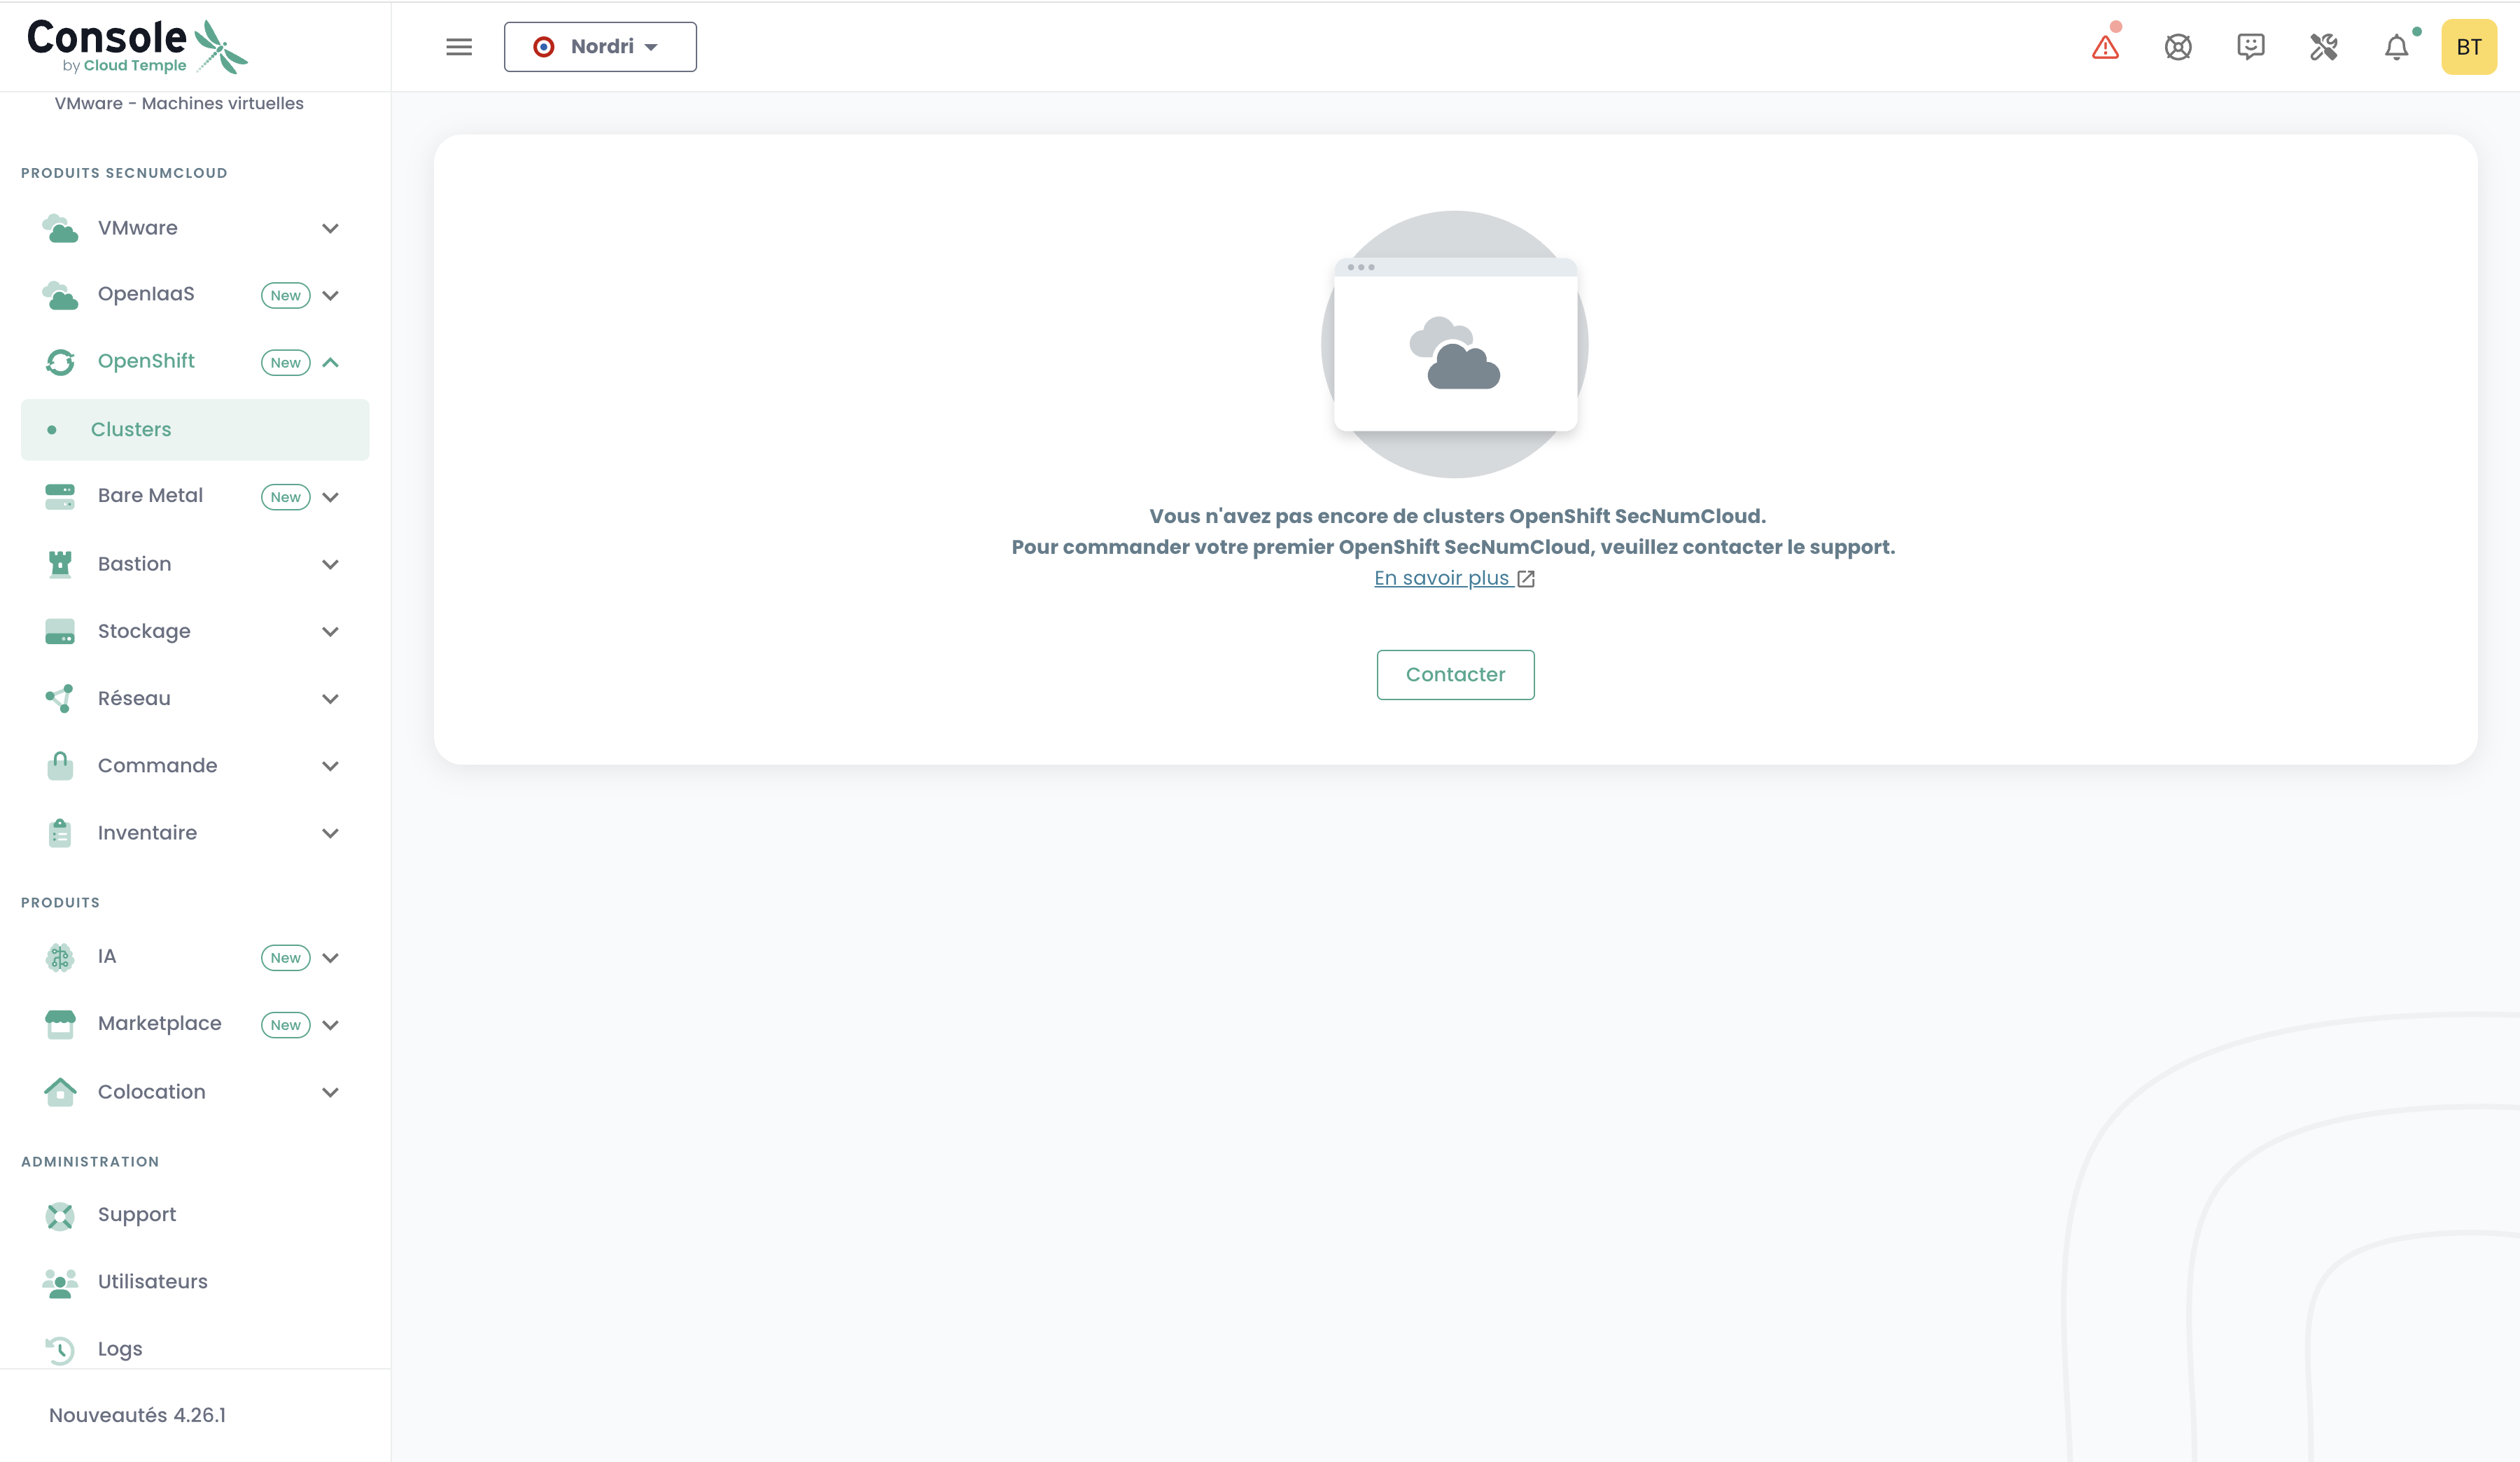
This screen indicates that you have not yet deployed any OpenShift SecNumCloud clusters.
To order your first OpenShift SecNumCloud cluster, please contact Cloud Temple Support.
Once your order has been processed by support and your cluster is deployed, you will be able to access the OpenShift menu.
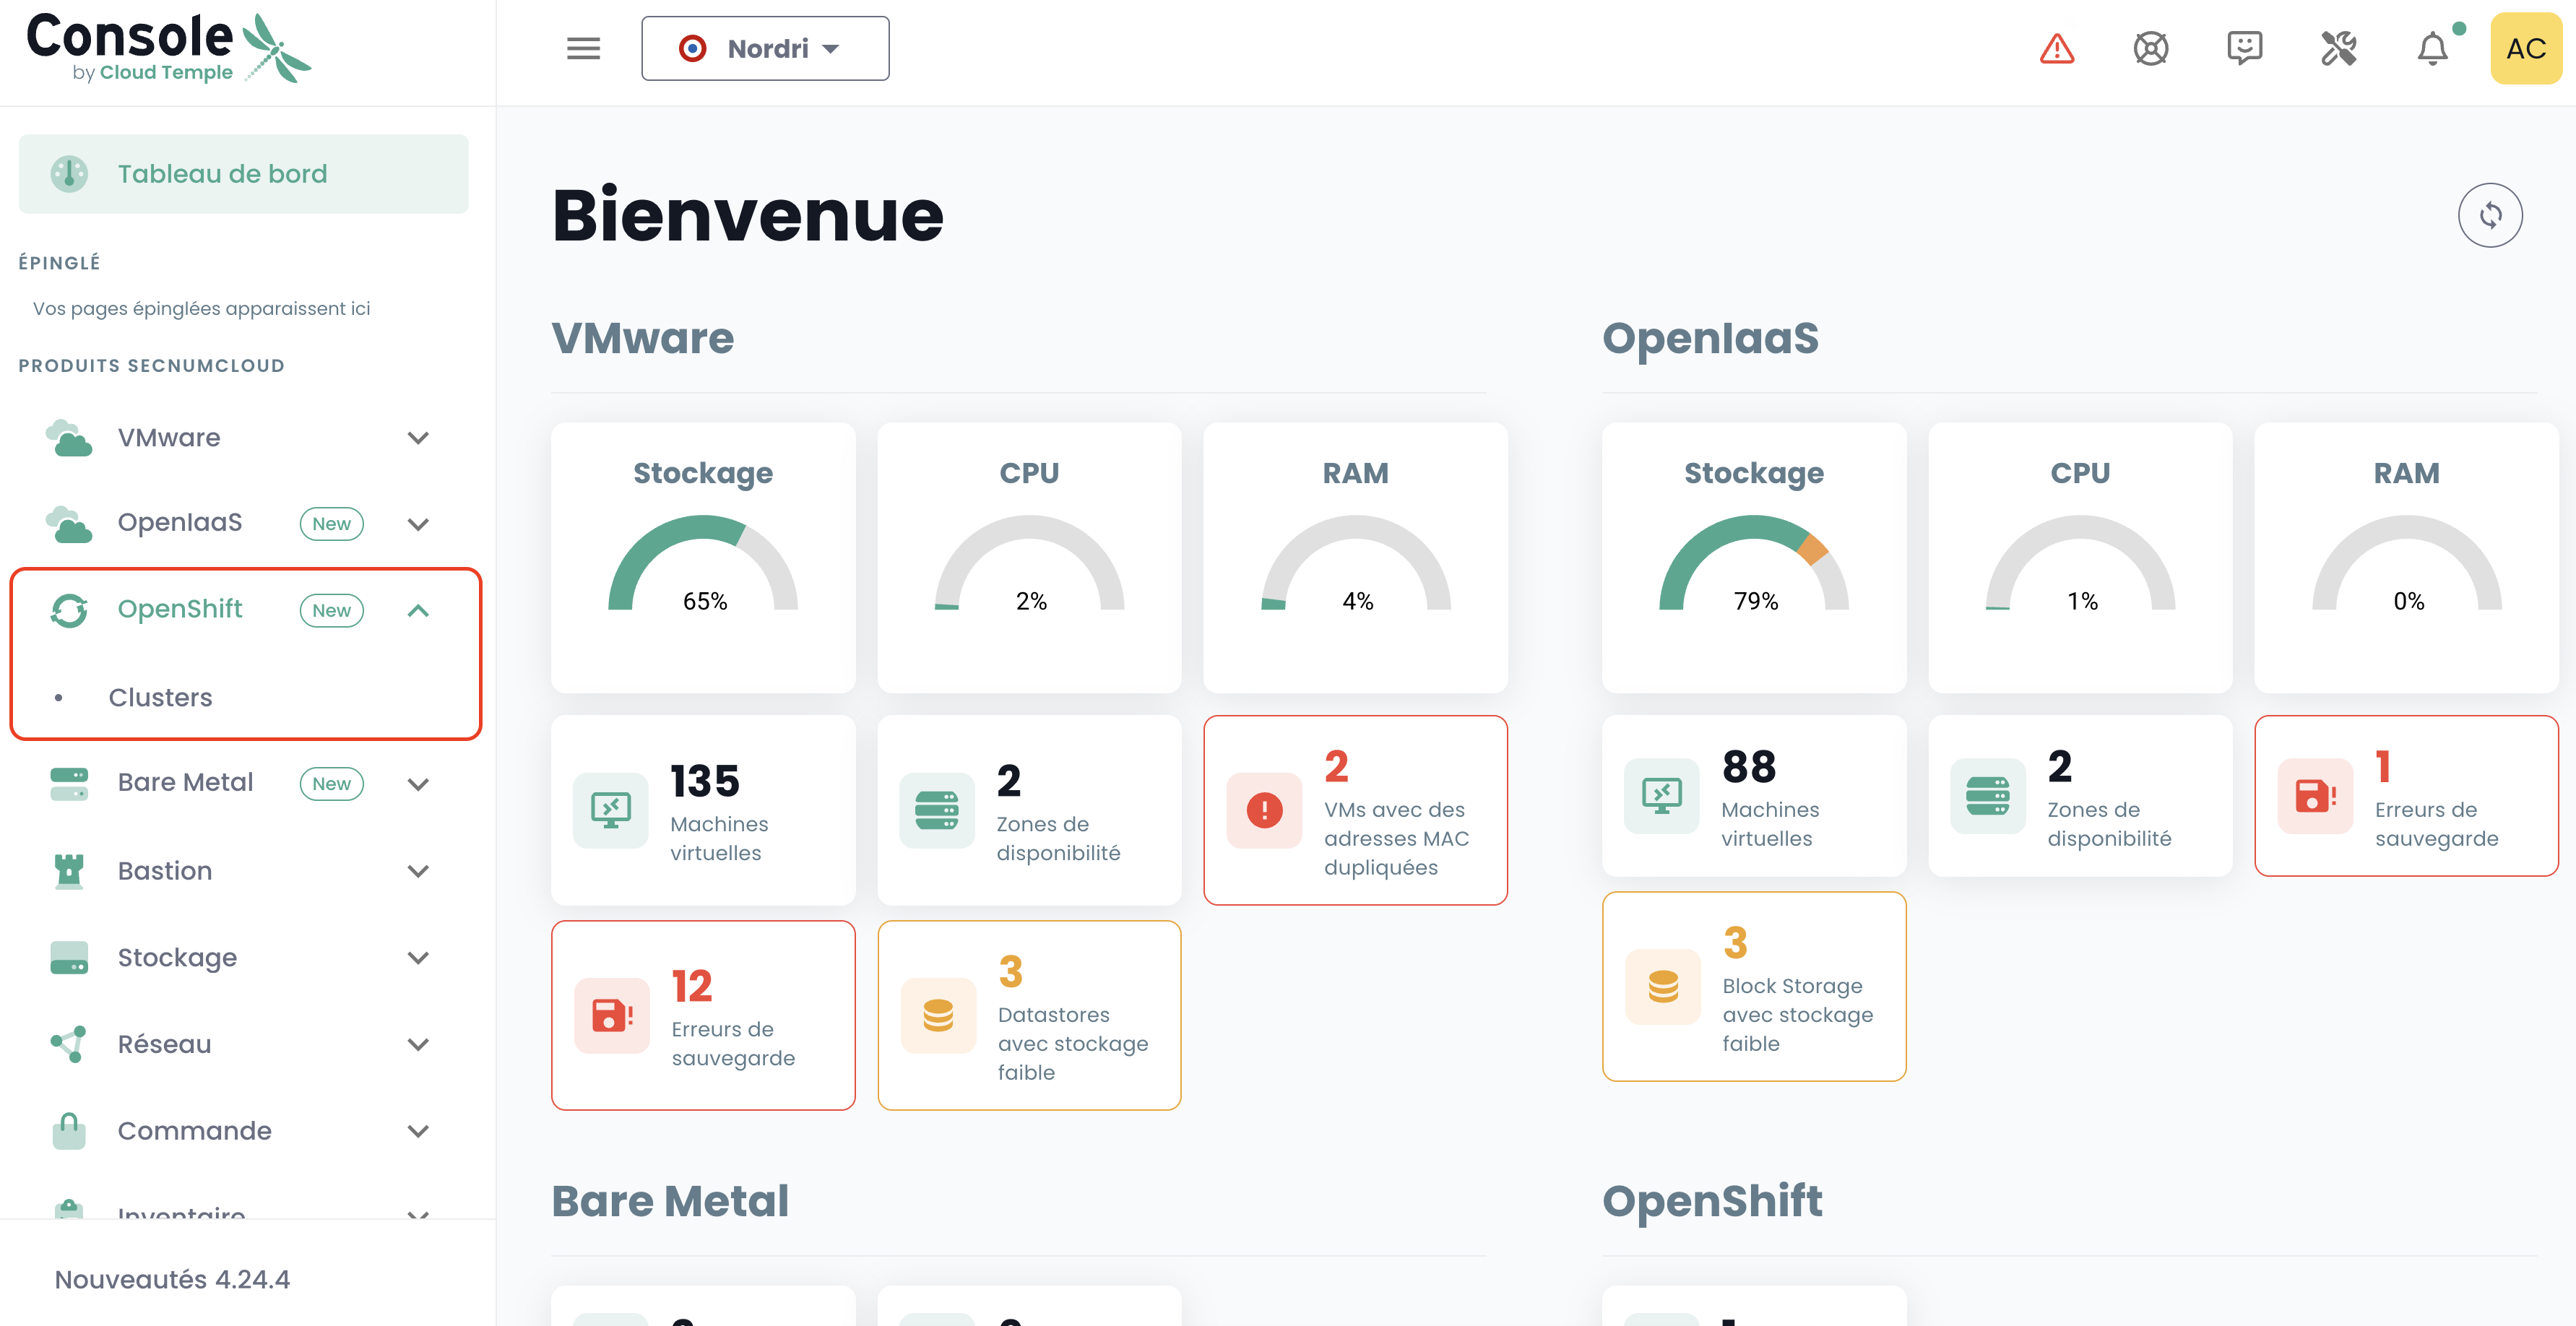
Accessing the OpenShift Interface
Once your first cluster is deployed, a new menu titled OpenShift appears in the Cloud Temple console. This menu contains a main submenu: Clusters.
1. List of Clusters
The Clusters submenu displays a table listing all OpenShift clusters available within your tenant, deployed across your environment. This table includes the main information for each cluster:
- Cluster Name
- Access URL
- API URL
- Version
- Status
- Last Updated
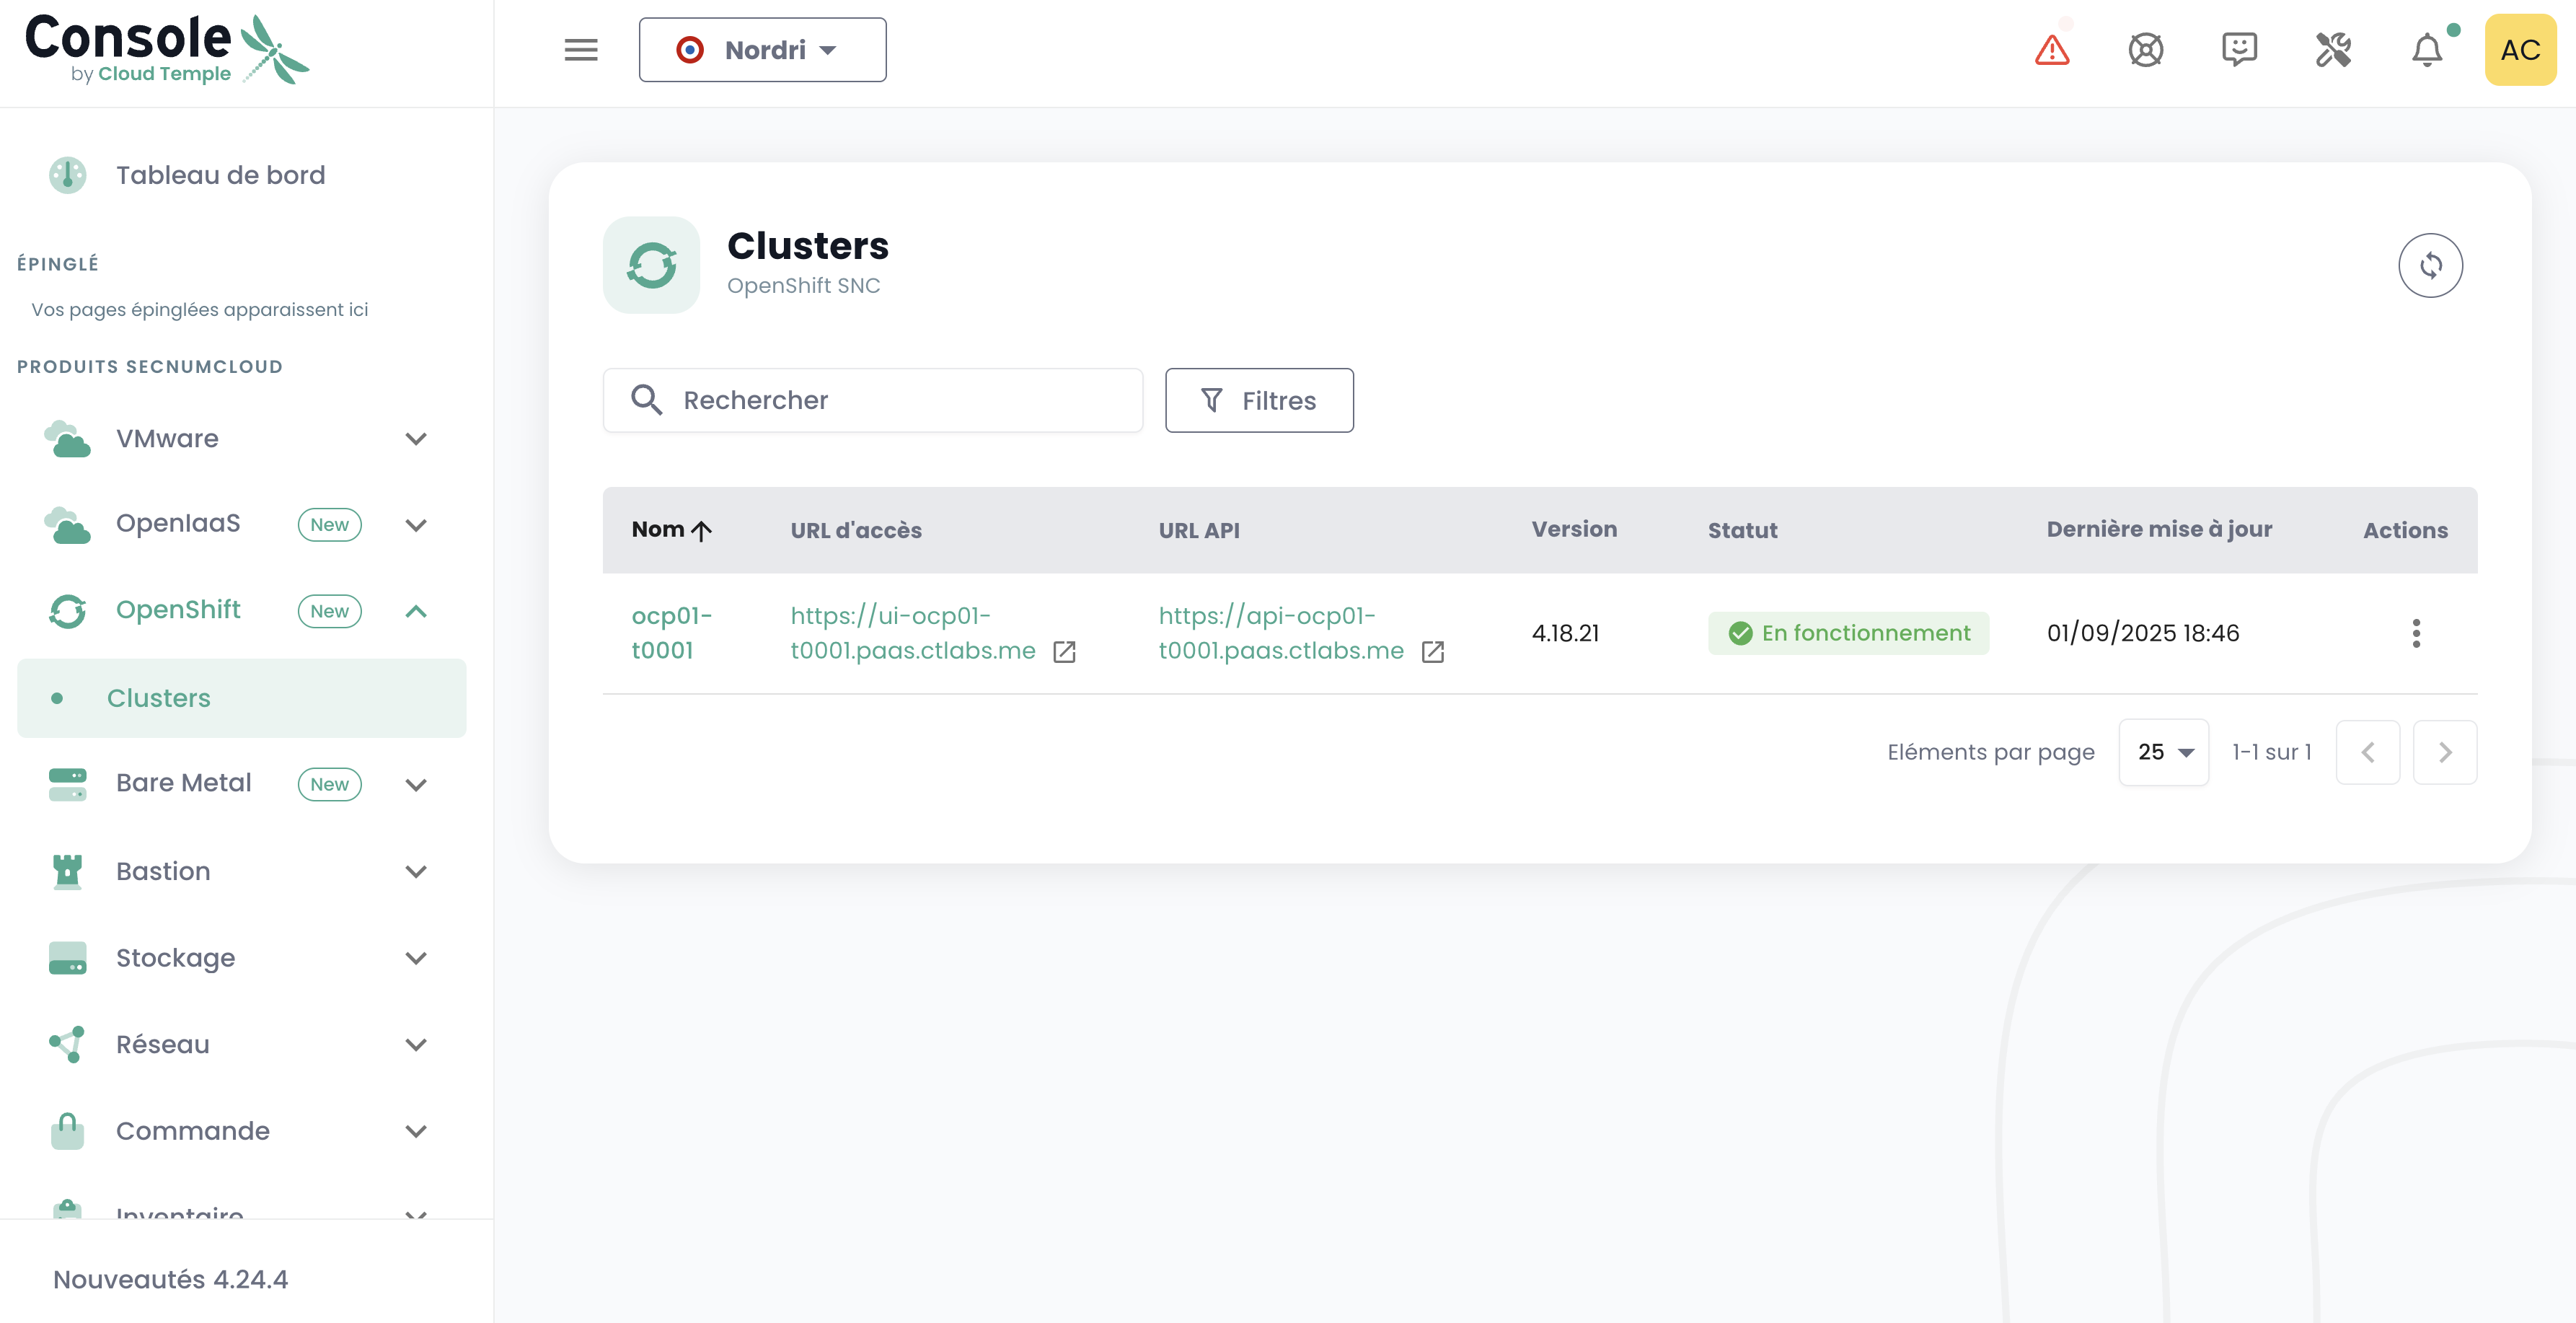
💡 To access the full details of a cluster, click on its name in the table.
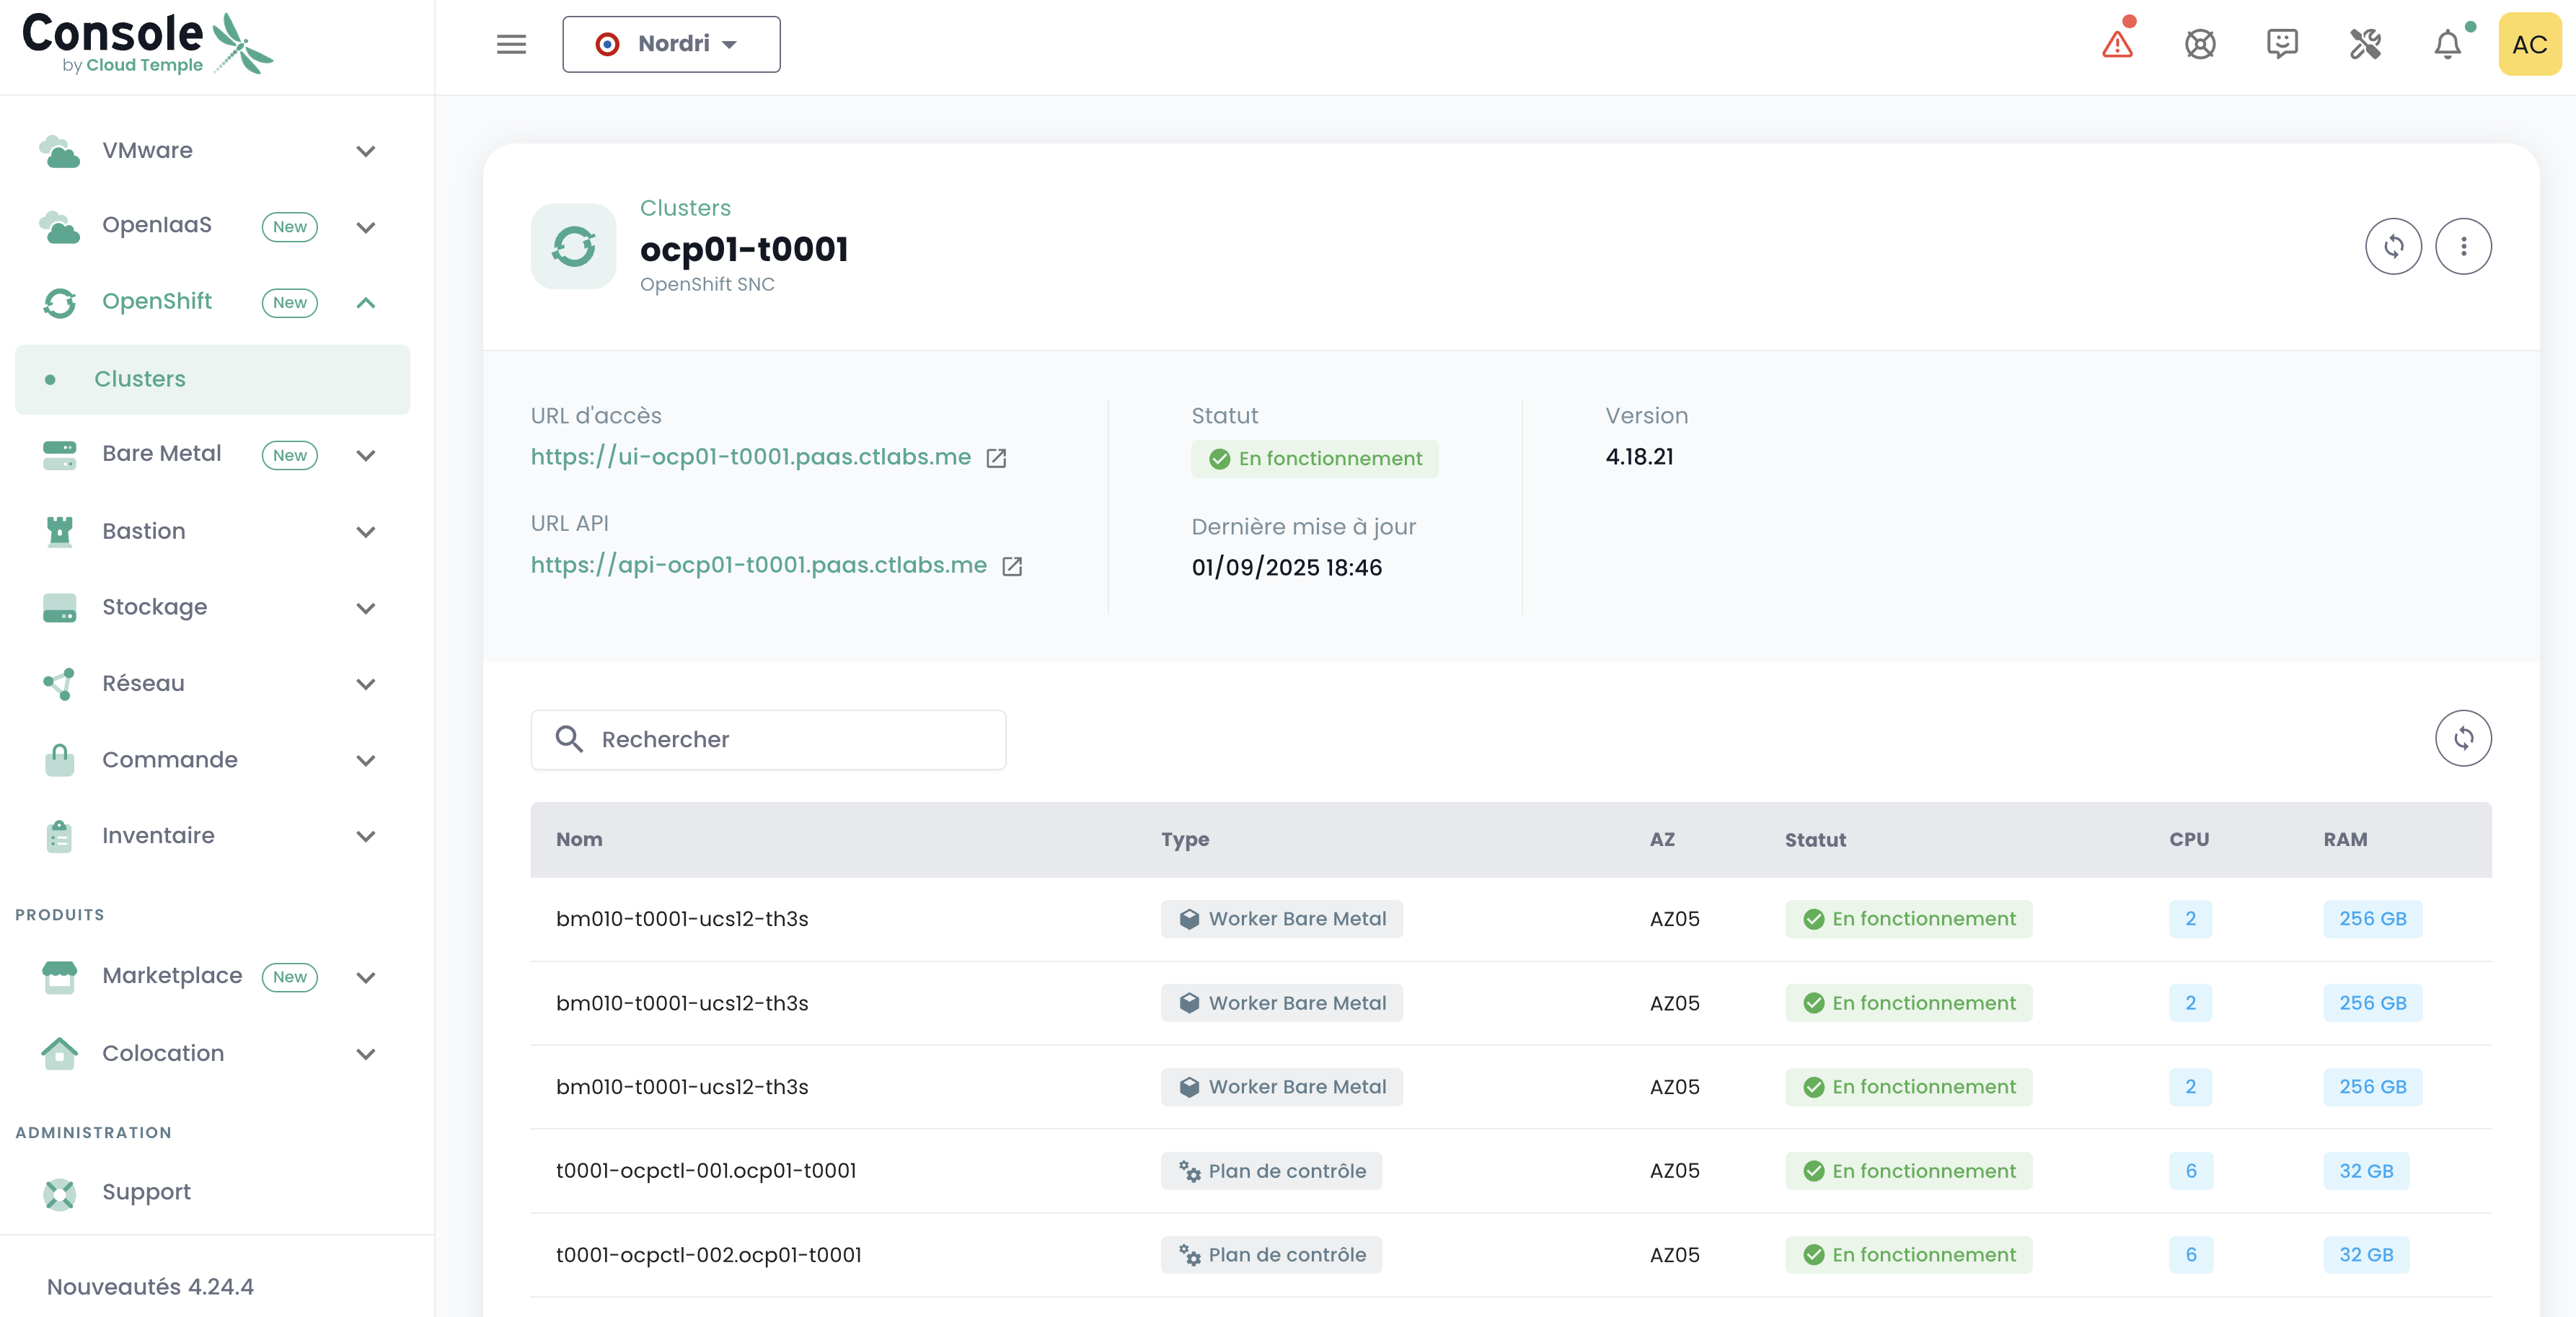
2. Cluster Details
When you click on a cluster name in the list, a detailed page appears displaying complete cluster information:
Connectivity Information:
- Access URL: Web interface of the cluster
- API URL: API endpoint for CLI operations
General Information:
- Status: Current state of the cluster
- Last Updated: Date of the last modification
- Version: OpenShift version deployed
Cluster Nodes:
A table provides detailed information for each node:
- Node Name
- Type
- AZ (Availability Zone)
- Status
- CPU
- RAM
Accessing the OpenShift Administration Interface
Click on the Access URL of the cluster you wish to manage. You will be directed to the cluster administration environment:
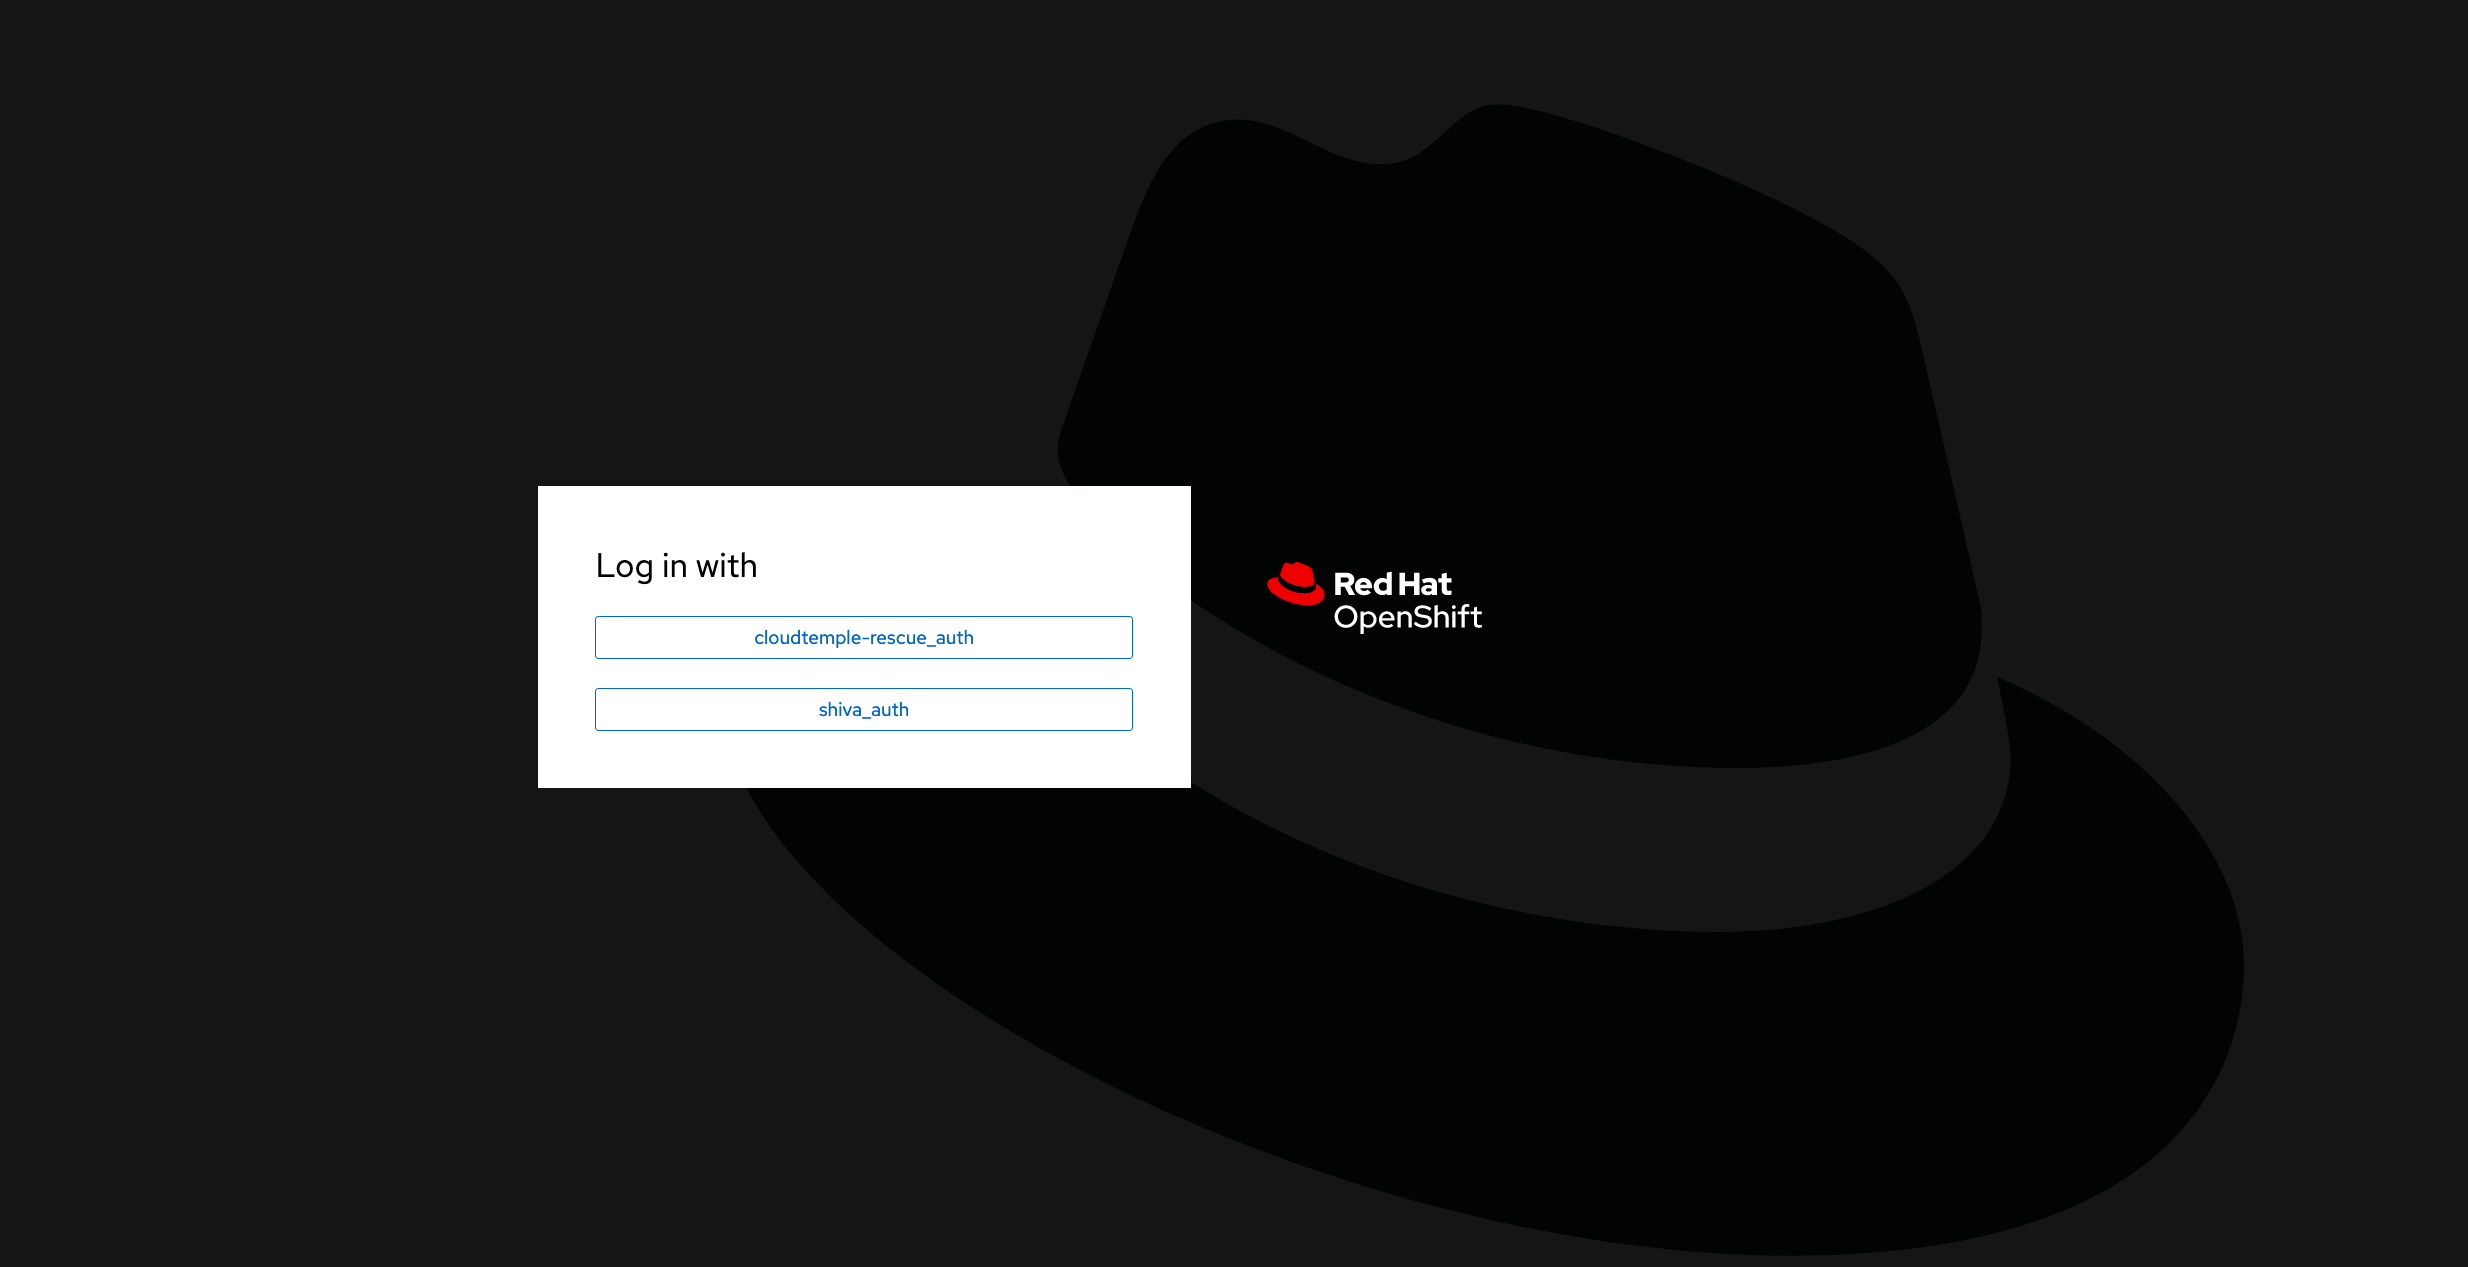
After authentication, you can manage your cluster:
Resources for your environment
Here are the connection and configuration details specific to your OpenShift environment.
Connection Details
To access the various OpenShift components, ensure your tenant is whitelisted in the console (see documentation: Cloud Temple Documentation).
-
Tenant Console URL: https://your-tenant-id.shiva.cloud-temple.com/
-
OpenShift UI: https://ui-ocp01-your-id.paas.cloud-temple.com/
-
External API: https://api-ocp01-your-id.paas.cloud-temple.com
-
GitOps (ARGOCD): https://gitops-ocp01-your-id.paas.cloud-temple.com/applications
Connecting to the cluster via CLI
To connect via the command line interface (CLI), use the following command:
oc login https://api-ocp01-{your-id}.paas.cloud-temple.com/ --web
Access to the Registry
To access the registry, log in using the following commands:
oc login https://api-ocp01-{your-id}.paas.cloud-temple.com --web
docker login -u {your-username} -p $(oc whoami -t) registry-ocp01-{your-id}.paas.cloud-temple.com
Then, test building and pushing a Docker image:
docker build -t <namespace>/temp:latest .
docker tag <namespace>/temp:latest registry-ocp01-{your-id}.paas.cloud-temple.com/<namespace>/temp:latest
docker push registry-ocp01-{your-id}.paas.cloud-temple.com/<namespace>/temp:latest
Router and Load Balancer Configuration
The platform provides flexible options for traffic routing and load balancing:
- By default, private load balancers are used for routes and ingresses.
- Domains:
*.apps-priv-ocp01-{your-id}.paas.cloud-temple.com*.apps-ocp01-{your-id}.paas.cloud-temple.com
Ensure your routes or ingresses are configured with the appropriate labels or ingress classes to guarantee correct routing.
Example:
metadata:
  labels:
    ct-router-type: public
IaaS Connectivity
Network configurations play a crucial role in securing communications with OpenShift.
- Connectivity Network: 100.67.0.0/28
- Private Load Balancer VIP: 100.67.0.3
Ensure your firewall has a dedicated interface and permits traffic between the specified networks.