Network Configuration of the VM
This tutorial guides you through connecting a virtual machine to a VPC network and assigning it a static (private) IP address, as well as a public IP address if required.
Prerequisites
- Have a VPC and a private network created.
- Have a VM deployed (Open Source IaaS or VMware).
1. Assigning a Static Private IP Address
You can set the private IP address of your VM in two ways.
Method A: From the Virtual Machine (Recommended)
This method allows you to configure the network and IP in a single step during interface creation.
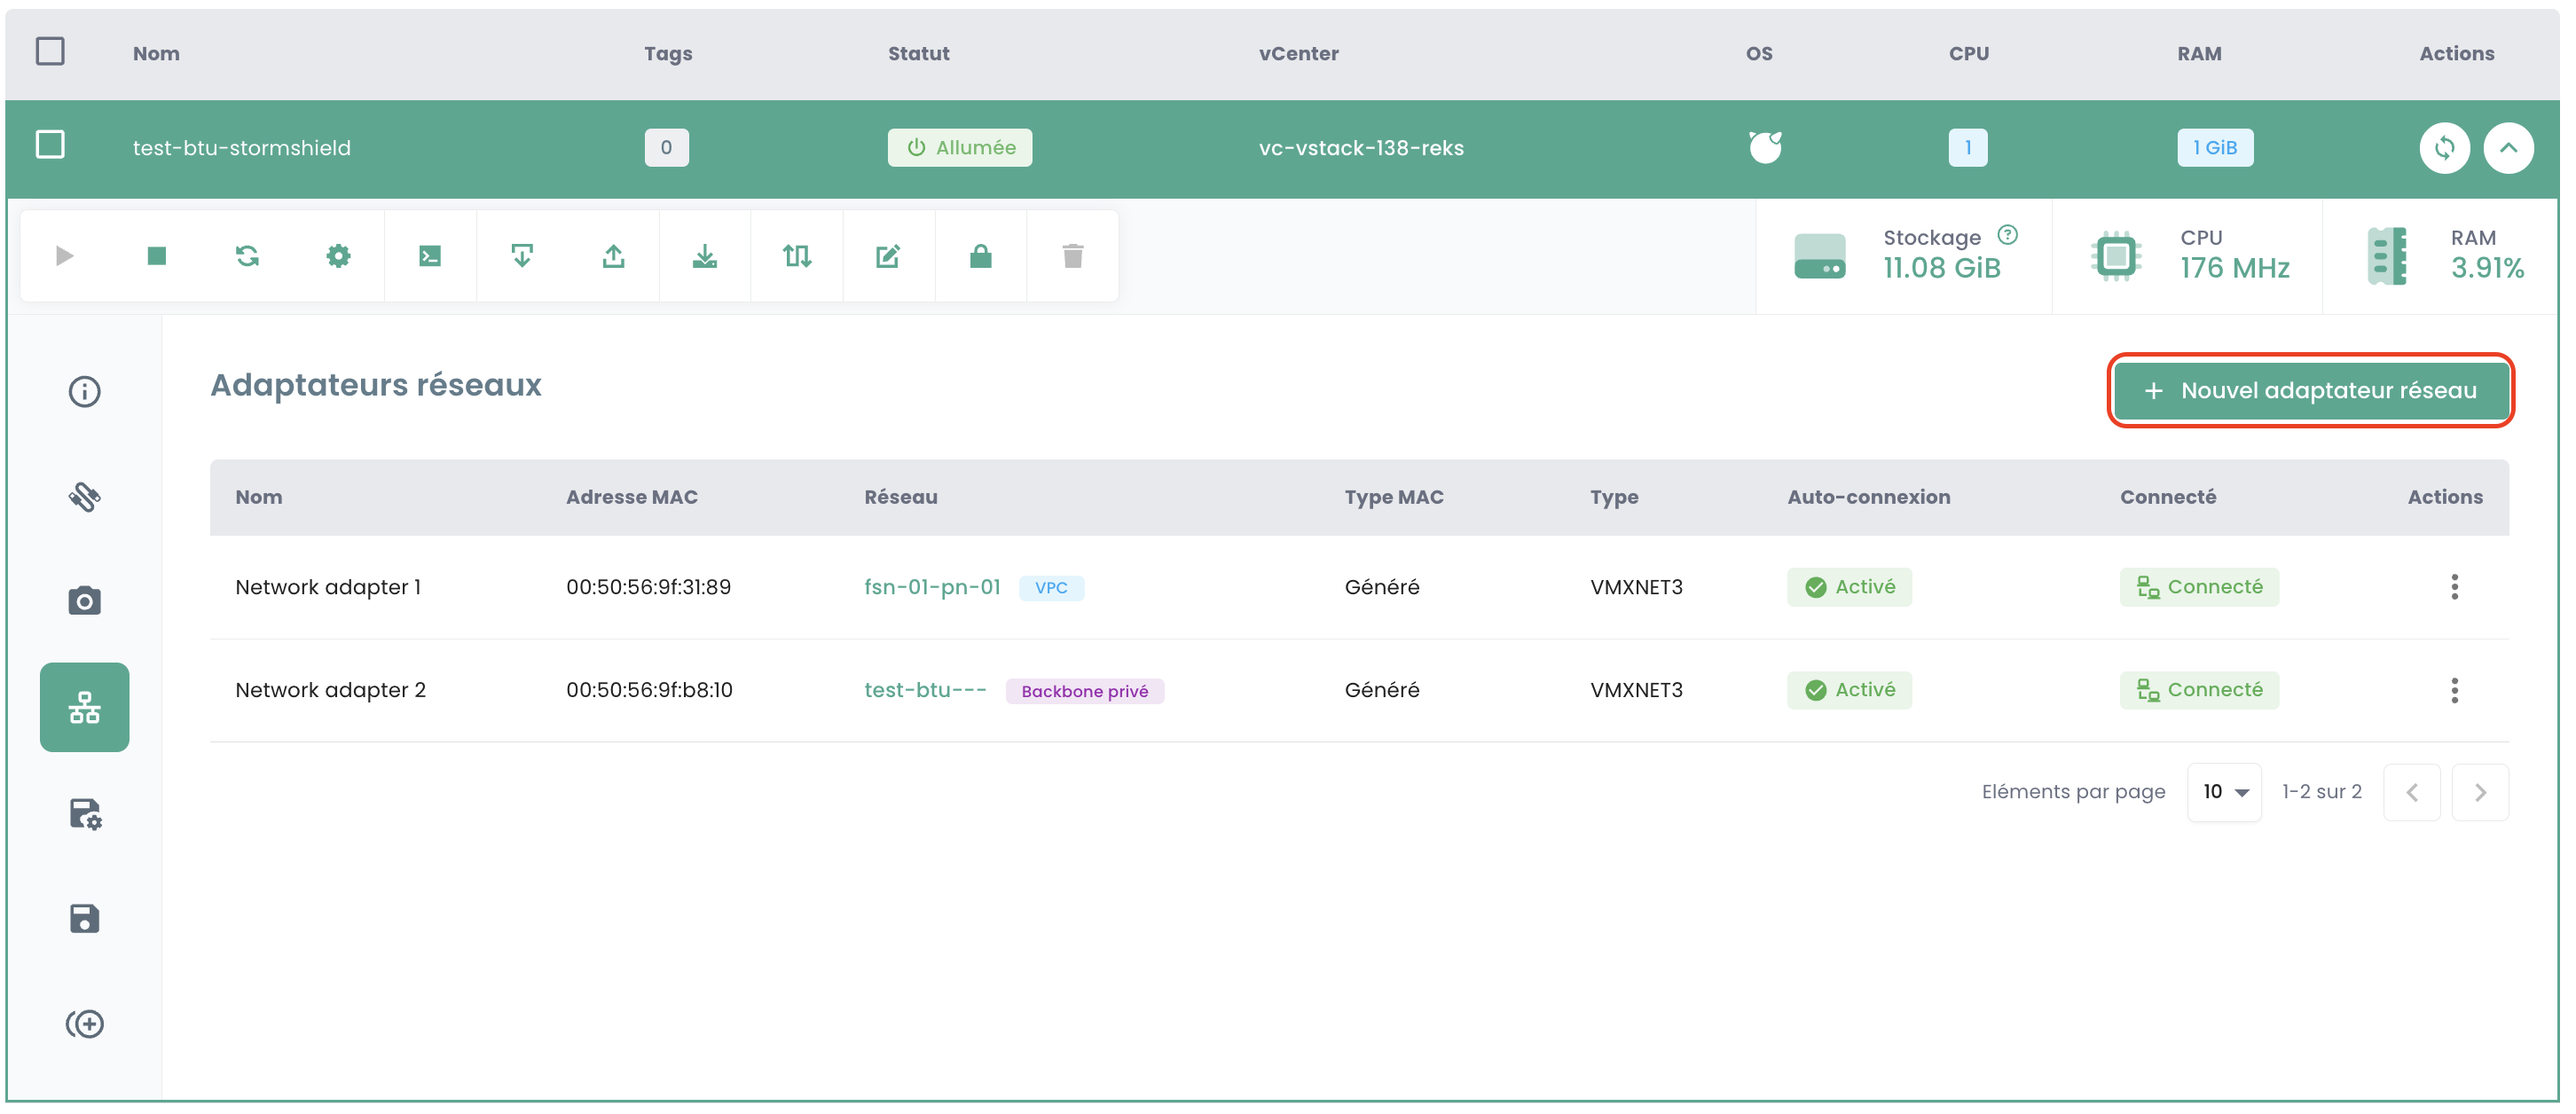
- Access the detailed view of your virtual machine.
- Go to the Network Adapters tab.
- Click the Add Network Adapter button to add an interface.
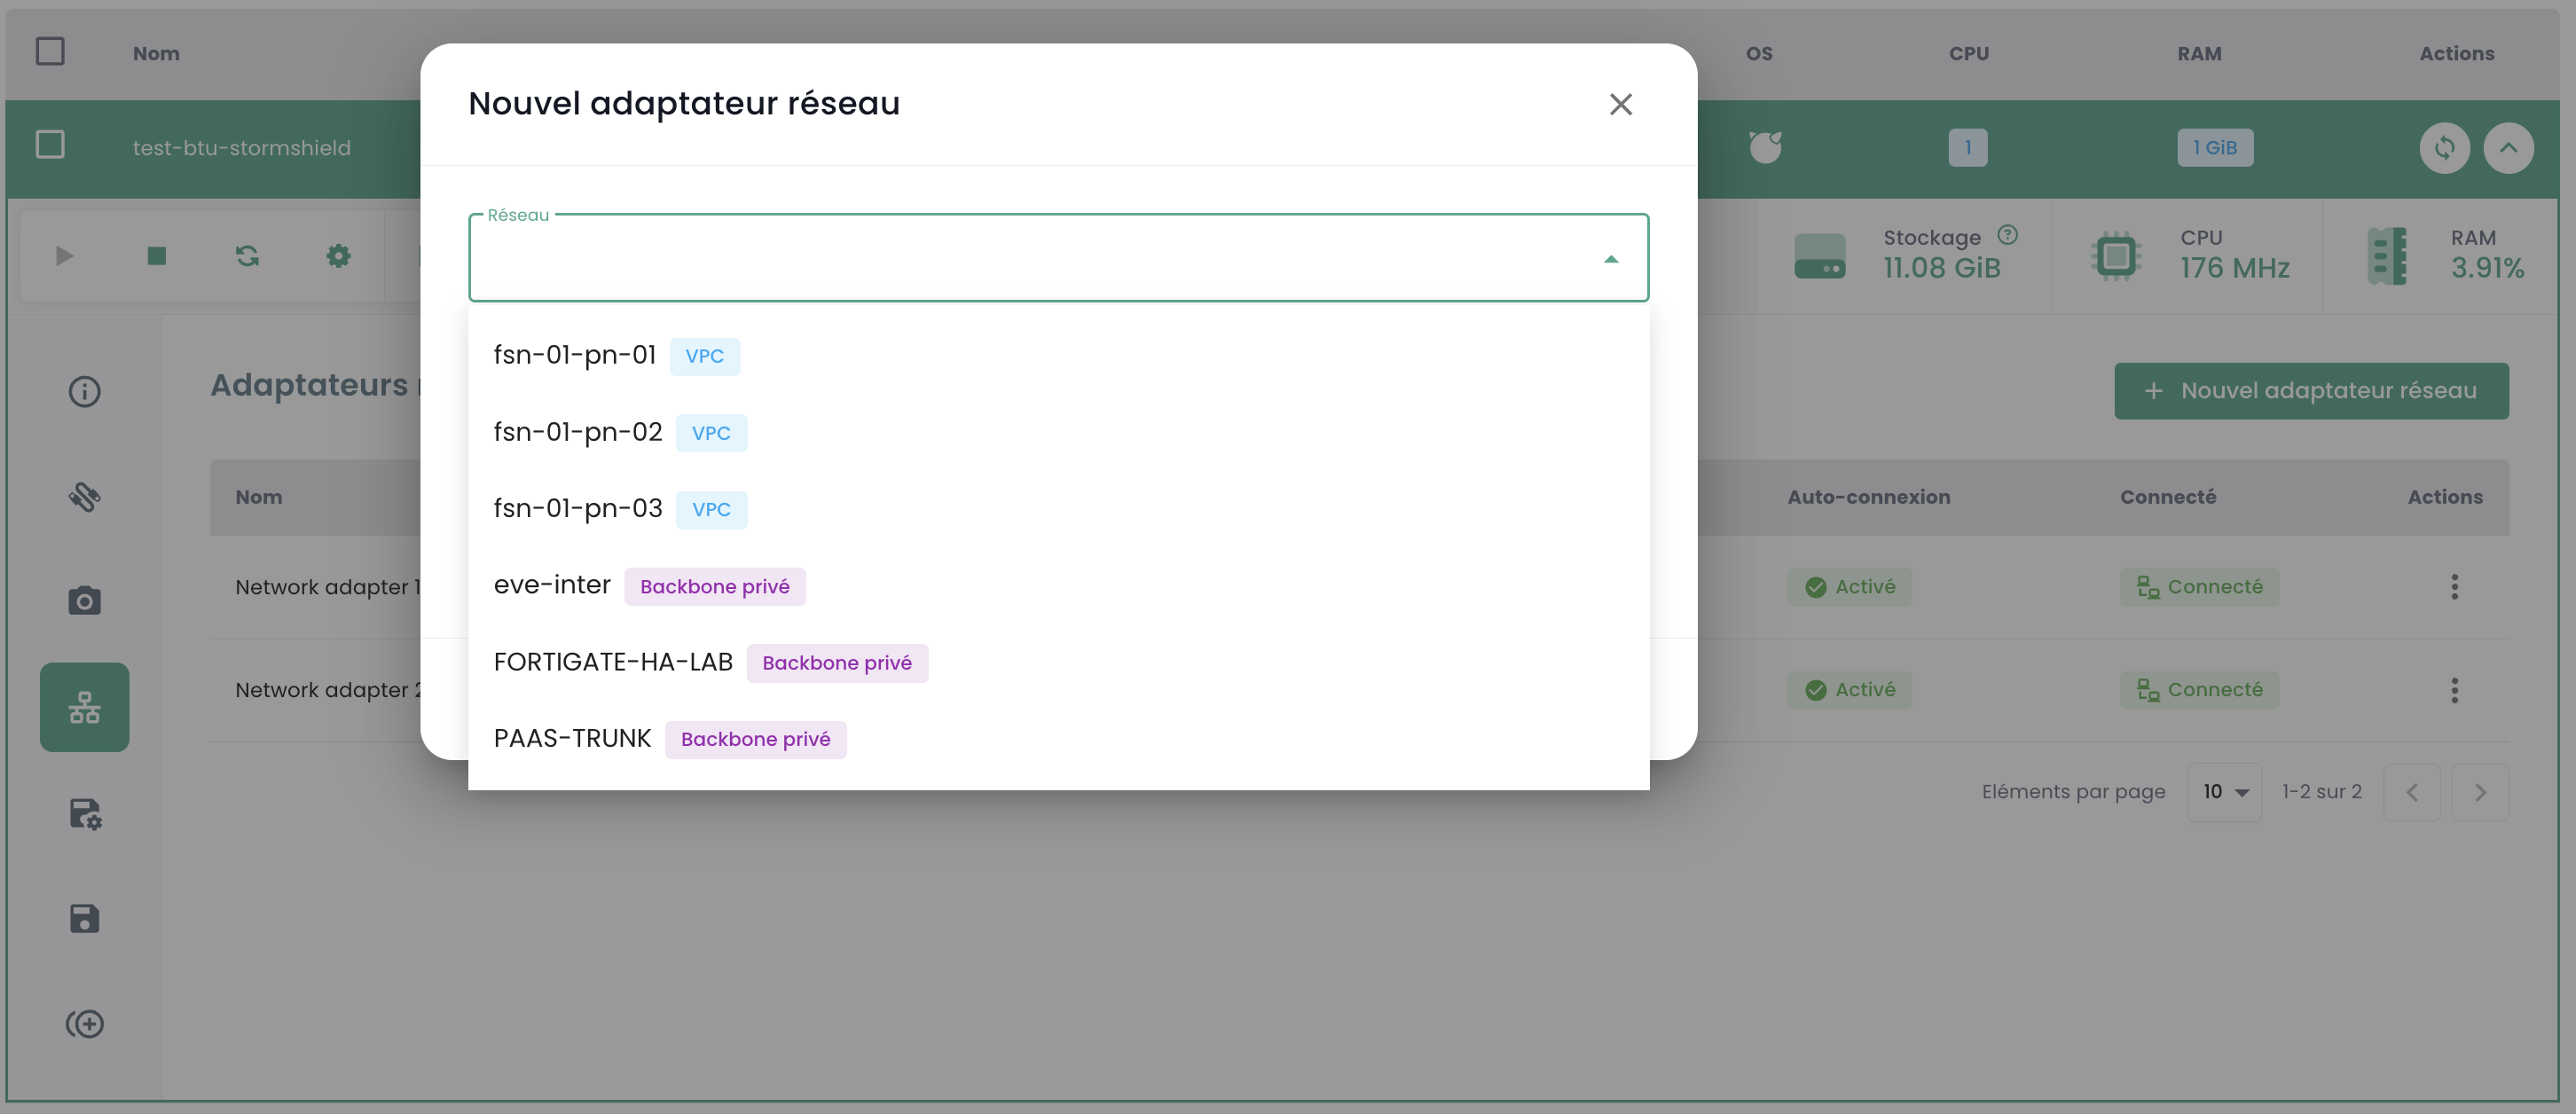
- In the modal, select your VPC network.
- Once the network is selected, choose one of the available static IPs.
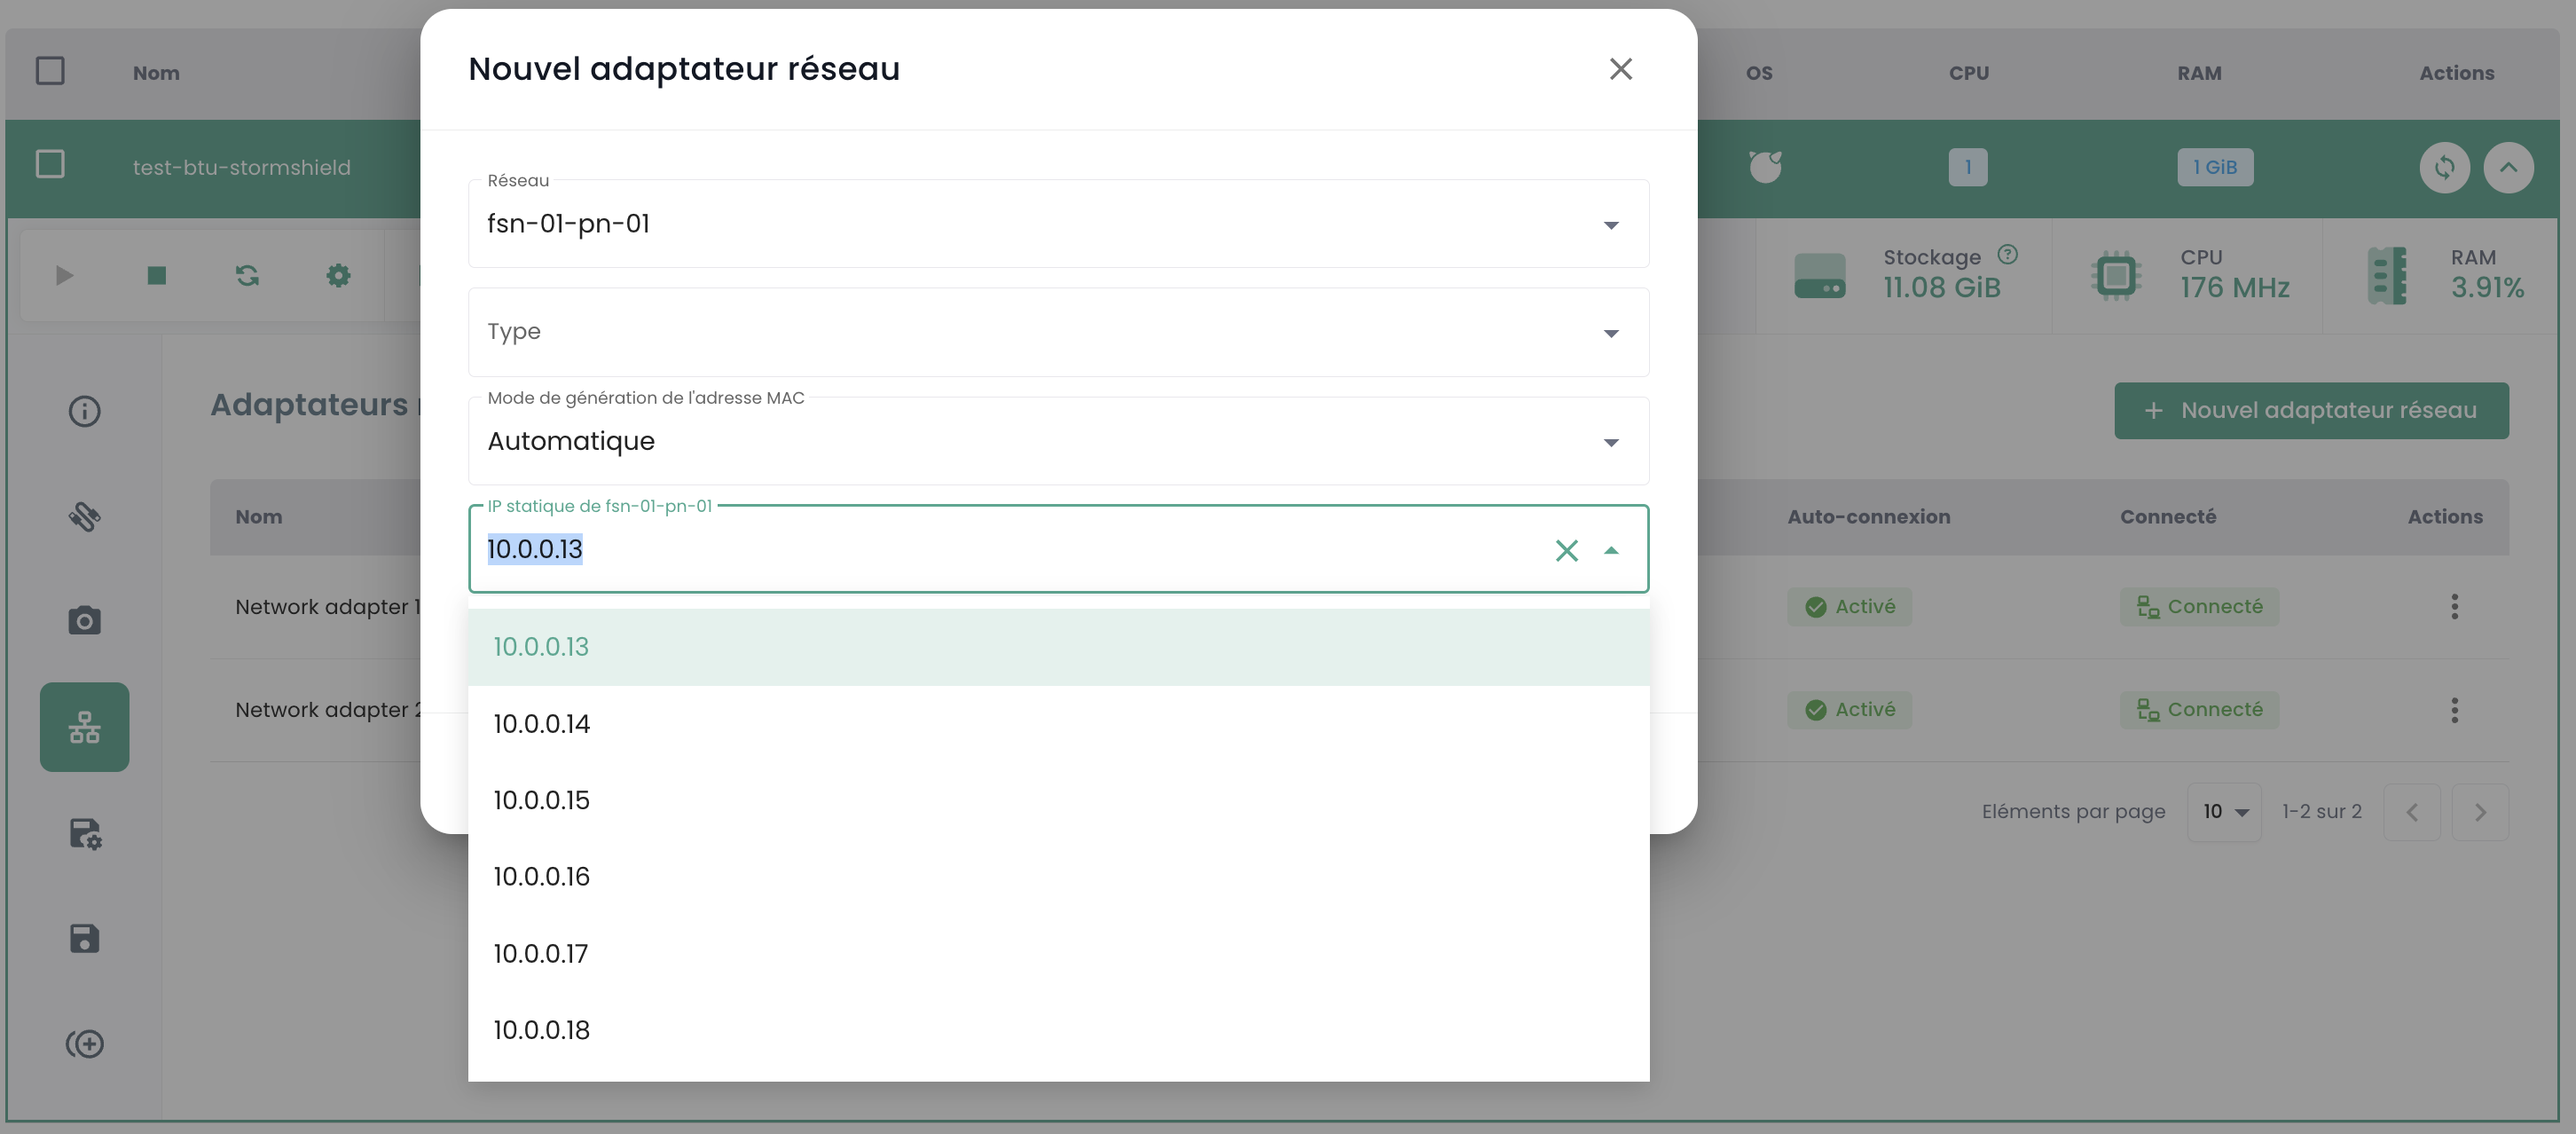
- Confirm the creation.
Note: You can edit the network adapter later to switch networks if needed.
Method B: From the Private Networks View
This method is useful for reserving an IP address before creating a VM or for modifying an existing association.
- Go to the detailed view of your VPC, tab Private Networks.
- Expand the IP address pool of the relevant network.
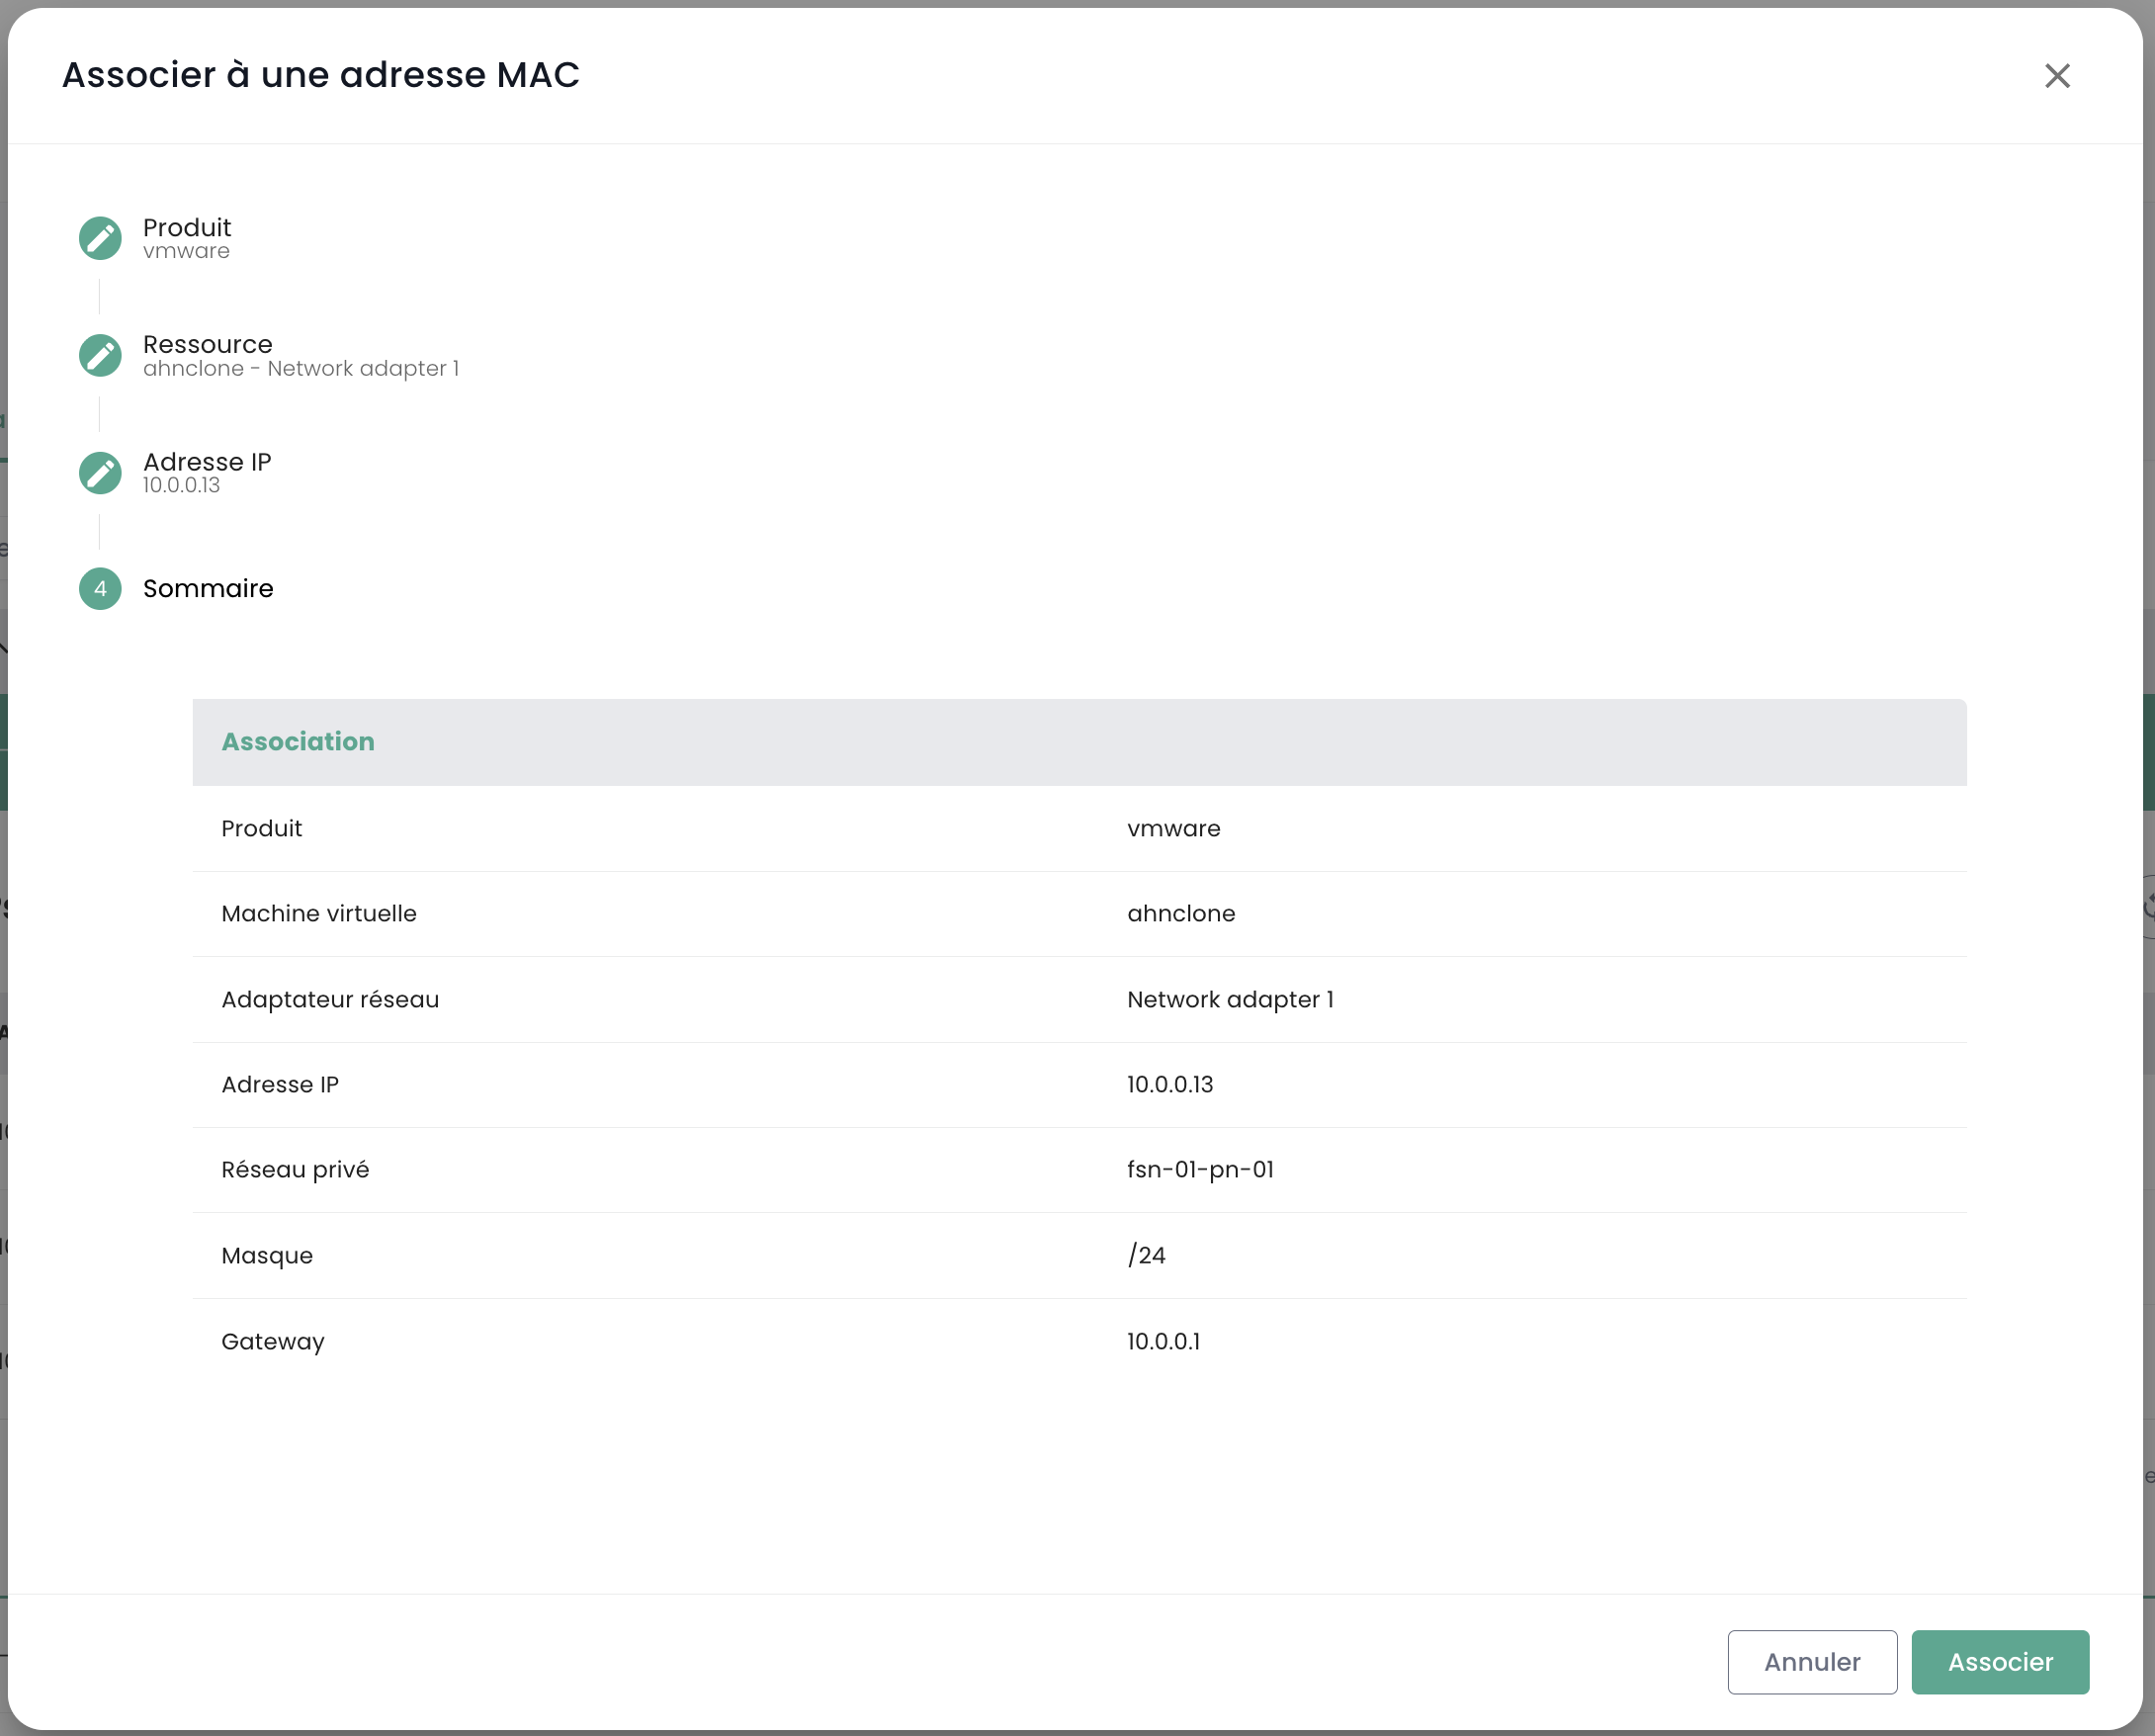
- Click the "Associate with MAC address" action for an available IP.
- In the modal, associate one of the static IPs with a VM's MAC address.
2. Associating a Public IP (Optional)
If you want to make your VM accessible from the internet.
- From the detailed view of your VPC, go to the Public IPs tab.
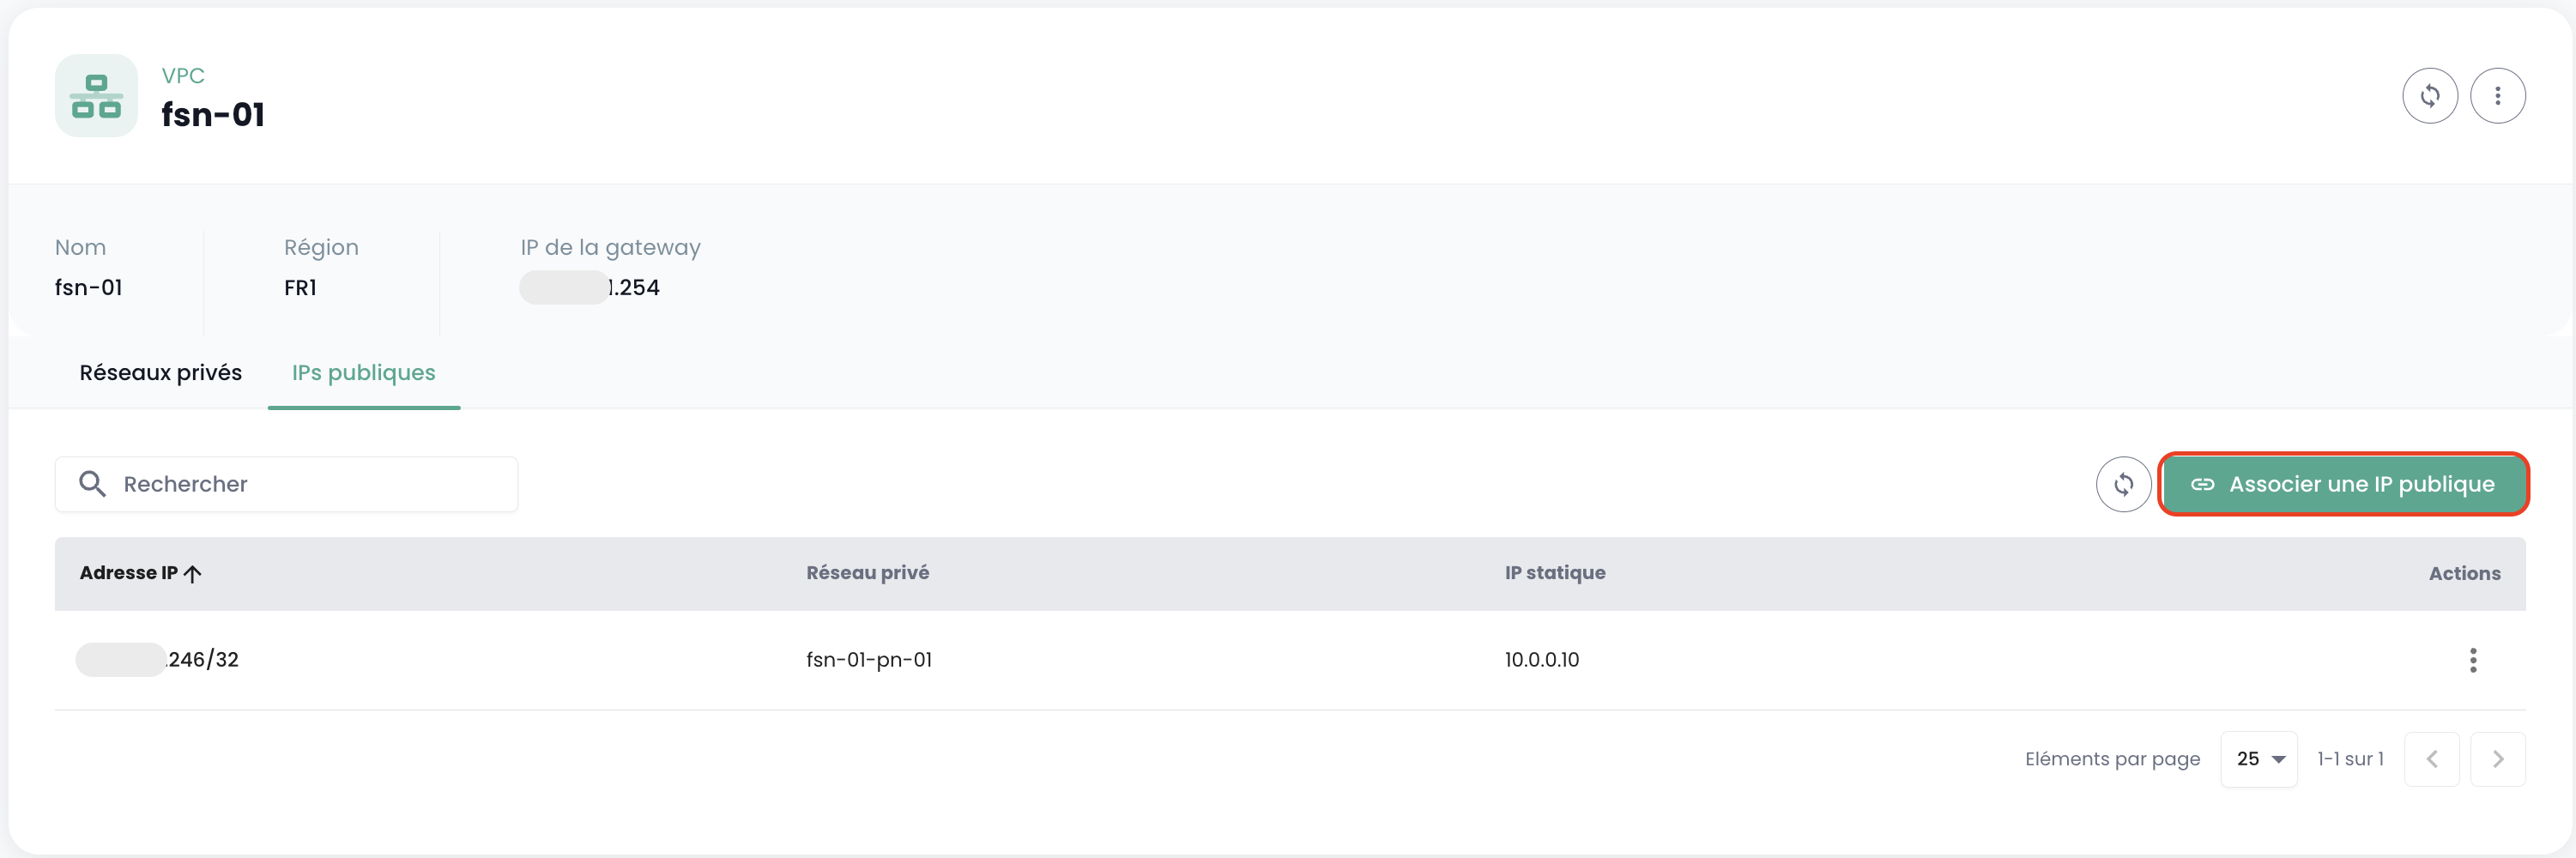
-
Click the Associate a public IP button.
-
In the modal, select the target private network and static IP, then confirm the association.
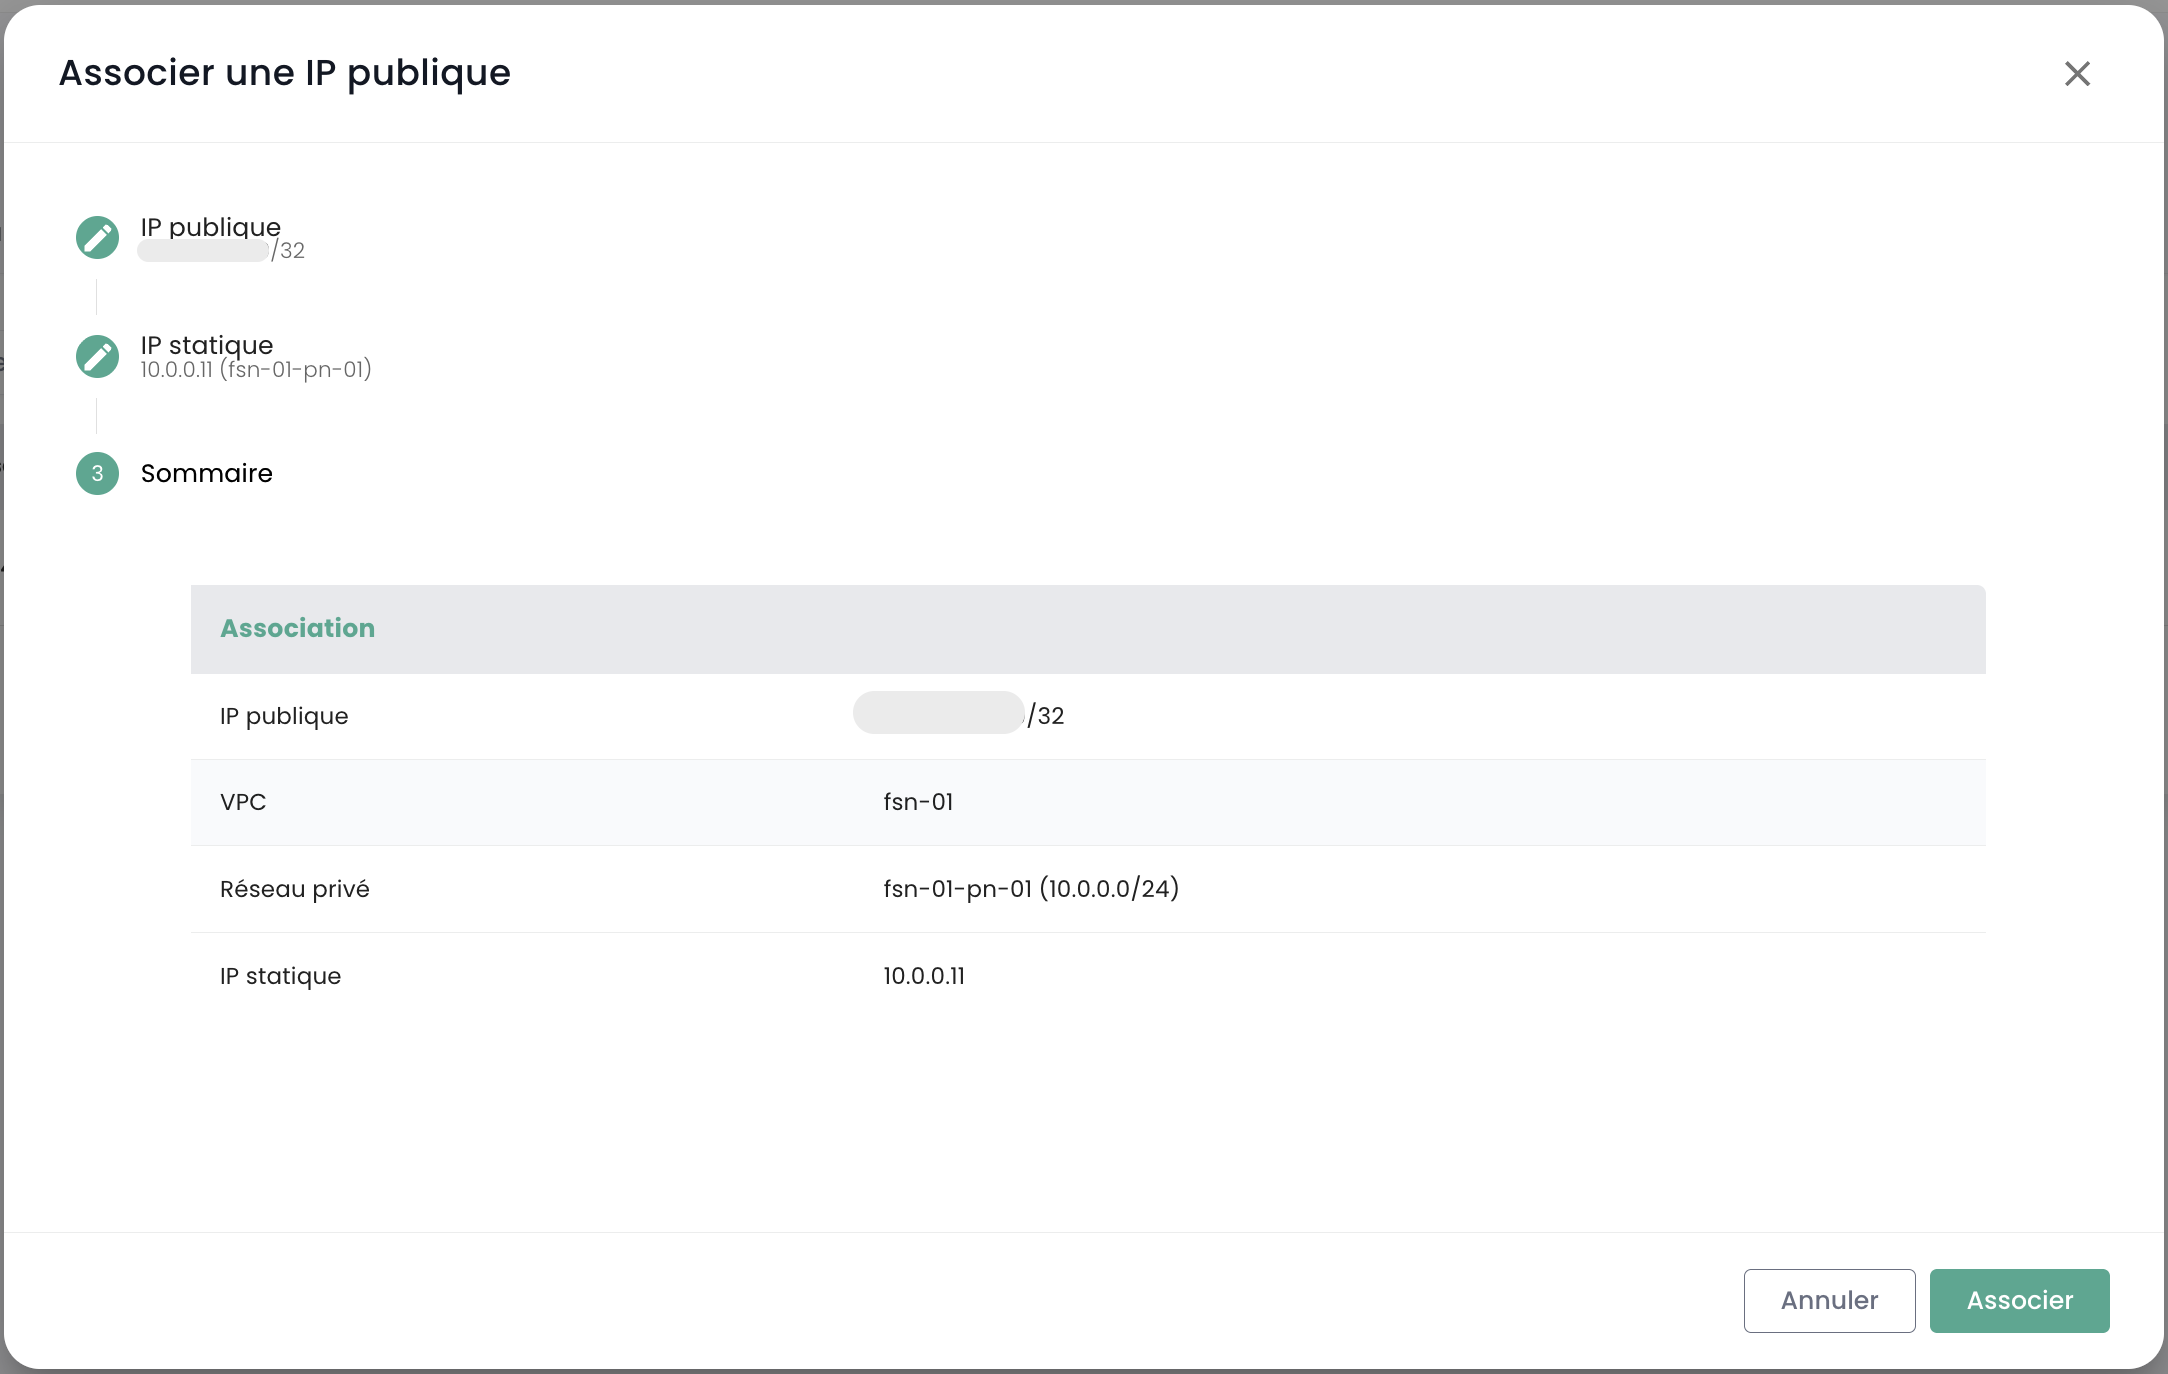
- Once the association is complete, you can use this public IP address to access your VM.
Guest OS Configuration
Important: To ensure the static (private) IP address is correctly assigned, make sure the network interface of your guest operating system (OS) is set to DHCP mode. The VPC's DHCP service will handle assigning the reserved address.