Deploy an open-source pfSense firewall
This guide will help you deploy your open-source pfSense firewall in the Trusted Cloud in just a few minutes.
Prerequisites
The prerequisites for this guide are as follows:
- Have subscribed to the Cloud Temple product: you must have your organization, tenant, and access credentials,
- Have permissions on the compute module.
This document describes the steps to follow to deploy a pfSense virtual firewall.
Deploy an open-source pfSense firewall
pfSense is an open source project based on FreeBSD that allows you to set up a virtual firewall.
A pfSense firewall is administered via a web interface, so you need a second machine with a graphical interface and an IP address in the same LAN network as the firewall to configure it.
We will need a set of two VMs:
- the first will be the machine on which we will deploy the firewall
- the second will be the machine from which we will administer the firewall.
Request internet access delivery
The first step is to retrieve the internet access information here. You must have the following information:
- public prefix
- interconnection prefix
- anycast gateway
- IP range
- local AS
- Cloud Temple AS
- keepalive timers and hold-time timer
- route server addresses
Network interface installation and configuration
You can then deploy your pfSense VM:
- Firewall installation from the pfSense template in Console:
- Configuration of the LAN and WAN interfaces of the firewall: the WAN interface must be in your internet vLAN, its IP will be assigned from the IP range communicated to you by the CDS, as well as the default GW.
- Installation of the second machine for management.
- Interface configuration of the management VM: this machine must be in the same network as the one in which the firewall's LAN interface was configured.
Firewall Access
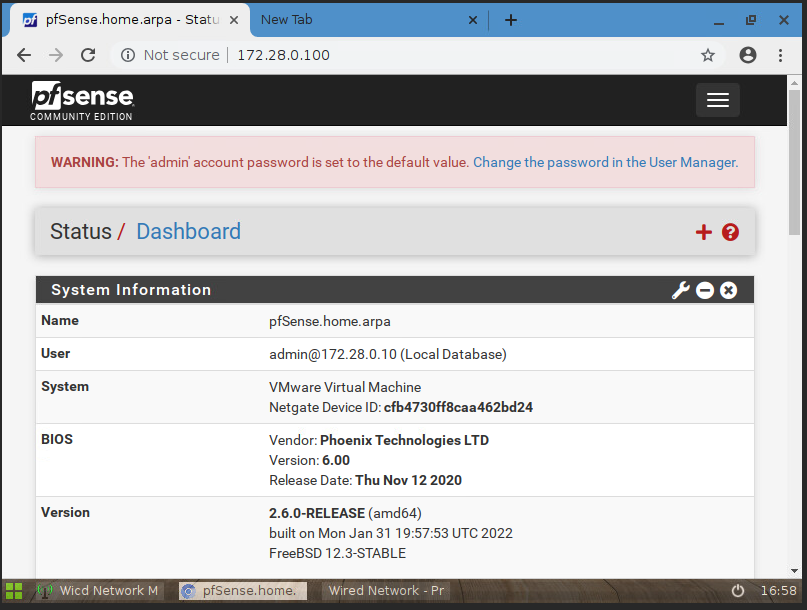
Once both VMs are properly installed, the second step is to access the firewall to begin its configuration.
- access the firewall's web interface from the management VM:
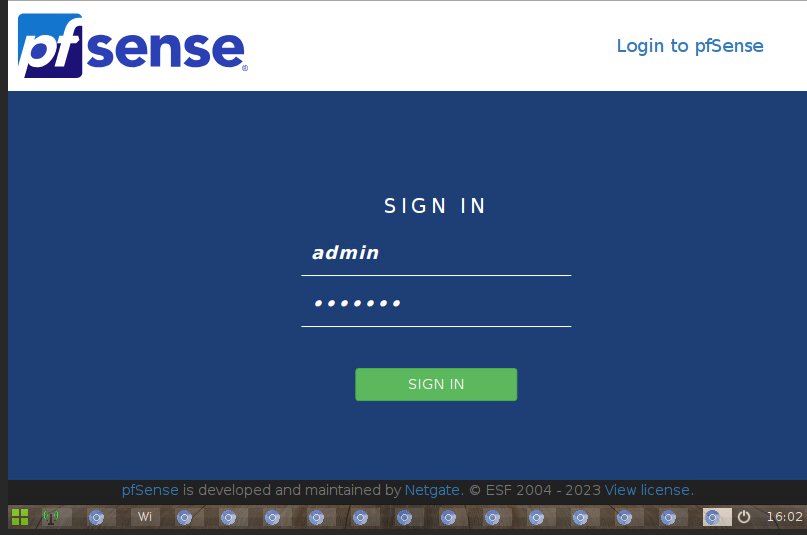
- default login:
- username : admin
- password : pfsense (remember to change the default password)
Firewall configuration
This step involves configuring the BGP neighbors for the FW.
- first, make sure to allow BGP traffic on TCP port 179 in 'Firewall > Rules' :

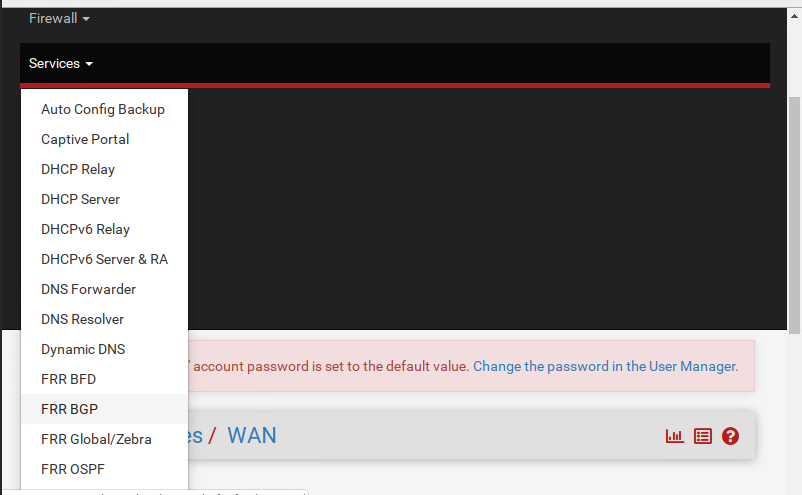
- Go to 'services > FRR BGP' to begin configuring your BGP session :
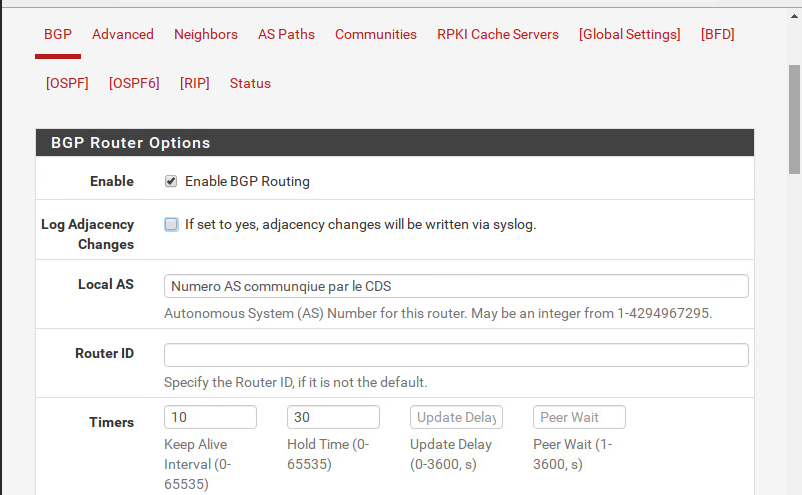
- Check the first two boxes and enter your local AS number and the timer values provided by the CDS.
BGP Neighbors Configuration
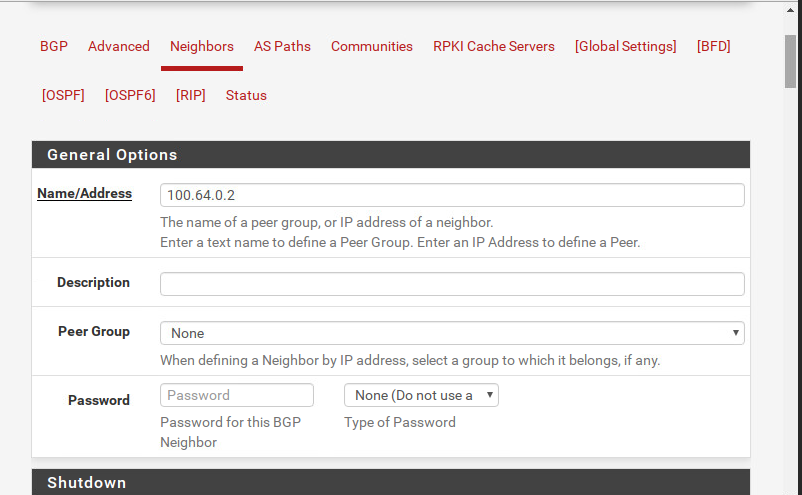
In Neighbors, click +Add to start creating your BGP neighbors.
- For each neighbor: enter its IP address in 'General Options > Name/address'
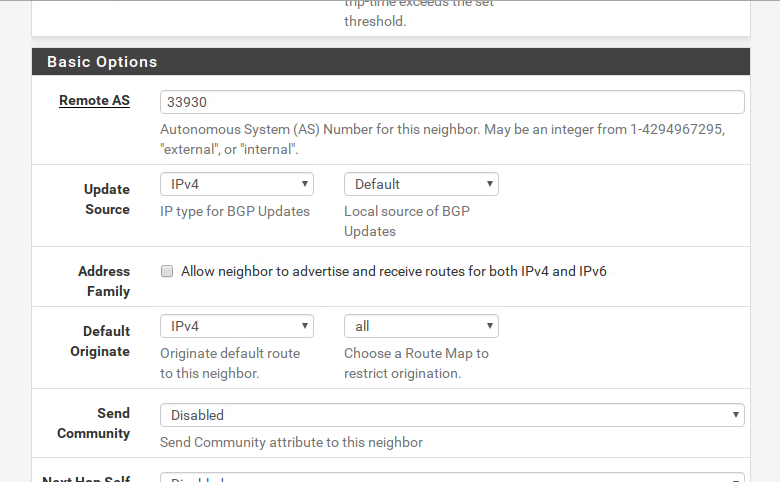
- enter the remote AS (corresponding to the Cloud Temple AS number) in Basic Options as follows:
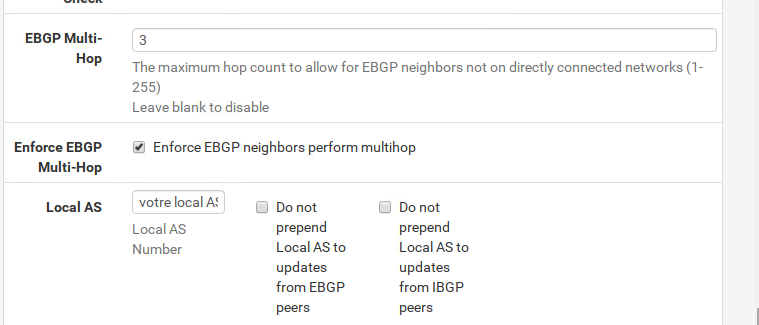
- and finally in Advanced Options, do the following:
- check the box that defines your neighbor type. In our case, it is
a routeserver:
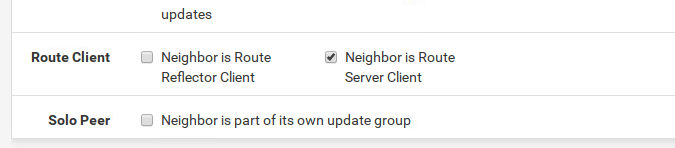
- finally, don't forget to save your changes by clicking 'save':

Verification of the BGP session status with neighbors
In Status, you can see the BGP session status that you just configured
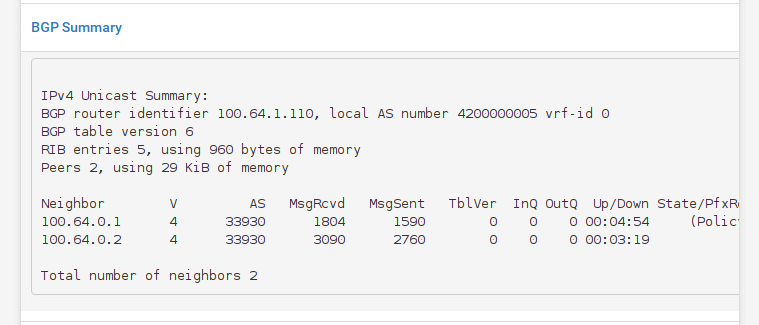
Ensure that the BGP State is established.
Announce your public prefix
To announce your public prefix, you can create /32 routes and perform static redistribution:
- in System > Routing > Static Routes: create your /32 static routes by setting the Gateway to Null4- 127.0.0.1
- in Services > FRR package > BGP > Network Distribution: enable local
redistributionby selecting IPv4 in theRedistributeFRR static routes.