Backing up your applications with Veeam Kasten
Introduction
Veeam Kasten K10 is a backup and restore solution designed specifically for Kubernetes environments. In Cloud Temple's Managed Kubernetes product, Kasten is integrated to allow you to protect your applications, restore data when needed, and ensure business continuity.
This tutorial will guide you through the basic steps to back up and restore an application using Kasten.
Prerequisites
Before you begin, ensure you have the following:
- An active Managed Kubernetes cluster.
- Your cluster identifier (e.g.,
ctodev). - An application deployed in your cluster that you wish to back up.
1. Accessing the Kasten dashboard
The Kasten dashboard is accessible via a secure URL, constructed from your cluster identifier.
-
Build the access URL: The URL follows this pattern:
https://k10.external-secured.<identifier>.mk.ms-cloud-temple.com/k10/Replace<identifier>with your cluster identifier. For example, if your identifier isctodev, the URL will be:https://k10.external-secured.ctodev.mk.ms-cloud-temple.com/k10/. -
Access the URL in your browser.
ℹ️Security Note Access to this URL is restricted to the public IP addresses you have declared. If you are unable to log in, ensure your IP address is authorized by contacting Cloud Temple support.
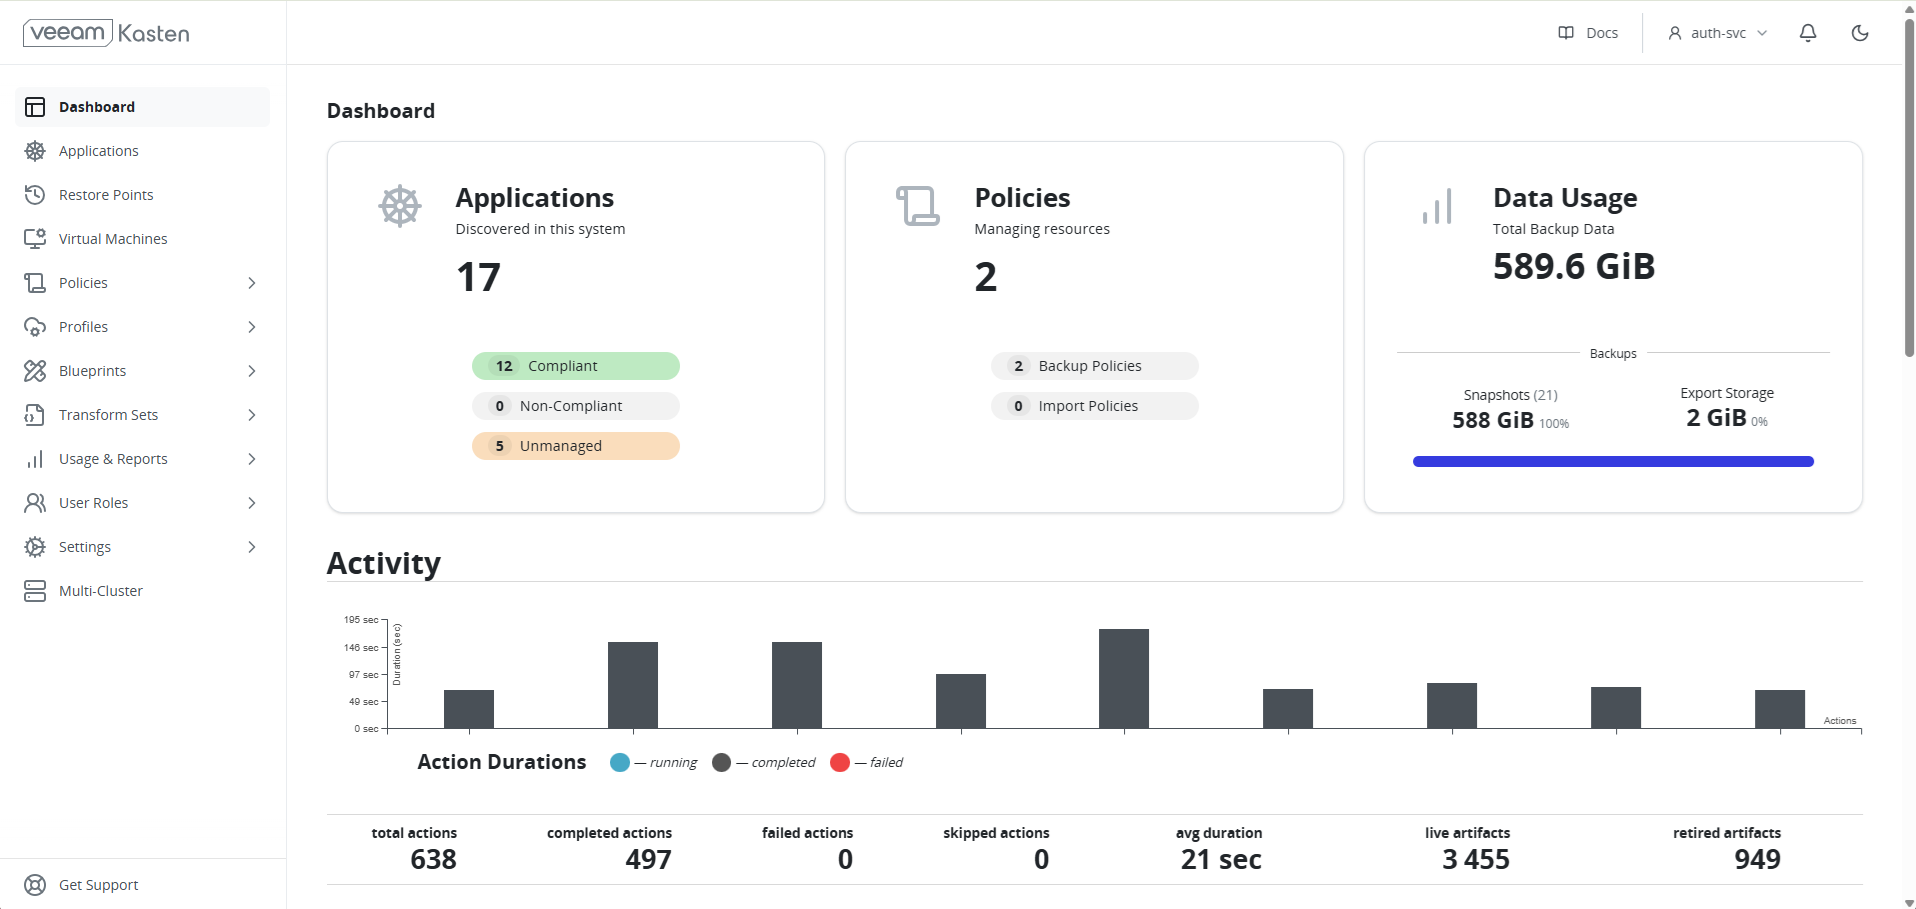
ℹ️[Built-in Quick Start Guide] The Kasten console includes an interactive quick start guide on its home page. Feel free to follow it for a first-time setup directly from the interface.
2. Understanding backup storage
By default, Kasten is preconfigured to use Cloud Temple's object storage service (S3) to store your backups securely and durably.
No configuration is required on your part. The storage location is already set in the Kasten dashboard under Settings > Locations. This configuration ensures that your data is stored on sovereign infrastructure.
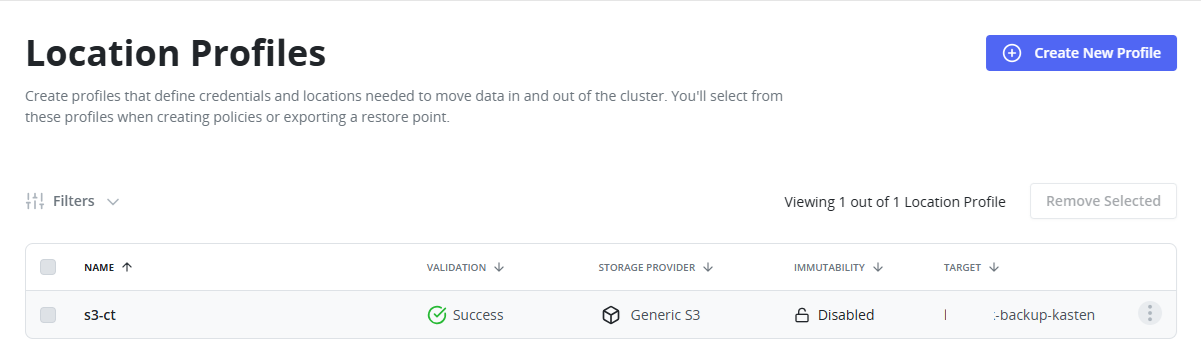
ℹ️[Cost Model] The Veeam Kasten service is included in the Managed Kubernetes product. Backup storage on our sovereign S3 is billed based on usage. See the public pricing on the Cloud Temple website for more details.
3. Creating a backup policy
A backup policy (Policy) is a set of rules that define when and how to back up your applications.
⚠[Existing Backup Policy] A backup policy named infra-backups is already configured in your Kasten instance. This policy ensures the backup of essential components delivered with the cluster.
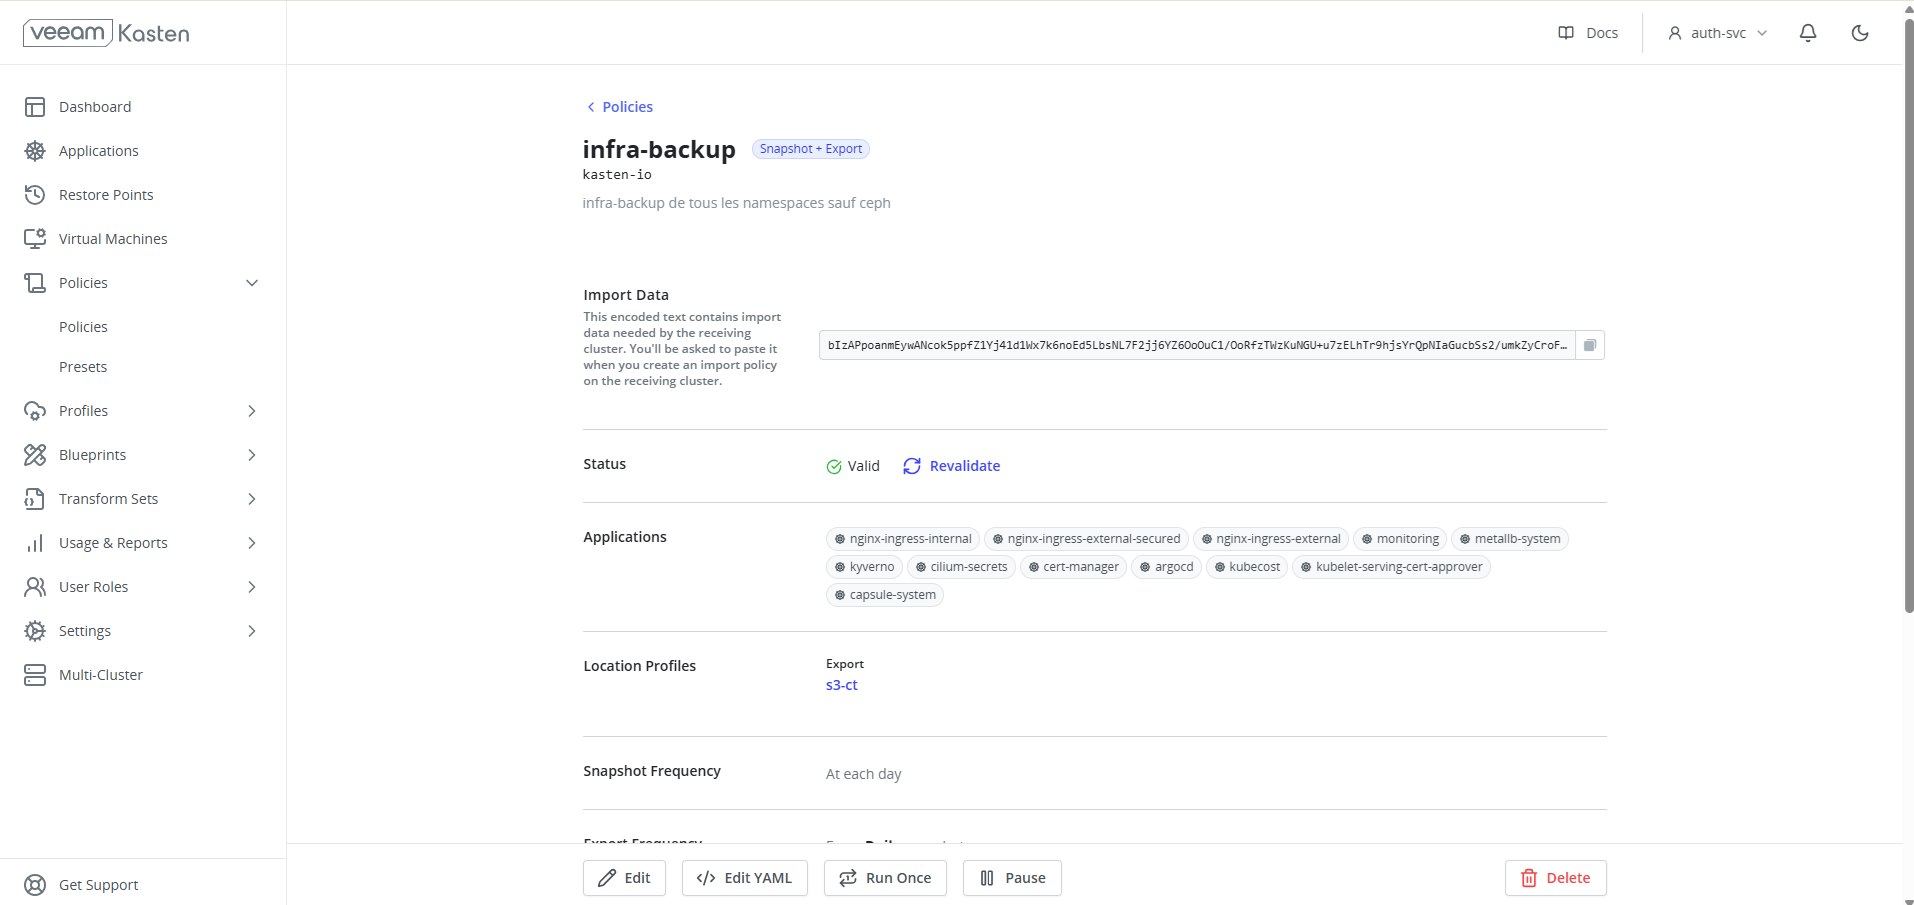
Do not modify or delete this policy.
You must create your own policies to back up the applications you deploy.
-
In the Kasten dashboard, go to the Policies section and click Create New Policy.
-
Name your policy: Give it a descriptive name, for example
backup-my-app-daily. -
Set the frequency (Action):
- Action:
Snapshot. - Frequency: Choose the frequency that suits you (e.g.,
Dailyat02:00).
- Action:
-
Select the resources to back up:
- Select resources by: You can select applications by name (
Application Name), by namespace (Namespace), or by labels. - To back up all applications in a namespace, choose
Namespaceand select the desired namespace.
- Select resources by: You can select applications by name (
-
Click
Create Policyto save.
The policy will run automatically at the defined frequency. You can also trigger a manual run by clicking the "Play" button (▶️) next to the policy.
Quick backup policies
To facilitate getting started with Kasten, Cloud-Temple has delivered 24 backup policies, which perform a backup at a fixed time, with a 7-day retention in S3.
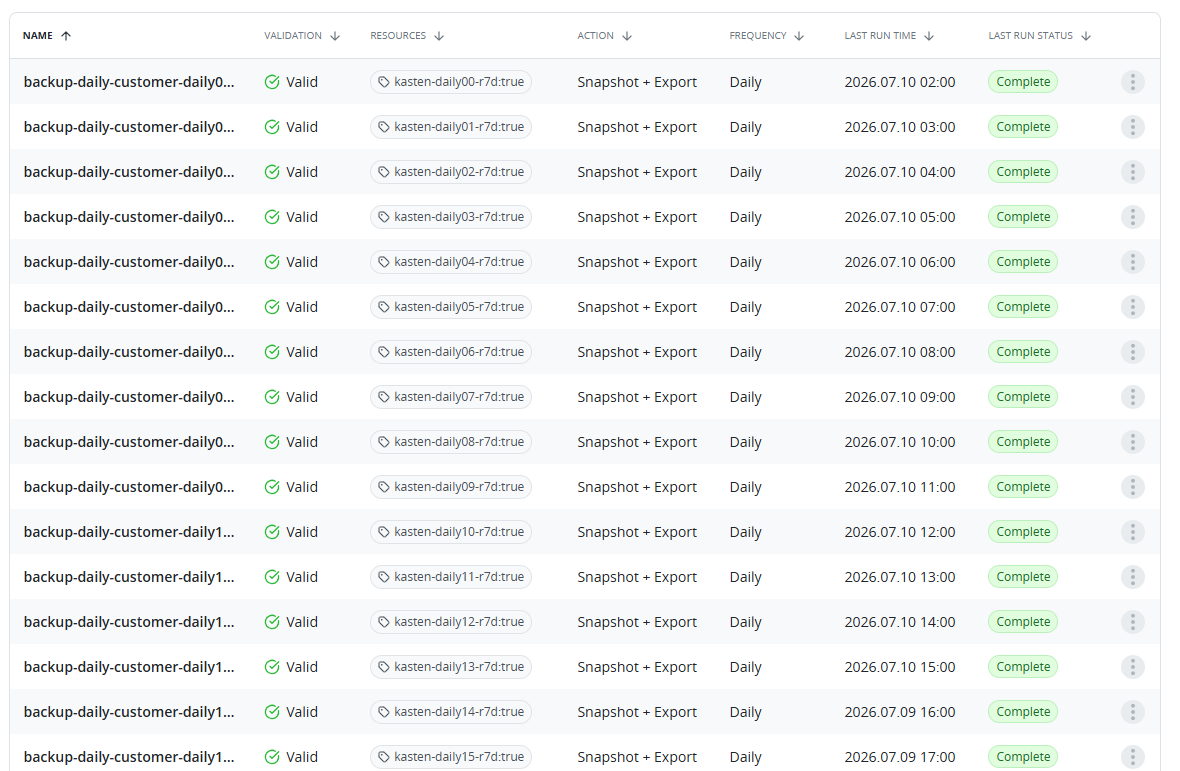
These policies apply to namespaces that have a label indicating which policy/policies to apply.
For example, a namespace with the label kasten-daily05-r7d = true will be backed up to S3 every day at 05:00 UTC, with a 7-day retention.
4. Restoring an application
Kasten makes it easy to restore an application to its previous state from a restore point.
-
In the dashboard, go to the Applications section. You will see a list of your applications and their compliance status with respect to backup policies.
-
Select the application you wish to restore.
-
Choose a restore point: The application page displays a list of available restore points. Choose the one you wish to use and click Restore.
-
Configure the restore:
- You can choose to restore to a new namespace or overwrite the existing application. For this tutorial, we will overwrite the existing application.
- Click Restore to start the process.
Kasten will now restore the application to the state captured in the snapshot. You can track progress in the dashboard.
5. Backup security
Protecting your backup data is a priority. The integration of Kasten into the Managed Kubernetes product adheres to the highest security standards.
- Encryption: In compliance with SecNumCloud requirements, all your backups are encrypted. Data is encrypted in transit to S3 storage using the TLS 1.3 protocol and at rest in storage buckets using the AES-256 algorithm.
- Permission management: Access to the Kasten interface and its features is controlled by a permission system based on Kubernetes RBAC. Only authorized users can create, modify, or execute backup and restore policies, ensuring strict governance of your backup operations.
Conclusion
You have learned how to use Veeam Kasten to perform basic backup and restore operations in your Managed Kubernetes cluster. Kasten offers many advanced features, such as application migration between clusters and granular retention policies, which you can explore to strengthen your data protection strategy.
For more information, consult the official Kasten K10 documentation.