Identity Federation Example with JumpCloud
This tutorial guides you through configuring single sign-on (SSO) between JumpCloud and the Cloud Temple console using the OpenID Connect (OIDC) protocol.
For more detailed information directly from JumpCloud, consult their official documentation on OIDC SSO: SSO with OIDC.
Prerequisites
Before you begin, make sure you have obtained the necessary information from Cloud Temple, specifically the redirect URI for your Keycloak instance.
Configuration in JumpCloud
Follow these steps to configure a new OIDC application in your JumpCloud administration console:
-
Create a new application:
- Navigate to the applications section in JumpCloud.
- Click "Add" or "Create a new application".
- Choose the option for a custom application integration ("Custom Application Integration").
-
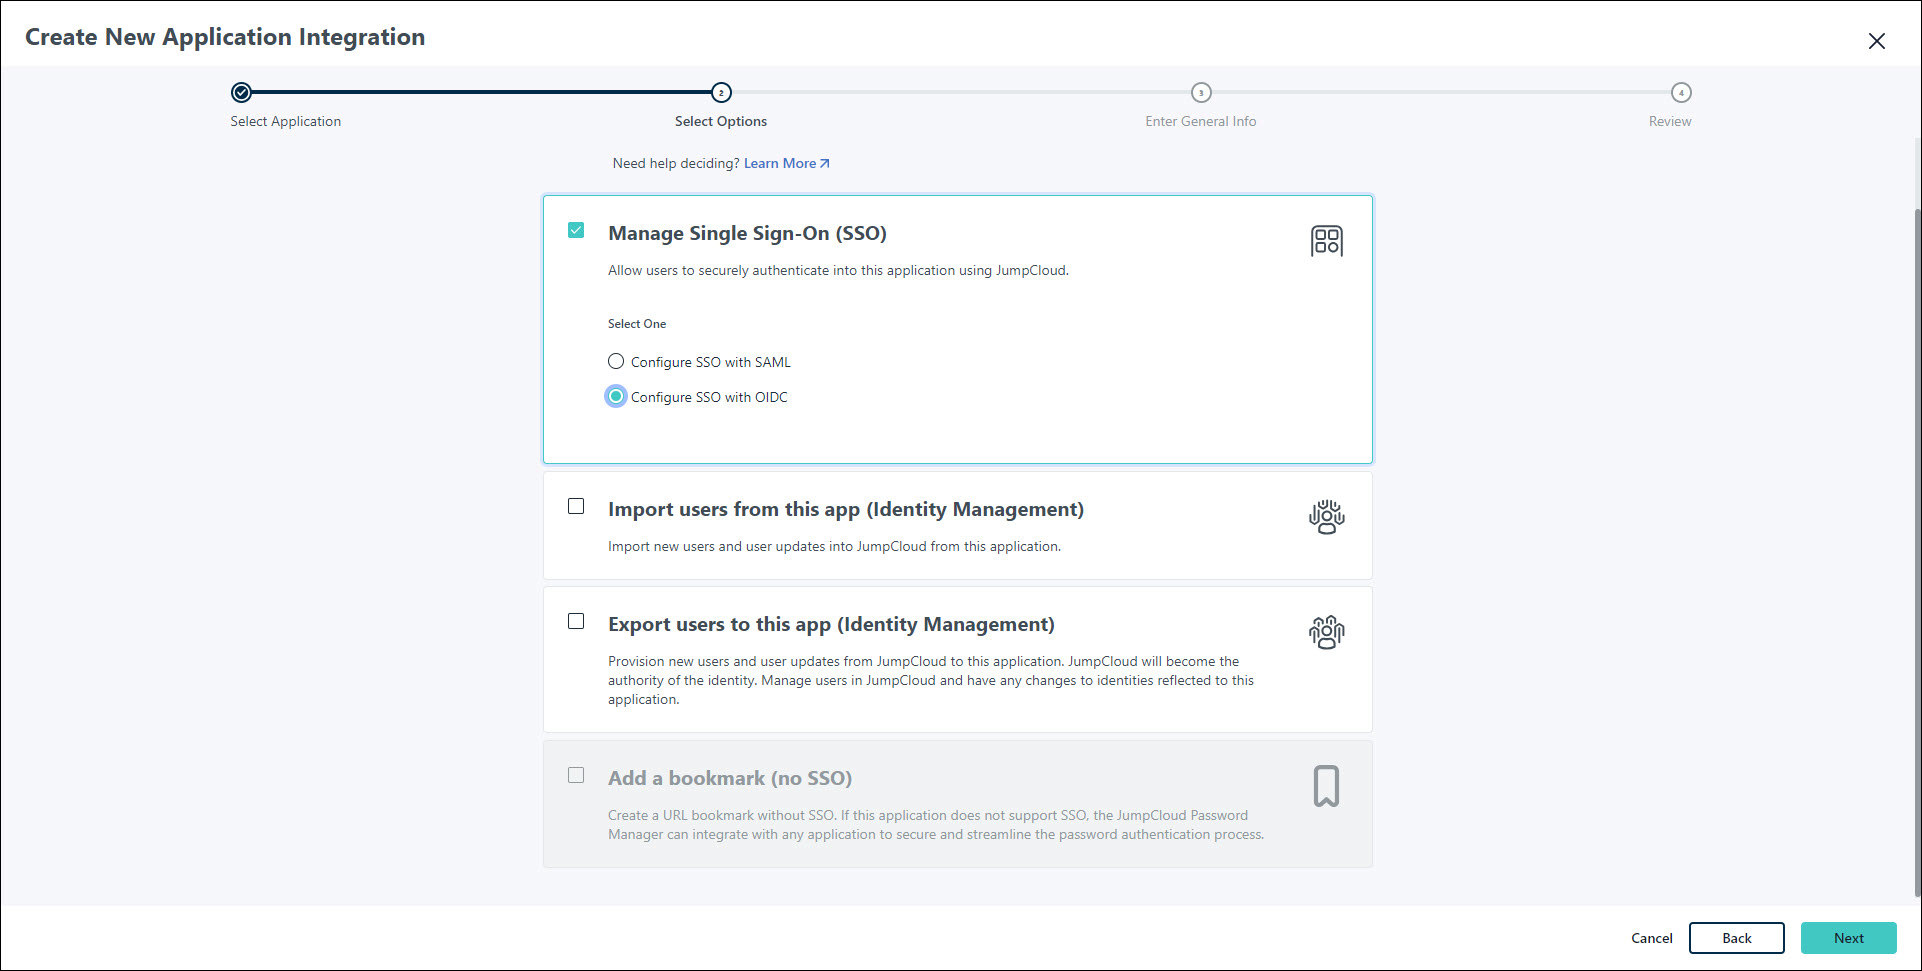
Configure OIDC SSO:
- Select "Manage Single Sign-On (SSO)".
- Choose "Configure SSO with OIDC".
-
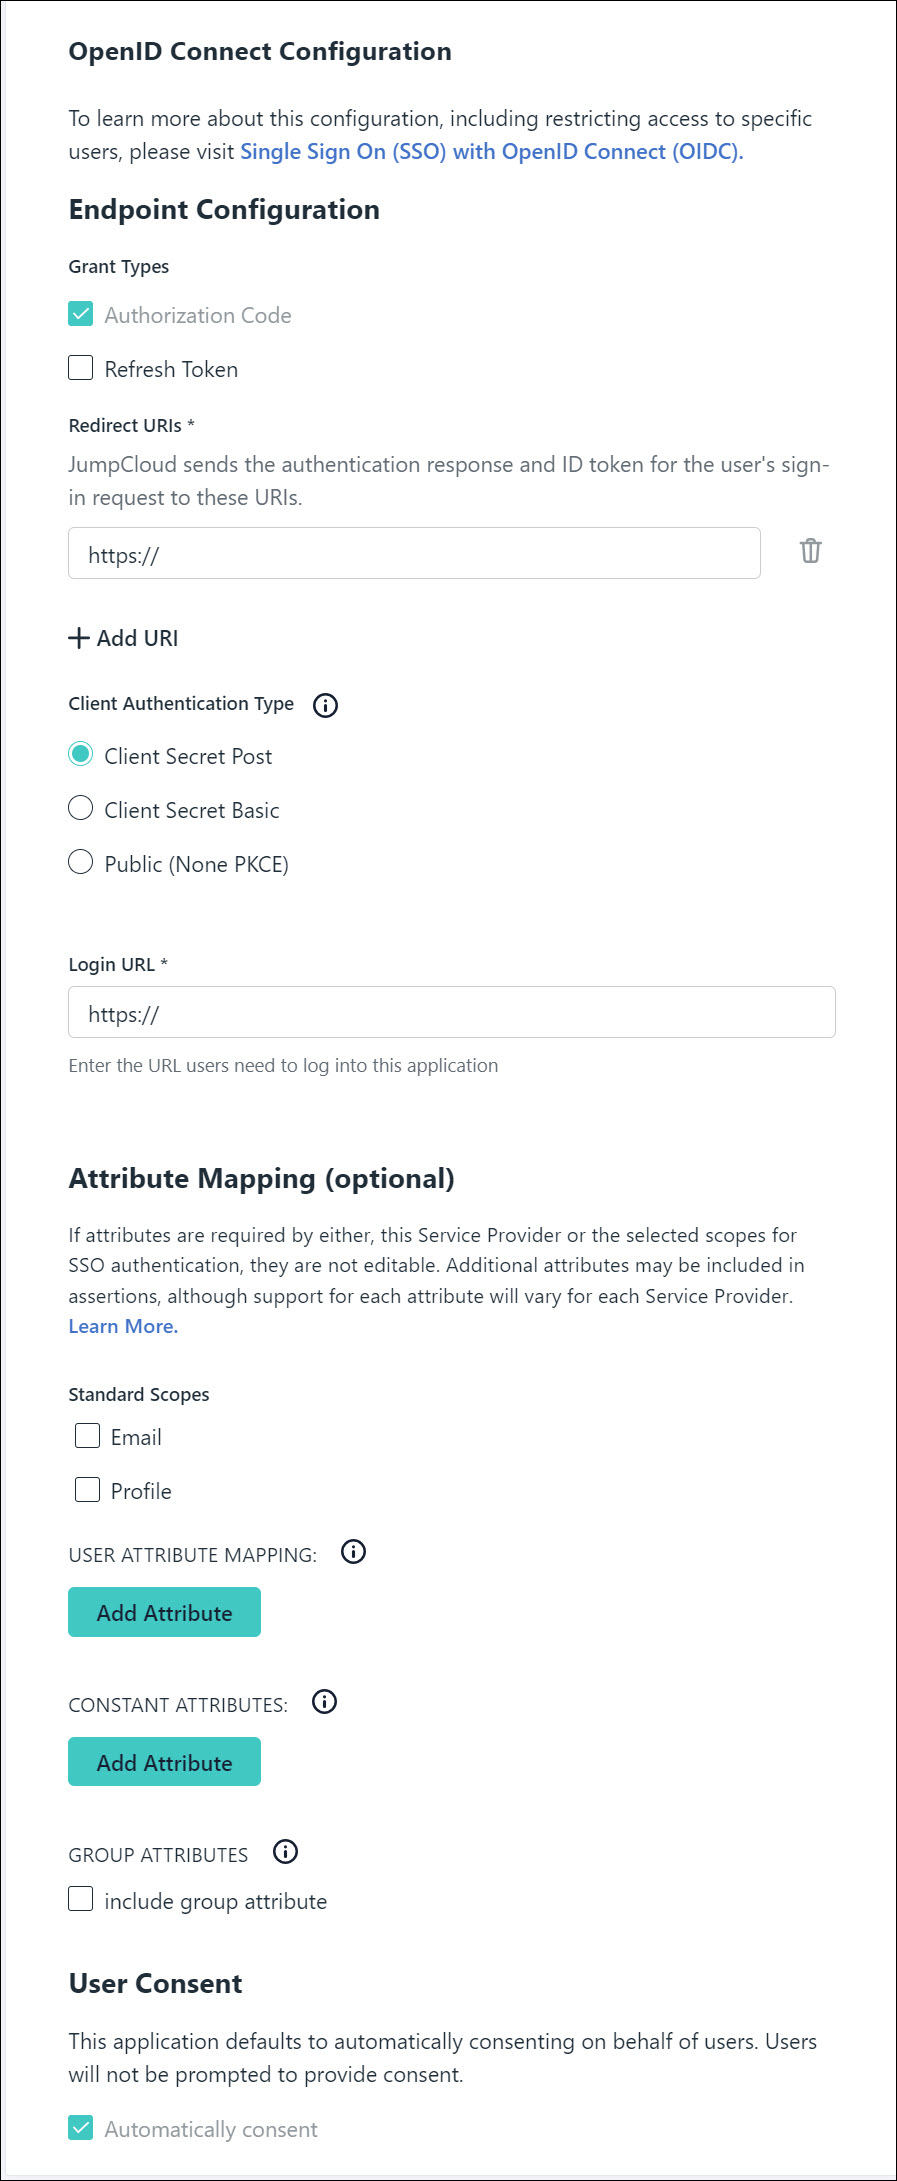
Enter redirect URIs:
-
In the appropriate field (often called "Redirect URIs" or "Callback URLs"), enter the URI provided by Cloud Temple. It will typically follow this format:
https://keycloak-shiva.cloud-temple.com/auth/realms/<company specific>/broker/<company specific>/endpointReplace
<company specific>with the company-specific credentials provided by Cloud Temple.
-
-
Choose client authentication type:
- Select
Client Secret Postas the "Client Authentication Type".
- Select
-
Enter the login URL:
-
In the "Login URL" field, enter the URL you use to access your Cloud Temple console. For example:
https://<unique-identifier>.shiva.cloud-temple.comReplace
<unique-identifier>with the unique identifier of your Cloud Temple instance.
-
-
Configure attribute mapping:
- In the "Attribute Mapping" section (or equivalent), ensure the following attributes are selected to be sent to Cloud Temple:
EmailProfile(may include first name, last name, etc.)
- In the "Attribute Mapping" section (or equivalent), ensure the following attributes are selected to be sent to Cloud Temple:
-
Assign groups:
- Assign the JumpCloud user groups that should have access to the Cloud Temple console via this SSO application.
-
Activate the application:
- Click "Activate" or "Save" to finalize the application configuration.
-
Provide credentials to Cloud Temple:
- After activation, JumpCloud will provide you with a Client ID and a Client Secret.
- Securely communicate these two pieces of information to your Cloud Temple contact to finalize the federation configuration on the Keycloak side.
Once Cloud-Temple has configured the federation with the provided credentials, your assigned users will be able to log in to the Cloud Temple console using their JumpCloud credentials.