Identity Federation Example with Microsoft ADFS
Here is an example configuration of an organization's identity repository with Microsoft ADFS.
Configuring your Microsoft identity repository at the Cloud Temple organization level simplifies user authentication on the Console.
This helps avoid the proliferation of authentication factors and reduces the attack surface.
If your users are already authenticated to their Microsoft accounts, logging into the Console services will be seamless.
Below are the steps to complete this configuration:
Prerequisites
Your Microsoft ADFS server must be able to access Cloud Temple's URL.
ADFS must be accessible from Cloud Temple's networks and must expose a TLS certificate issued by a public CA.
Users wishing to log in to the portal must have their email, last name, and first name filled in on Active Directory.
Step 2: Request SSO (Single Sign-On) Configuration for Your Organization
This configuration step is performed at the organization level by the Cloud Temple team.
To proceed, please submit a support request in the console indicating your intent to set up your Microsoft ADFS authentication repository.
Include the following information in your support request:
    Name of your Organization
    Name of a contact person, along with their email address and phone number, to finalize the configuration
    Public URL of the ADFS federation metadata (<ADFS domain name>/FederationMetadata/2007-06/FederationMetadata.xml)
    (Example: https://adfs.test.local/FederationMetadata/2007-06/FederationMetadata.xml)
Once the configuration is completed on the Console side, the designated contact will be notified.
The Cloud Temple support team will send you a URL that will look like this: https://keycloak-shiva.cloud-temple.com/auth/realms/companytest/broker/adfs_test/endpoint/descriptor
You can paste the URL into a browser to test it. If it works correctly, you should see an XML document displayed.
Step 3: ADFS Configuration Implementation
Authentication Federation Configuration
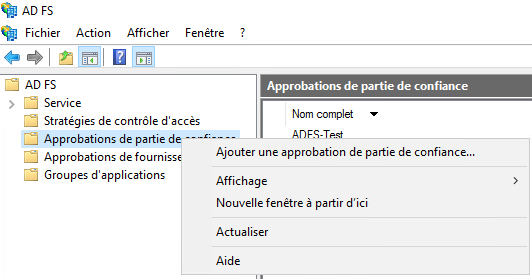
Add a Trusted Party Approval
On your ADFS server, go to "Add a Trusted Party Approval".
Configure the Claims
Claims allow you to provide information to the token that will be sent to the Cloud Temple console.
They transmit user information necessary for the proper functioning of various services, such as the user's email address, first name, and last name.
Select "Import data published online or on a local network regarding the relying party" and enter the URL provided by Cloud Temple support.
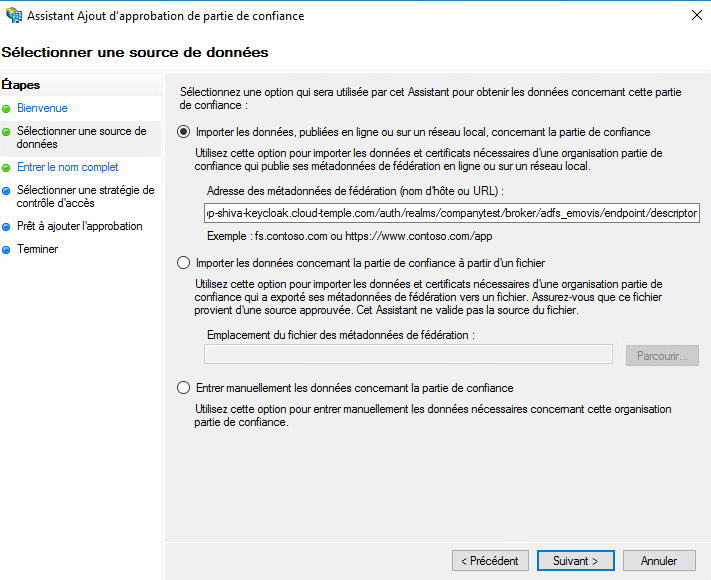
You may optionally enter a name and description for the relying party.

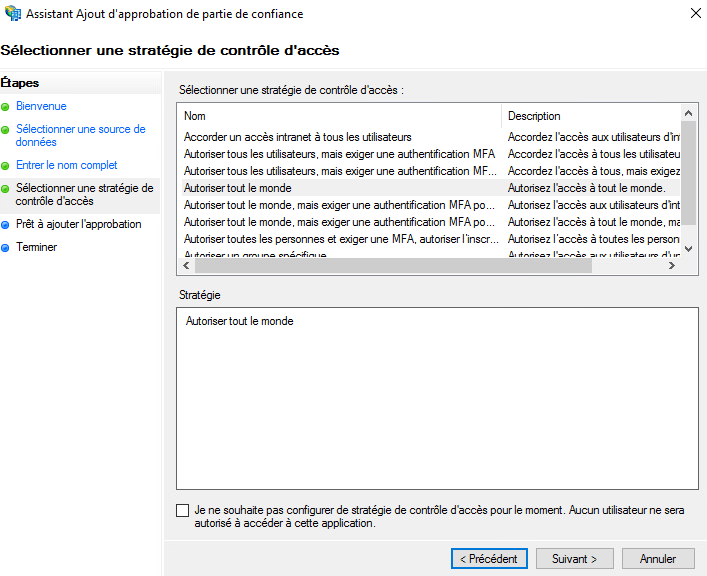
By default, we allow everyone, but you can select "Allow a specific group" to choose the group or groups authorized to access the Console services via ADFS.
Once these steps are completed, you have finished configuring the relying party.
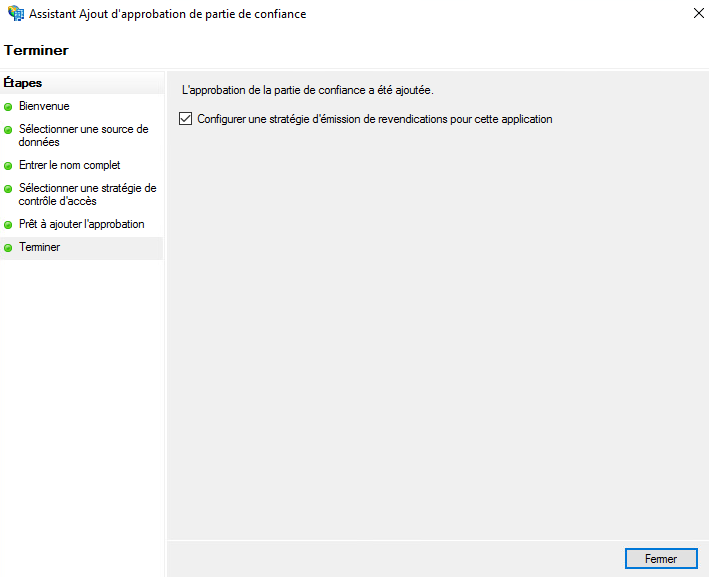
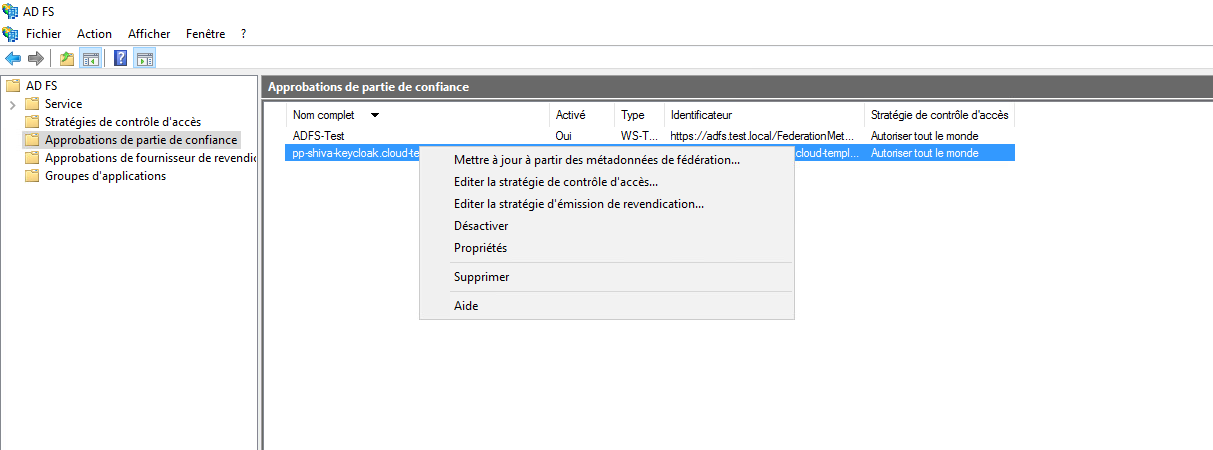
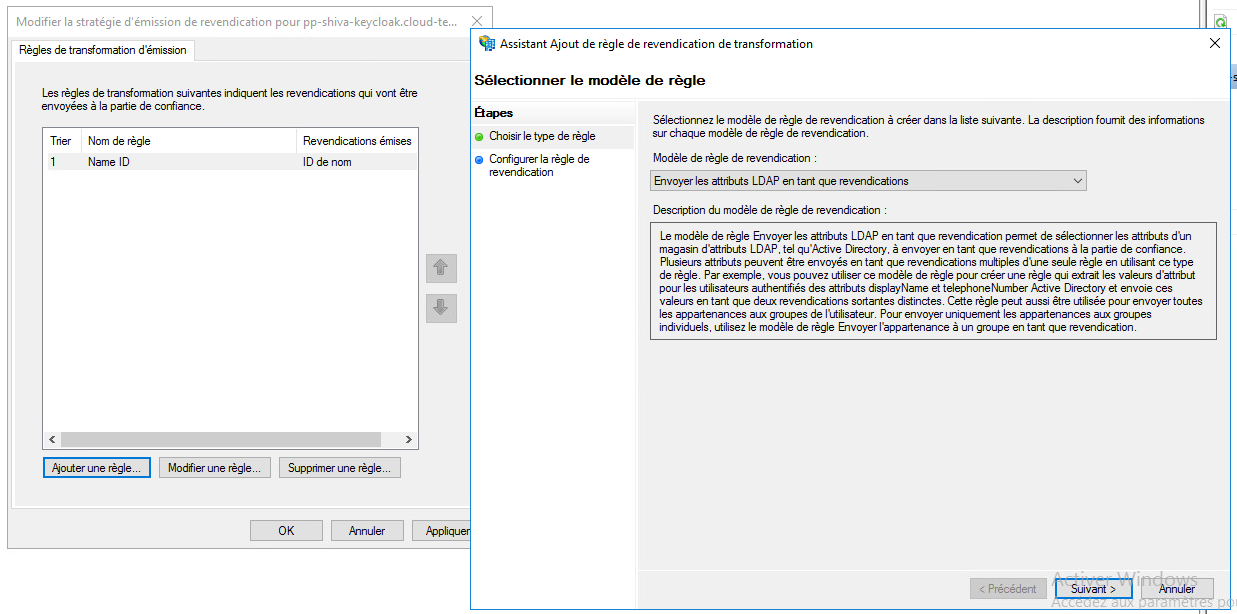
Next, you will need to edit the claim issuance policy for this new relying party.
Click on "Add Rule" and select the template: "Transform an incoming claim."
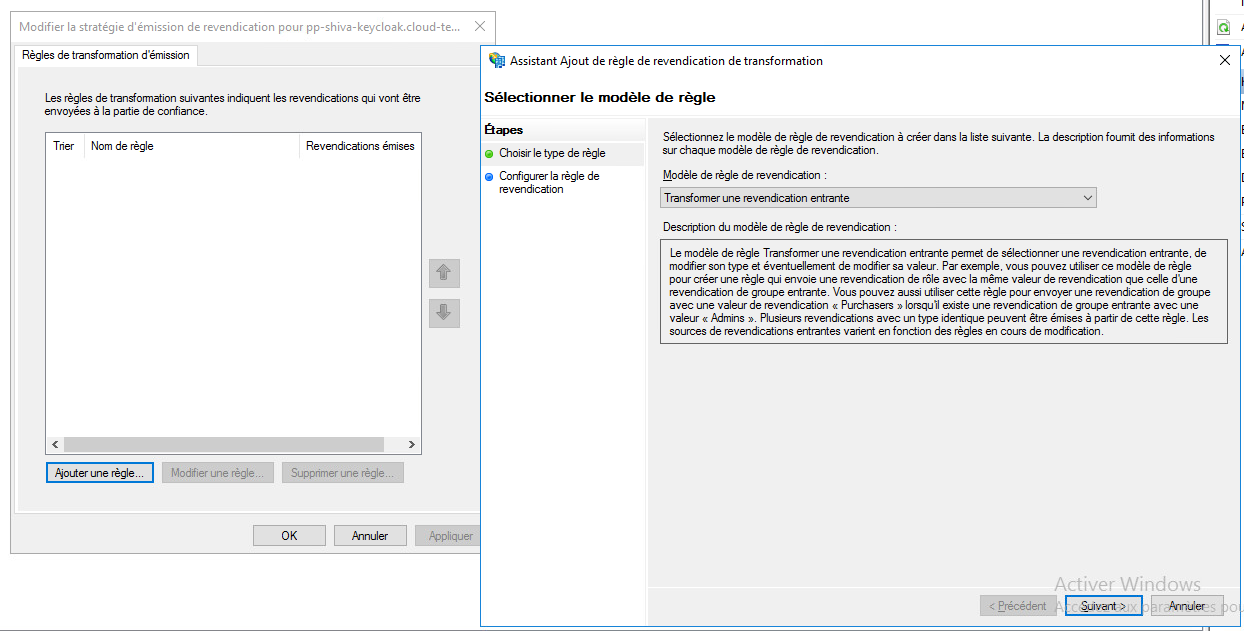
You will then only need to fill in the information as shown in the screenshot below.

Add claims
Add a second rule, this time using the template "Send LDAP attributes as claims".
Select the attribute store and add the attributes "E-Mail Addresses, Given-Name, Surname, and SAM-Account-Name" as shown in the screenshot below.
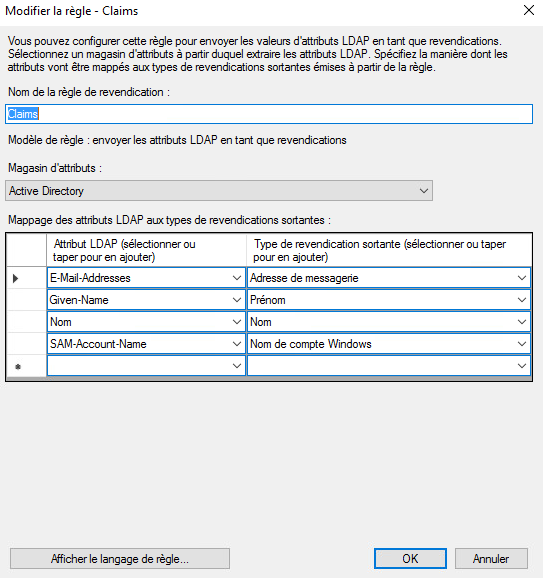
Simply apply the changes.
Step 3: Finalization
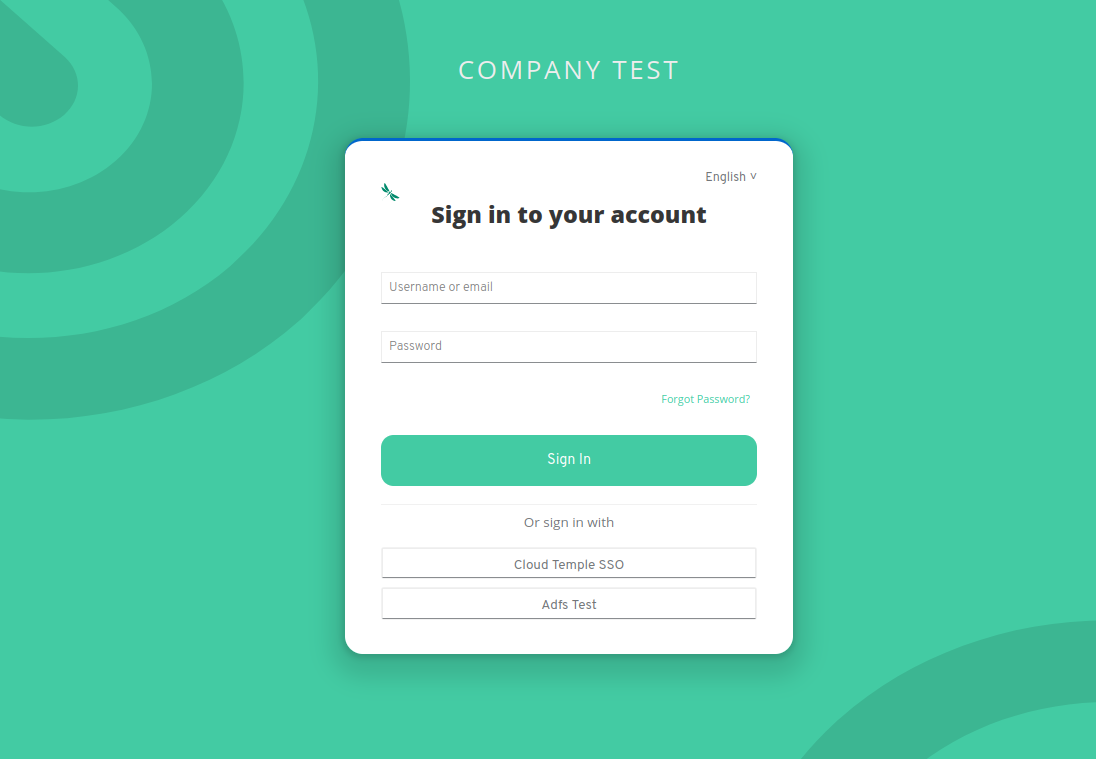
You can now test by going to the Console and clicking the button corresponding to the ADFS client authentication; in this example, it is "ADFS Test".